
My master bedroom always seems to be on the back burner. There always seems to be another area of the house that needs attention, so I’ve never really spent time designing my bedroom.
We don’t really have a master bedroom. There’s no attached bath. We chose this room because it’s in the front of the house.
It’s also the hottest room and I didn’t want either of the kids to be in here. So we ended up with it.
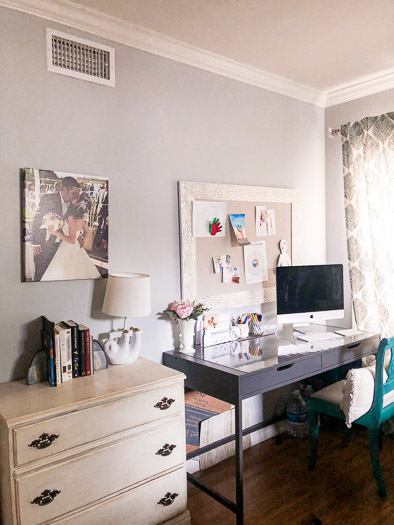
I’ve shared our mini office space in our bedroom before. We created this out of necessity for a place for our desktop computer. We also needed a place to work at home.
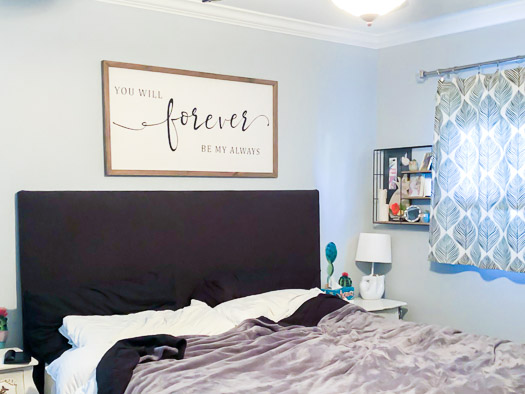
But the rest of the room stayed pretty much the same. Our headboard was one that I had DIY’d 8 years ago. There was very little decor in the room.
Our bed sat on top of a metal bed frame. Honestly, the whole room was pretty drab. I had mismatched furniture.
Why we finally decided it was time for a change…
Anyways, we decided we needed to get a new bed. We bought our current bed only 2 years ago, but we hate it. It’s so uncomfortable and there’s a big hole in the middle.
It was a cal king bed, but I decided we should switch to a king. After researching lots of beds we decided to go with a Casper bed.

Because we were switching to a king bed, it was the perfect time to get a new bed frame. I figured since we were getting a new bed frame, why not redo the headboard too!
So getting a new bed led in to a mini bedroom make over.
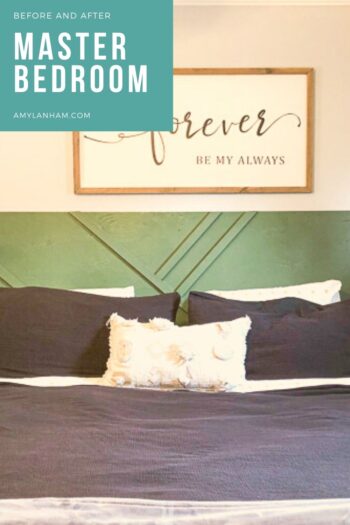
I actually had found the duvet cover at Target months and months before I started the makeover. I had been looking for a black duvet cover for months. They’re hard to find.
We have a black dog and I can’t do light colored duvet covers because her hair gets everywhere! So when I finally found this duvet cover I knew it was perfect.
Before and After Master Bedroom
DISCLOSURE: This post may contain affiliate links. If you purchase items through my links I may earn a commission. You can find our full policy here. Thank you.
The whole makeover cost about $2000, including the bed.
We got the IKEA BRIMMES bed frame in gray. I love this frame because it has drawers for storage.
One thing that kind of blows about the bed frame though, is the drawers start at the top of the frame. So if you put side tables next to your bed, you can’t open the top drawers.
This isn’t a huge deal for me. I usually store things under the bed that we don’t need frequently. And when we do need them, I can still get to it, it just takes a little rearranging, which is fine.
We didn’t get the matching headboard because I really wanted to DIY a new headboard. I wanted a geometric green headboard to match the green IKEA curtains that we have in our room.
Sconces seemed perfect for our bedroom, but I had such a hard time finding ones that would look good and weren’t super expensive. I finally found the perfect ones at IKEA. We got the IKEA RANARP lights. I love them so much!

I also really wanted a shelf next to my side of the bed. This one I found at Marshall’s and fell in love with it! It’s modern and I love the lines.
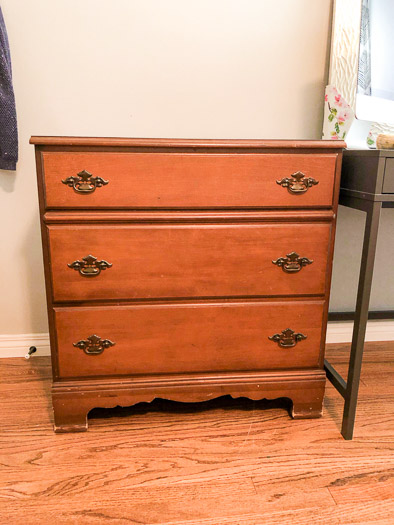
I also painted both our dresser and the side table in chalk paint so that they would match and no longer look completely out of place in our room.
Love our bedroom now! It feels like such a grown up bedroom.