
Our bedroom is long overdue for a makeover. We moved in here almost two years ago and I basically just set up the room and that was it. When deciding what I wanted, I knew I wanted to change our headboard to a DIY wood headboard.
I’ve been slowly working on it. I painted the dressers in here to give it a more cohesive look. And we bought the desk for a little ‘office area’, which has really come in handy now that my husband is working at home!
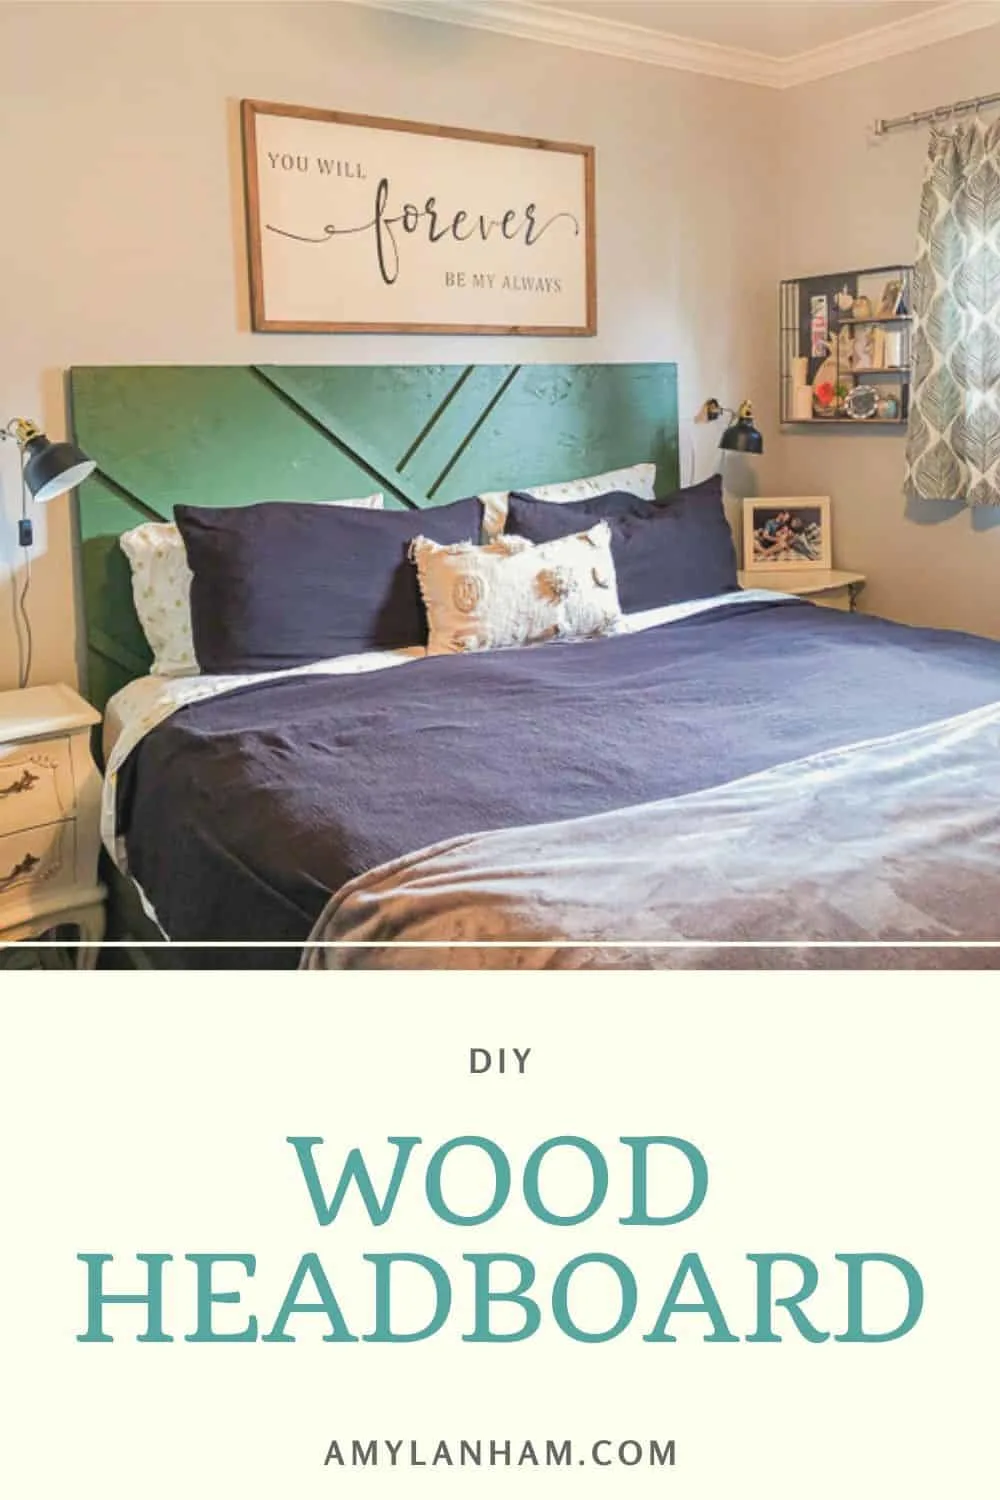
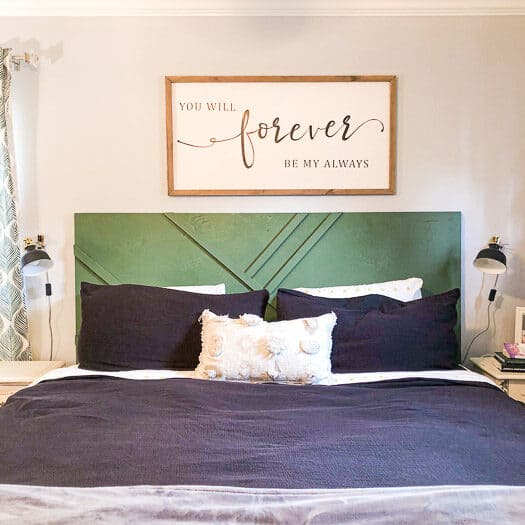
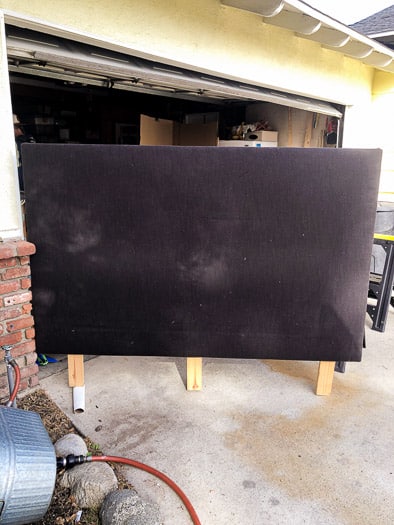
I’ve been wanting to change the headboard for a while, but I had no idea what to do. We have a black dog and I can’t do light bedding because her hair shows all over the bedding. So I changed the bedding out for black bedding which I love.
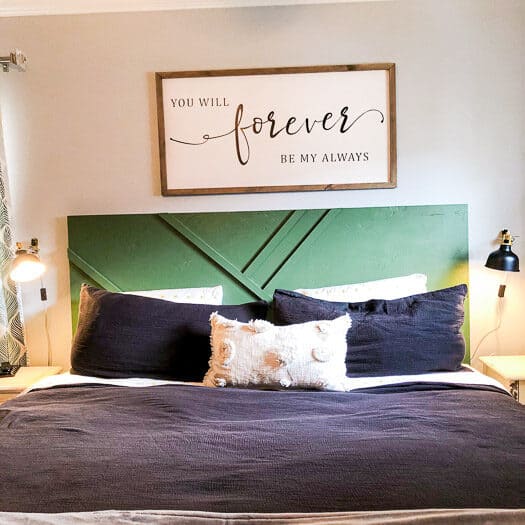
But now the whole bed area is too dark. I knew I needed something a little lighter, I just wasn’t sure how to do that with fabric. So I ripped all the fabric off the headboard and decided to keep it wood.
DIY Wood Headboard
I really wanted to make an accent wall in our bedroom, but we rent. While I could probably convince the landlords to let me do it (they’re my parents), I decided I’d rather be able to take it with me.
So I decided to do an accent headboard. I had seen Angela Rose Home’s accent wall on Instagram and fell in love.
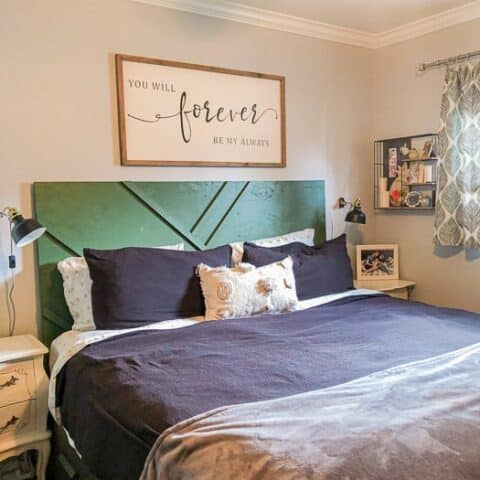
The geometric design, the green color, which I have been in love with this past year and keeps showing up in subtle ways in my house. I knew I wanted to recreate this wall and make it into a headboard.
So that’s what I did!
How to Make the Headboard
DISCLOSURE: This post may contain affiliate links. If you purchase items through my links I may earn a commission. You can find our full policy here. Thank you.
Since I already had a DIY fabric headboard, I didn’t have to remake the headboard from scratch. I just ripped the fabric off the sanded plywood and I was good to go!
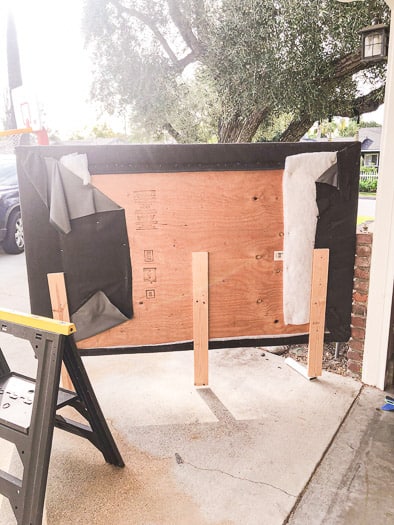
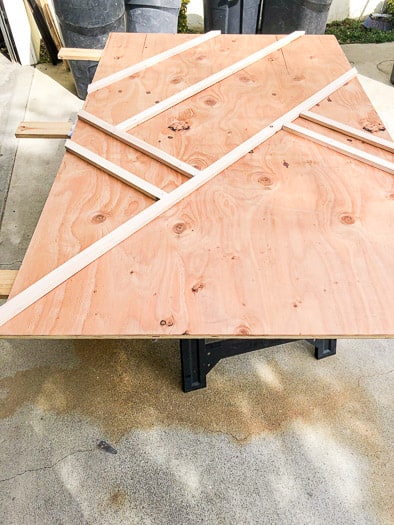
To recreate the geometric design, first I sketched it out on paper to see how it would look. Then I laid 1×2’s out on the plywood to make sure I liked how it looked.
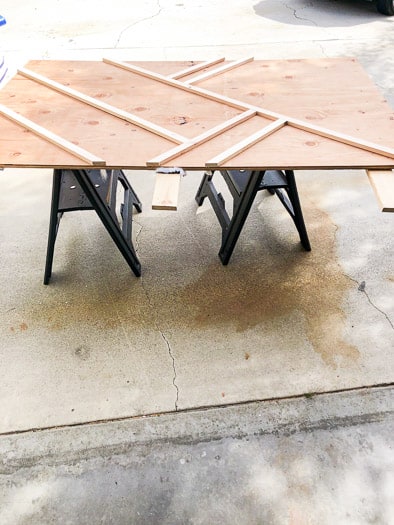
I used a tape measure to make sure the 1×2’s were spaced evenly apart. I used a scrap piece of wood to make the marks for where I would cut the 1×2’s.
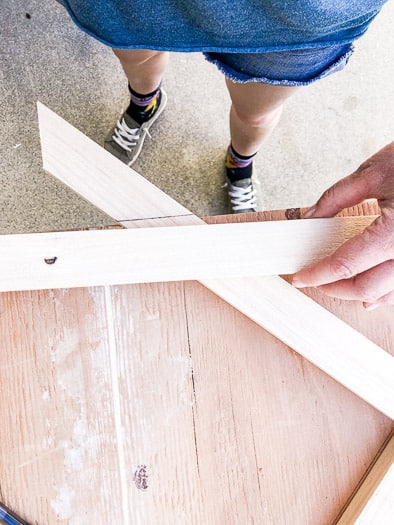
To make sure I put everything back where it belongs, I traced out the 1×2’s onto the plywood. Then I labeled every piece of wood with a number and also wrote that number on the plywood. Once all the pieces were cut this was like putting together a puzzle!
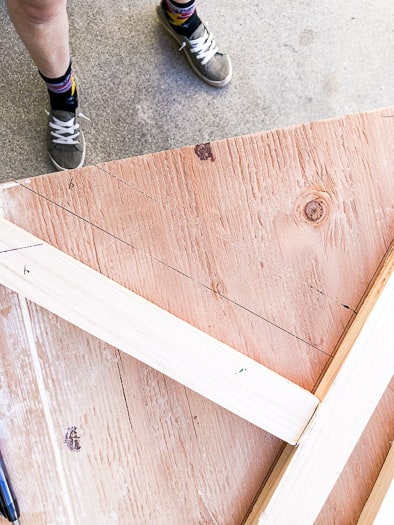
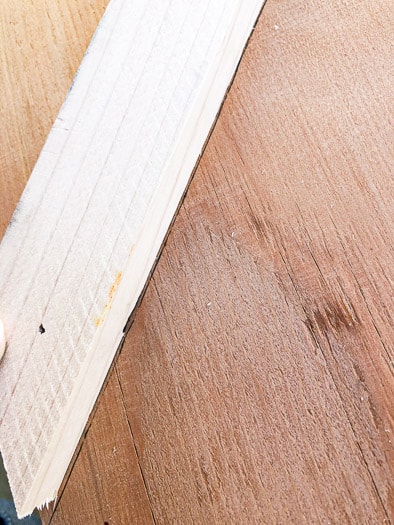
John used a miter saw and cut all the edges at a 45 degree angle. We only cut one side of the wood and left the other at a straight edge so the pieces would fit together.
After laying the 1×2’s back onto the sanded plywood, we used a nail gun to nail them into place. I then filled in some of the bigger cracks and holes with putty.
Now it was time to paint! I bought this beautiful Trailing Vine green from Home Depot. It was a quick project to paint.

After it dried, we installed it in the room! Be sure to check out the full before and after as we made lots of changes in here!
DIY Wood Headboard
How to make a DIY geometric wood headboard.
Materials
Instructions
- I already had the headboard built, you can see how I did it here.

- Draw out your design on paper to make sure you have something you like.
- Lay down the 1x2's on the sanded plywood according to the design you made. Use a tape measure to make sure they are spaced evenly.
- Use some scrap wood to make your cut marks.
- Trace the 1x2's onto your plywood and label so you'll know where everything goes.
- Cut your 1x2 using a miter saw at a 45 degree angle along your cut marks.
- Put the 1x2's back on the plywood using your labels as a key.
- Nail 1x2's into place.
- Paint!
FAQs
What kind of wood to use when making a headboard?
There are many types of wood that you can use. If the headboard won’t be covered in fabric, be sure to choose a sanded plywood.
How to attach the headboard to the wall?
We actually choose not to attach the headboard to the wall. We choose to just press the bed up against the headboard so it won’t move. You could also screw the legs of the headboard directly to your bed frame. I would not recommend attaching it directly to the wall.