
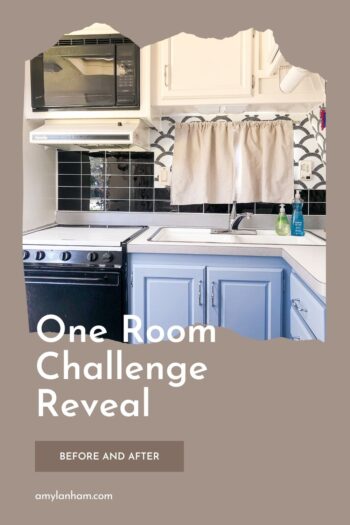
Whew!! The one room challenge is over! And it’s finally time for the trailer reveal.

Week 1 / Week 2 / Week 3 / Week 4 / Week 5 / Week 6
Well the front half of the trailer reveal. After painting, I knew I’d only be able to complete the front half in 6 weeks. So the full trailer isn’t done yet.
First, let me say that I really underestimated how quickly 6 weeks would go by and how much work this trailer would be. After busting out all the painting in basically one weekend I was wore out. I won’t be doing that again!
I’m so incredibly happy with how it turned out. The paint bubbling on the bottom cabinets turned out to be a blessing in disguise.
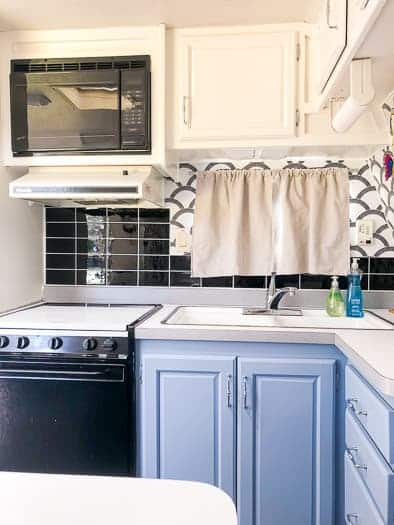
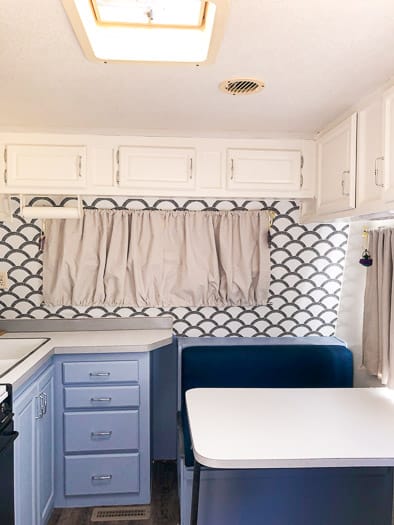
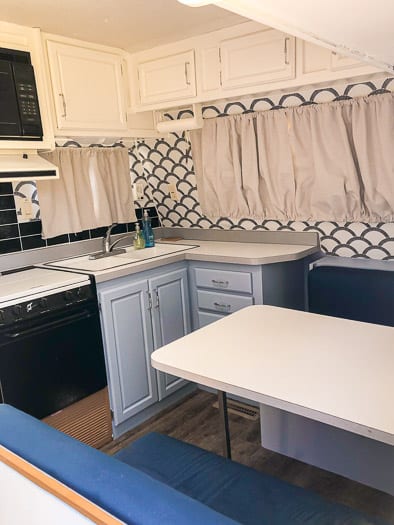
Kitchen
DISCLOSURE: This post may contain affiliate links. If you purchase items through my links I may earn a commission. You can find our full policy here. Thank you.
I found this beautiful blue paint in my paint stash and decided to go with it. I can only read sea s on the label so I don’t know what it is. It might be , but it looks completely different online.
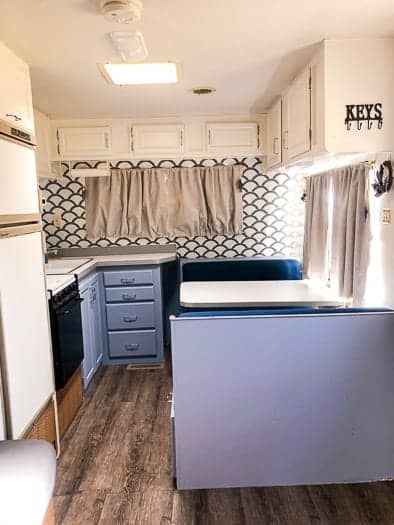
It has a wonderful beachy boho vibe and is perfect for this little trailer. Also, the accent decor I already had matches the cabinets perfectly and really ties the whole trailer together.

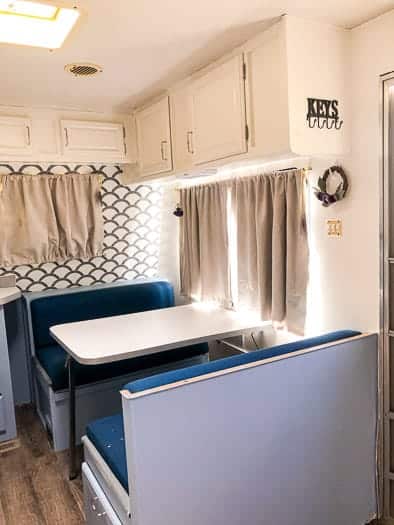
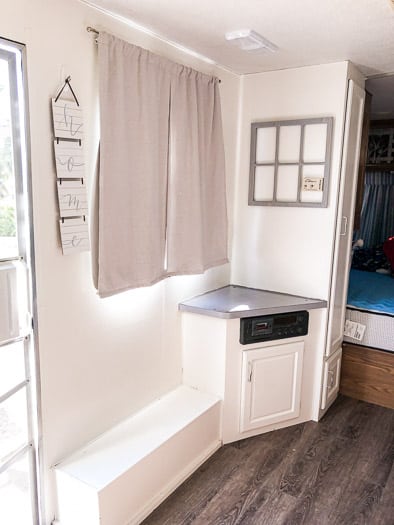
I was also able to finish the wallpaper and backsplash. I love the fun pop of something unexpected when you look at the back wall.
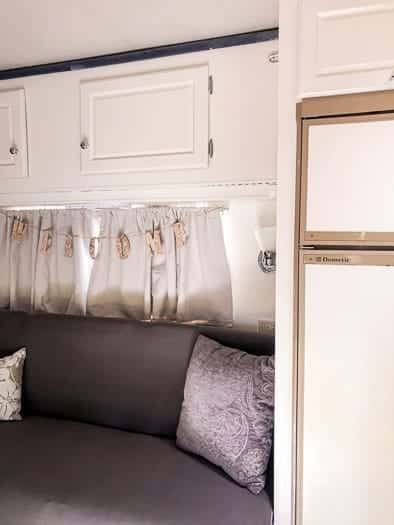
The new curtains filter the light perfectly and the whole trailer just feels cozy and homey. It also feels much more spacious with the clean and cohesive color palette.
Living Room
The cover I bought for the couch fits snuggly and makes the couch seem upgraded on a budget. It was definitely much more cost effective to cover it rather than replace the couch.
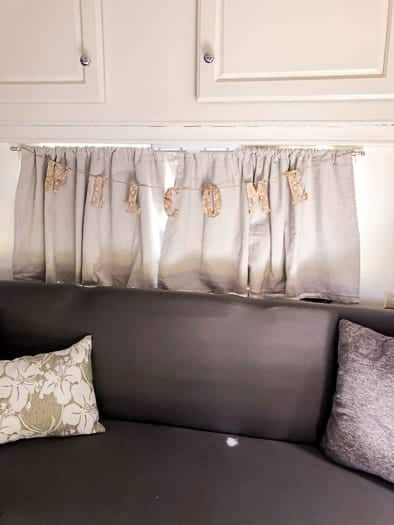
The couch is comfortable and can still be used for sleeping, if needed. But now it looks like it belongs. I also switched the pillows out with some pillows I ‘borrowed’ from my mom.
Budget
I tried to shop our house for as many things as possible. We went a little bit over budget. I was hoping to spend $500 on the makeover and if you don’t include the levelers, wheel chocks, and caulking we bought for outside the trailer, I spent about $600 just for the inside.
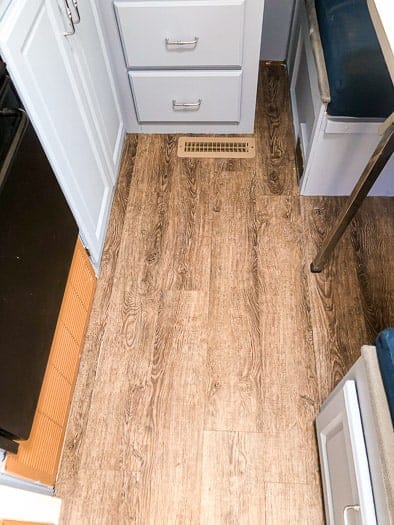
That price includes flooring, curtains, paint, wallpaper, shower, backsplash, smoke alarm, fire extinguisher, lights for inside and out, rugs for the steps, and couch cover.
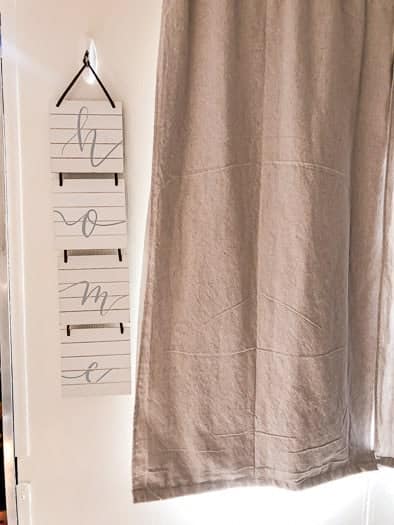
I bought a few other things not included in that price like these cute baskets from Target that fit perfectly in the cabinets and will be great for holding our clothes when we’re camping. I’ve also already purchased some fun camping games so we’ll have something to do and for the kids.
Eventually we’ll probably get a TV for in here, but there’s no rush. I’m hoping to find one second hand, or maybe we’ll use one we already have and move it back and forth. But it’s fine that we don’t have one for now.
We still have some things to do in the back of the trailer, I thankfully have some leftover wallpaper, paint, primer, and backsplash! The trailer is fully ready to go camping! We’ve already booked a few trips and we can’t wait to hit the road!
Everything I Bought
Here’s a full breakdown of what I spent (with the exception of misc items like games, soap, first aid)
- – $17
- – $32
- Wallpaper – $52
- Backsplash – $45
- Shower curtain – $26
- Couch cover – $25
- Outside and Inside Lights – $117
- – $30
- Shower Head & Faucet – $52
- – $103
- – $15
- – $50
- Foam Topper for the Bed – $50
- Drying Mat – $5
- Drawer Organizer – $2
- Dishpan – $5
- Fabric Bins – $30
- Dish Drainer – $5
- Smoke Alarm – $30
- Step rugs – $15
- Fire Extinguisher – $22
Check out the Other ORC participants
Don’t forget to check out the other blogger’s room transformations.