
Week 2 of the One Room Challenge is upon us and I can’t wait to get in to the fun painting and redecorating. But first, I need to complete all the prep.


Week 1 / Week 2 / Week 3 / Week 4 / Week 5 / Week 6
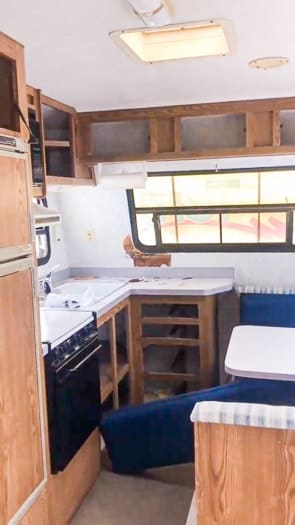
Last week I shared our mood board for our trailer and started prepping to paint.
Trailer Remodel Prep and Prime
DISCLOSURE: This post may contain affiliate links. If you purchase items through my links I may earn a commission. You can find our full policy here. Thank you.
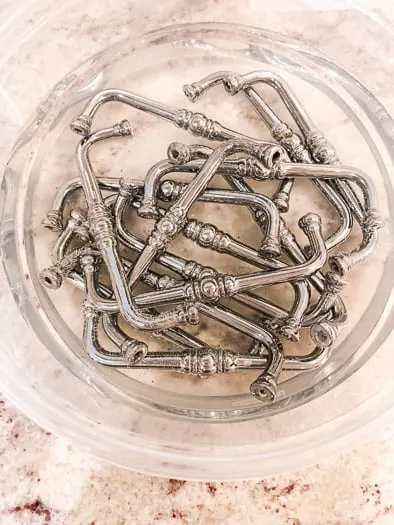
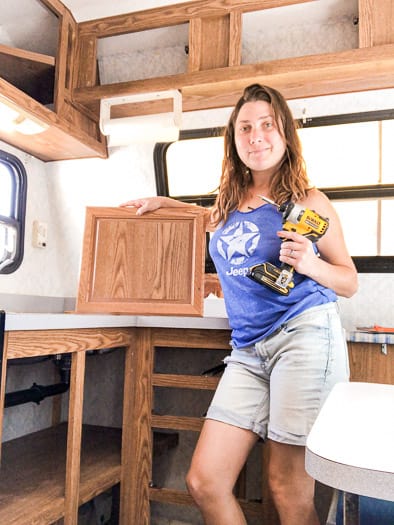
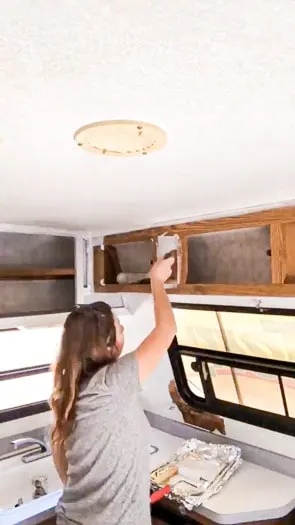
First, I had to remove all the doors from the cabinets and all the hardware. I washed the hardware by soaking it in some vinegar to make sure it was clean.

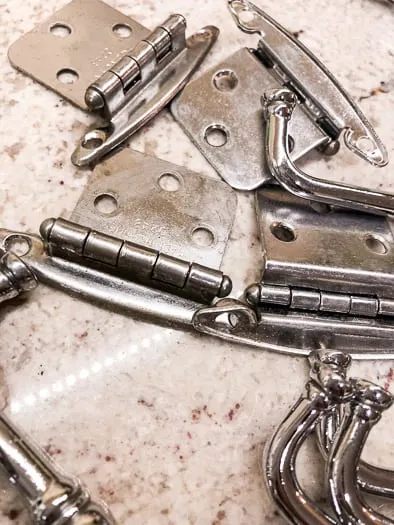
The vinegar worked great for the door handles, but it rusted all the screws. So I’ll have to buy new screws for the outside of the doors.


I still haven’t decided if I will paint the hardware. It’s in good condition, so I’ll wait until I get the paint on and then decide.

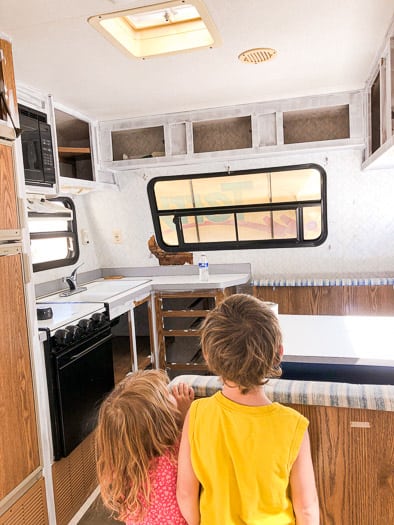
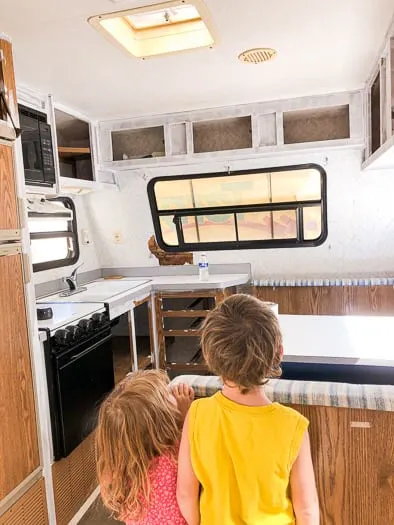
The wall paper was already peeling in some spots, so I tore it in those spots. I’ve decided to not worry about the walls being perfect. There’s no way I’m peeling all the wall paper off.

Done is way better than perfect when it comes to this trailer. It’s still going to be adorable no matter what, and I most likely won’t notice all the tiny imperfections once it’s all done.

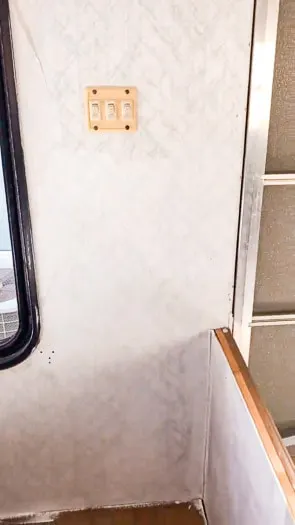
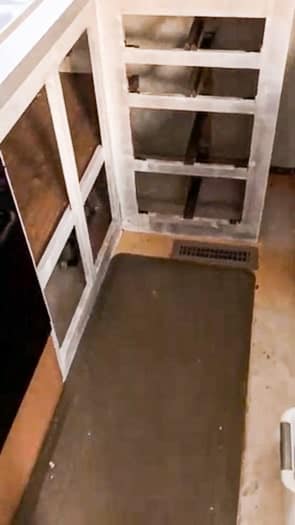
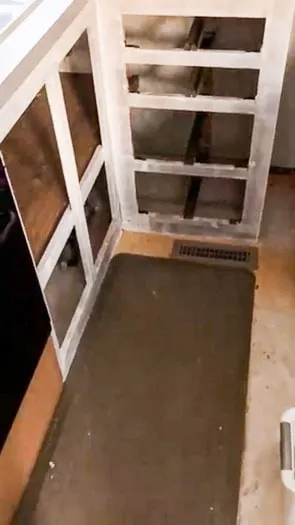
Next I needed to clean all the cabinets and walls. I used TSP to do this.
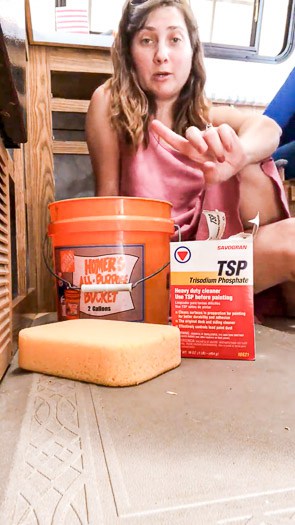

It’s super important when working with TSP to properly clean off the TSP or the paint will not adhere properly. So I cleaned the walls, cabinets, and inside cabinets with TSP.

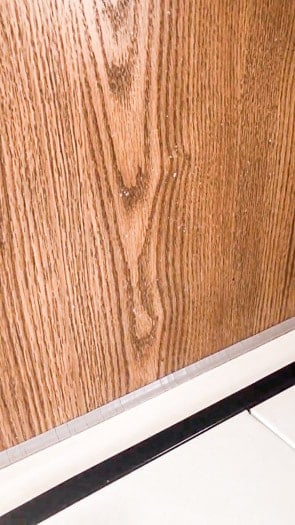
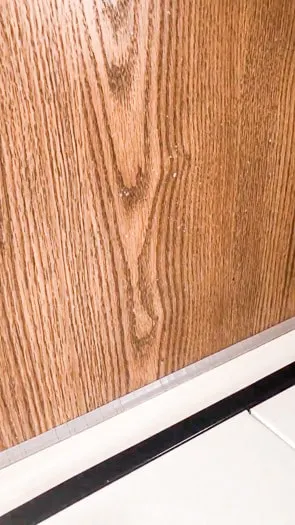
Then, got a clean bucket of water and rinsed off all the TSP from the walls, cabinets, and inside the cabinets. You can see in the photo below what the dried TSP looks like on the walls. That’s why its super important to clean it off!
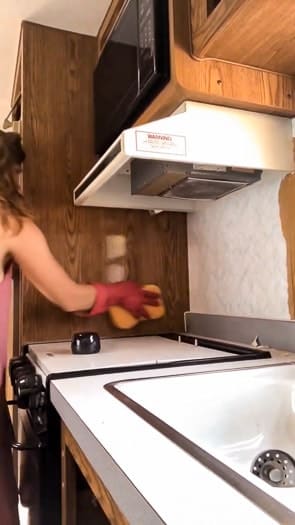
Once everything dried out, I finally got to start painting. Well primer that is! I primed all the cabinets and the walls.
I didn’t prime the wall behind the stove, because I have another idea for that wall. But I primed the rest of them.

I used a small foam roller and a Wooster brush to paint the primer. I’ve heard amazing things about the Wooster brushes and so I wanted to try it for myself.

I honestly didn’t love it. It was hard to get a crisp line. I much prefer a Purdy brush for cutting in.
I love the flexible handle, but the bristles are a bit large for a clean edge. Lucky for me, for the primer at least, a clean edge wasn’t that important because I primed everything!
It’s already looking so good, but I can’t wait to start getting some color on these walls!
Renovation To Do List:
Whole Trailer
Paint
Flooring – decide on peel and stick or click and connect
Curtains
Replace Lights
Decide about rugs and wall decor
Kitchen
Line all cabinets and drawers
Make and Install new wooden caps for top of bench seats
New Backsplash
Wallpaper for front wall
Storage
Living Room
Pillows for couch
Make and Install new wood jam for above door
Make and Install new wooden cover for under sofa
Spray paint or replace sconces
Bathroom
New Shower Curtain
Decide on painting or wallpaper
Install new shower handles and nozzle
Other
Caulk around all windows outside
Replace lights outside
Figure out clothes and toy storage solutions
Make sure to follow along on Instagram, as I’m posting daily updates! Or, check back next week to see all the progress made.
Check out the Other ORC participants
Don’t forget to check out the other blogger’s room transformations.