
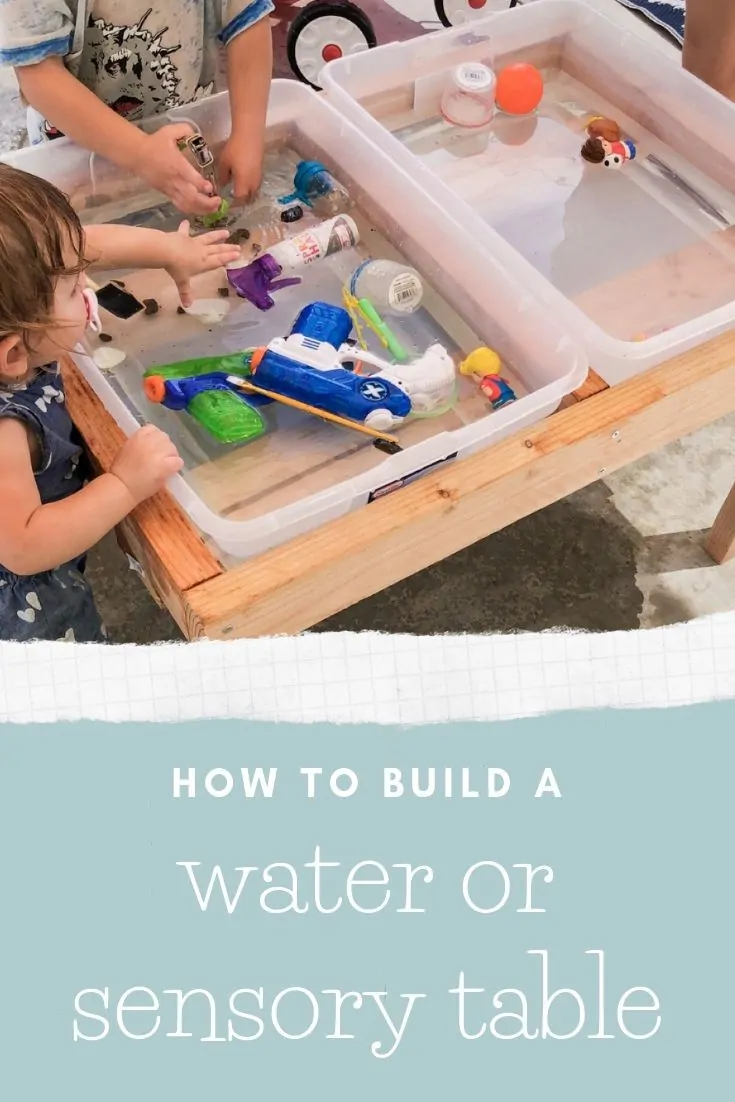
It gets extremely hot here during the summer! I wanted something fun to do with the kids. So we made a water table that we can easily bring inside to be a sensory table in the winter months.
We decided to make the water table ourselves because I couldn’t find one I loved online. The ones I saw were expensive. I had seen some builds online and knew we could make one cheaper.
DISCLOSURE: This post may contain affiliate links. If you purchase items through my links I may earn a commission. You will not pay more when buying a product through my link and you do not have to use my links. You can find our full policy here. Thank you in advance for your support.
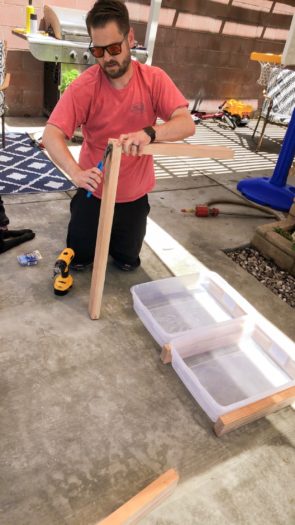
This was probably about a $20 project, much cheaper than the plastic ones we saw online. The bins I used for this project are the Sterilite 28 Qt. Underbed box.
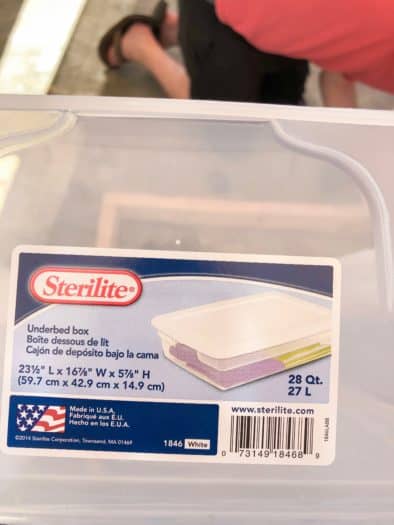
This whole project was build around these bins. So if you get a different bin, they won’t fit exactly the same.
All the wood was 2×4’s. We cut 4 pieces of wood at 34.5” each, 2 for the long sides and 2 for braces to hold the bins in place. 3 pieces at 21” each, 2 for the shorter sides and 1 for the center to separate bins.
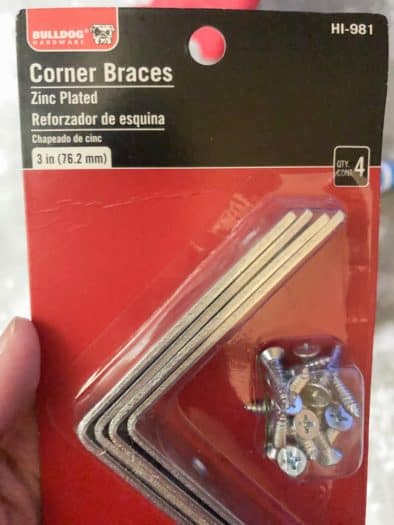
The legs we made 16” each. This height is perfect for my son whose 3, but it’s a little tall for my daughter who is 1. 8 3” corner braces for the legs, and 4 3″ straight braces.
How to Build a Water or Sensory Table
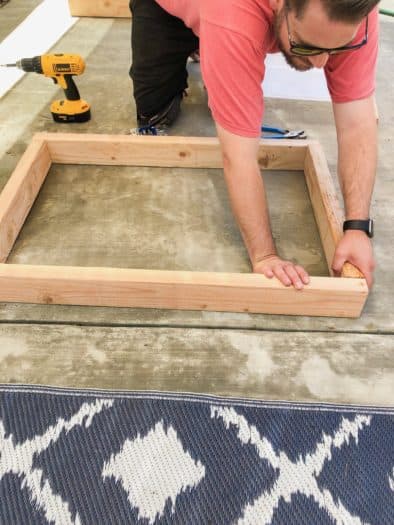
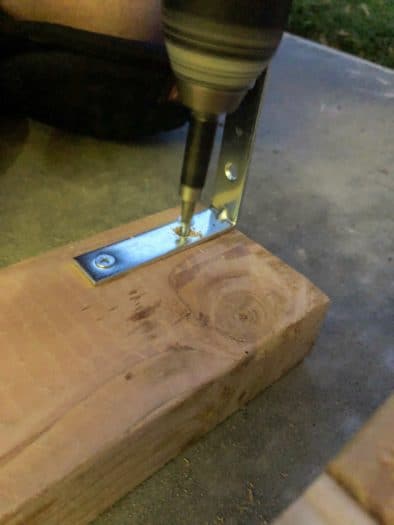
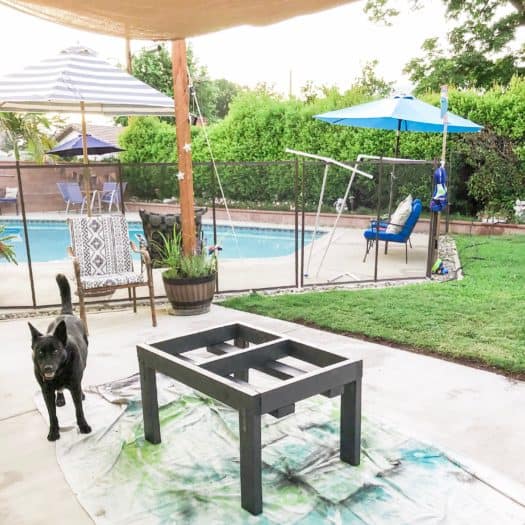
The first thing to do is build the square for the bins. John squared up the wood and then drilled through the pieces to attach the wood together. Also, how great does our new patio look?!
If we did this project again, we would use the pocket hole jig instead of doing it this way. While the table is pretty sturdy, it just would have made the build go a little easier and look nicer overall.
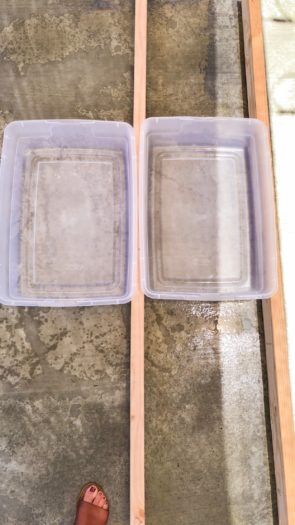
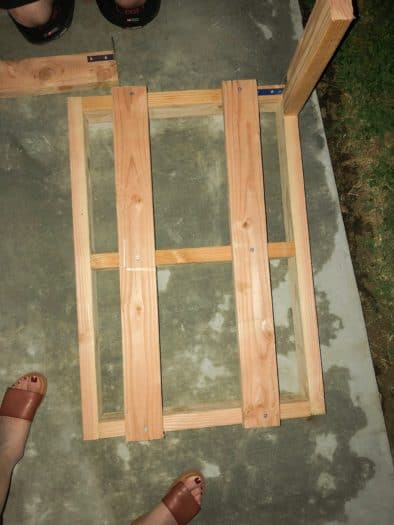
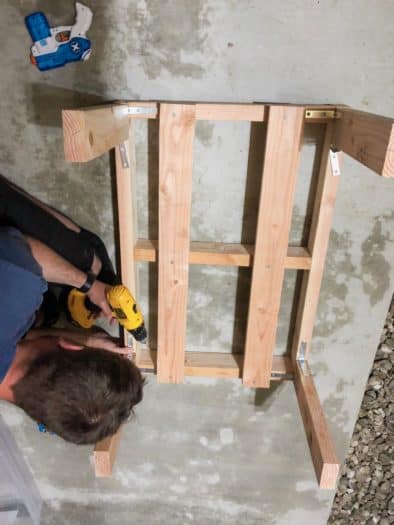
We attached the middle bracket in the middle to separate the two bins. Then we put the braces on the bottom. This is what holds up both bins. The bins are not supported by the sides, but rather by the bottom.
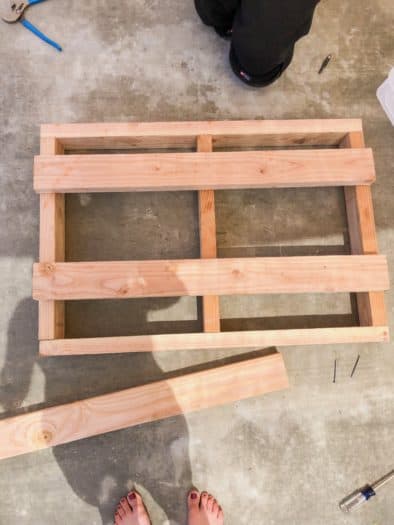
Most builds we saw lacked the braces on the bottom. But you really need the braces when using the Sterilite bins. The lips are too thin to support the bins by themselves.
Then we used the corner braces to attach the legs. This is where the pocket hole jig would have come in really handy. We used this on our kitchen benches and it worked beautifully.
The braces worked perfectly though and the water table is sturdy and perfect for the kids.
Because we used the brackets though, we decided to put two on each leg, and then finish them with a straight brace on one side. This ensures that the legs are really sturdy.
Again, none of this is necessary if we had used the pocket hole jig. It really is an invaluable tool!
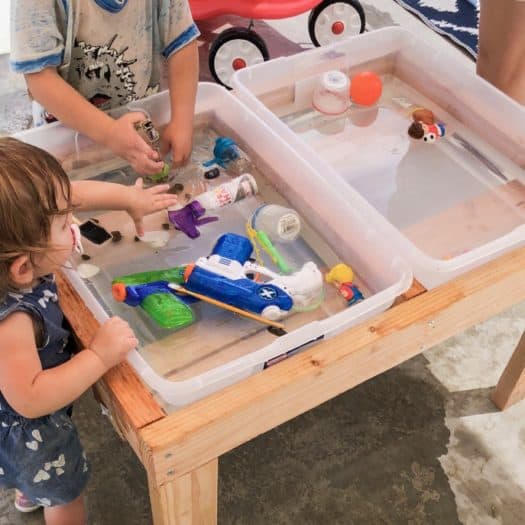
The table is done! Just pop the Sterilite bins in and you’re ready to go!
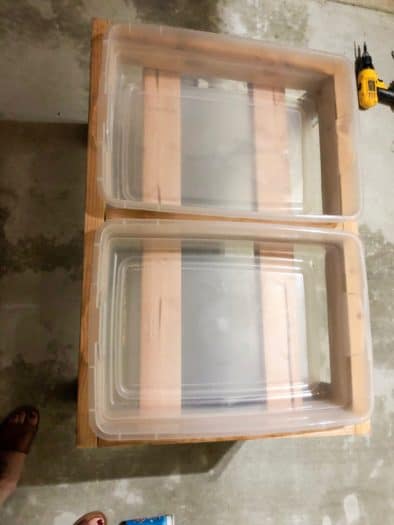
Add water or other bases and let your kids play.
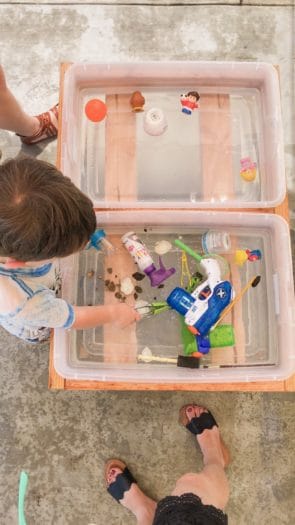
Both my kids love the water table. We’ve also used it as a sensory bin, with rice and beans. But since it’s summer the kids have been using water the most. We honestly use it almost everyday.
It took a little while, but I also painted the with some outdoor paint we had in the garage. It was left over from when we painted the shed.
Hopefully this paint helps to keep the wood safe from all the water!
What do you think? We can easily take out the Sterilite bins to empty water, or wash them. If they ever crack, they will be easy to replace.
The table is sturdy, yet can easily be moved inside during the colder months so that we can continue to use it!
Pingback: How to make a DIY PVC Sprinkler - amylanham.com
Pingback: Our Backyard Upgrade - New Concrete Patio - amylanham.com