I love decorating for every holiday. But decorations can be so expensive! The DIY felt pumpkin garland is super cute and inexpensive.
DISCLOSURE: This post may contain affiliate links. If you purchase items through my links I may earn a commission. You can find our full policy here. Thank you.
One of my favorite thing to do, is walk up and down the aisles of decor. Whether I’m going to Target, Homegoods, or Michael’s. It doesn’t matter. I just want to go see all the new holiday decor.
But I don’t have an unlimited amount of funds to spend on all the beautiful decor. So I like to try to make as much as my decor as possible. Which you’ve probably figured out if you’ve read any of my posts! It’s the whole reason I started blogging.
Want more ideas like this? Subscribe today and get access to our VIP library with tons of free printables and our monthly newsletter full of DIY ideas.
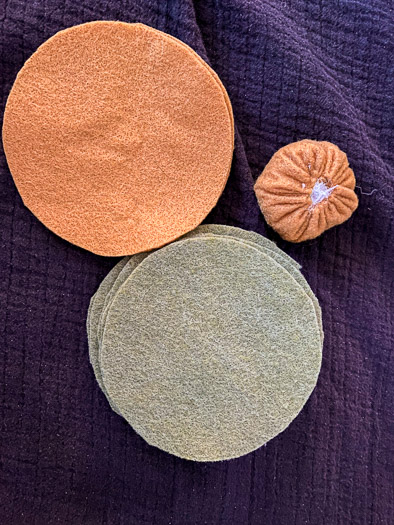
The felt I already had from making tooth fairy pillows and a Christmas advent calendar. I had some stuffing from these pillows I had made a couple years ago. I like to keep supplies even when I have no use for them because it’s inevitable that I’ll think of something to do with them.
I also have lots of sewing supplies even though I barely sew. I’m trying though! I made these cute reversible purses.
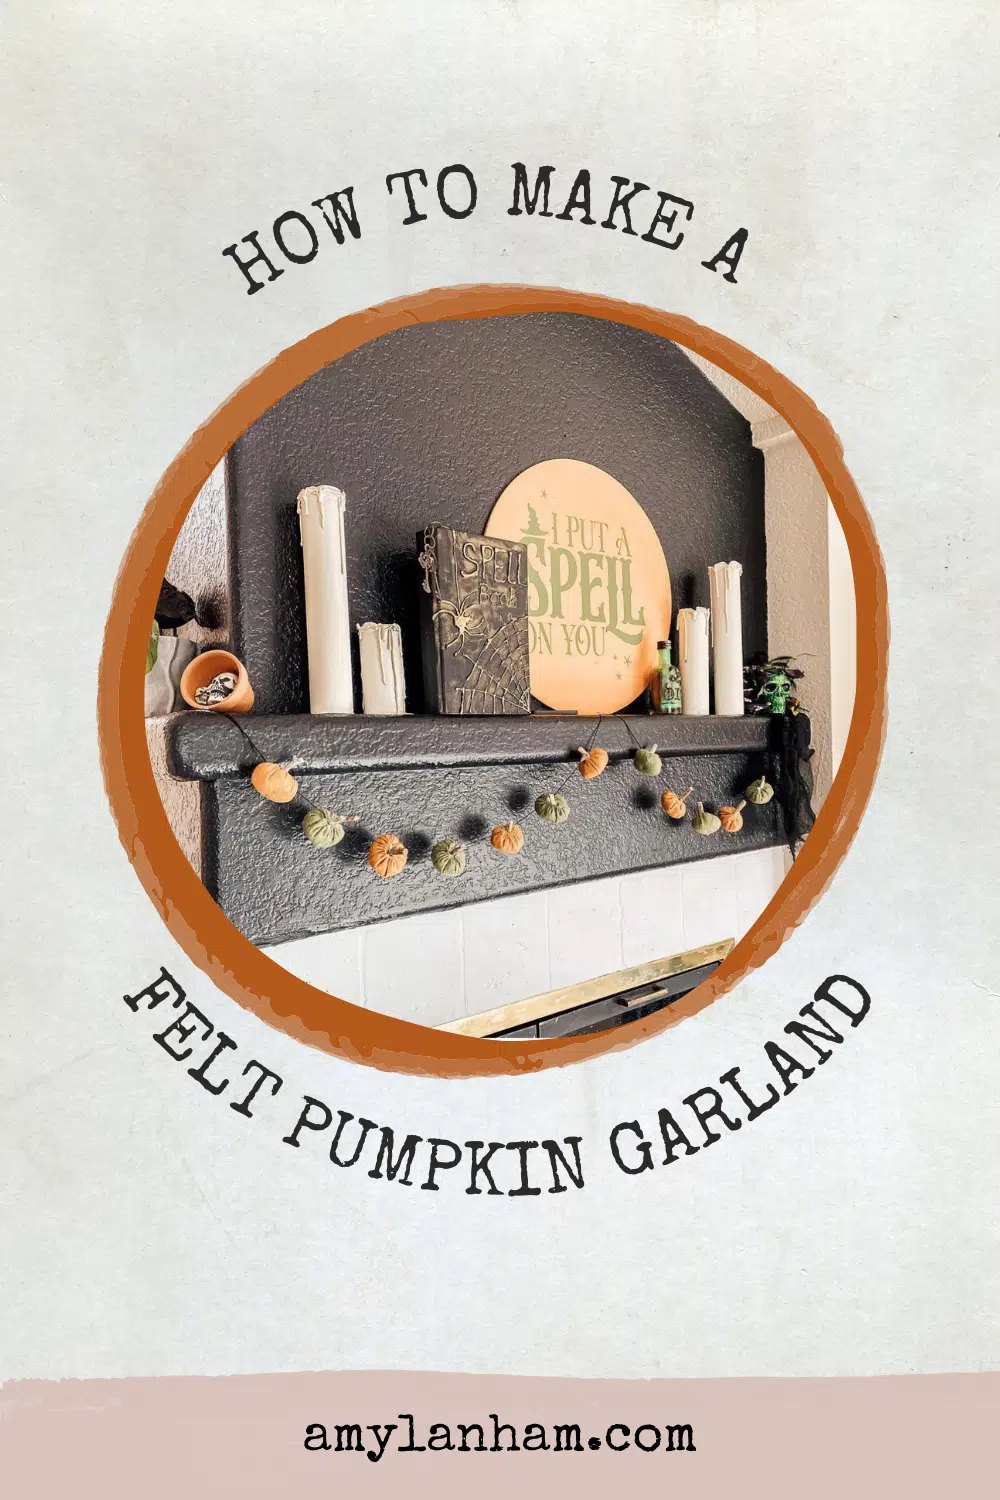
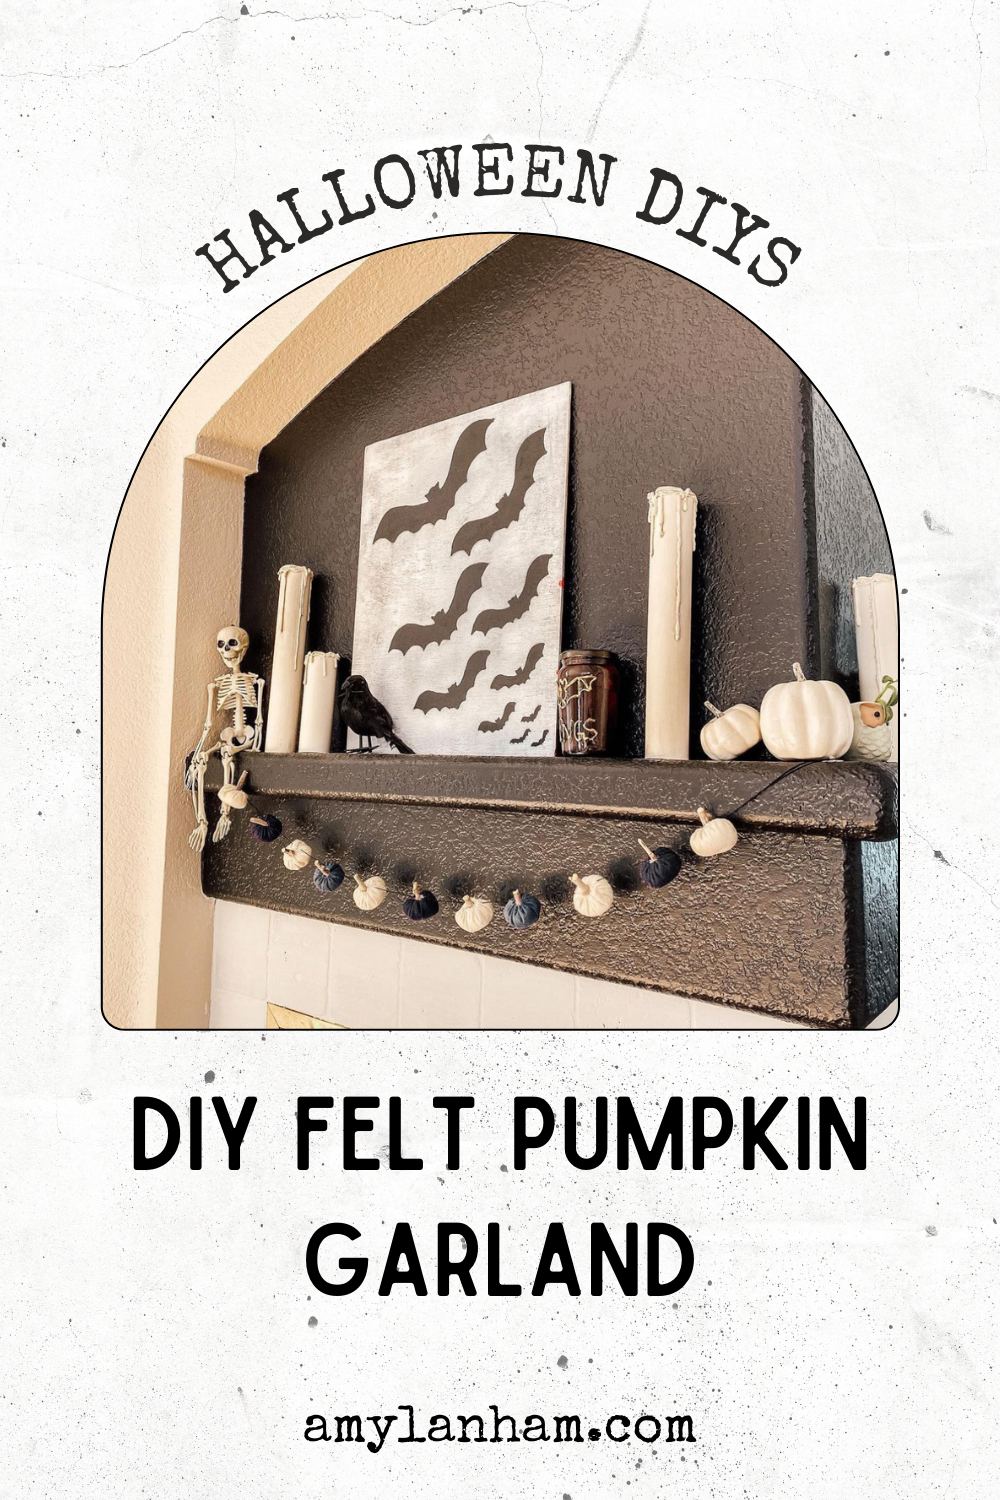
DIY Felt Pumpkin Garland
This DIY felt pumpkin garland is so easy to make. It’s a little time consuming, but I made two of these while watching tv at night.
What You’ll Need
You can see all the supplies and directions for what you will need in the card at the bottom of this post.
Tips for DIY Felt Pumpkin Garland
What colors should I use?
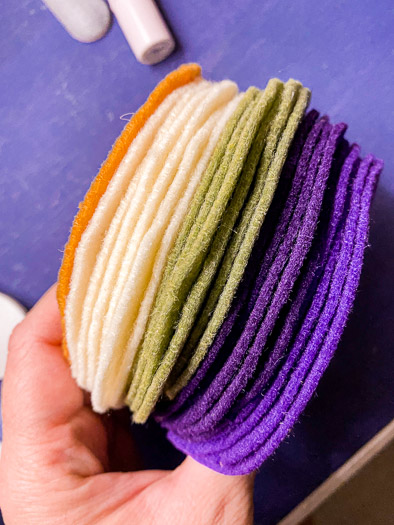
You can use any colors you like! I recommend two or three coordinating colors. But one would look just as cute, or a whole bunch of different colors.
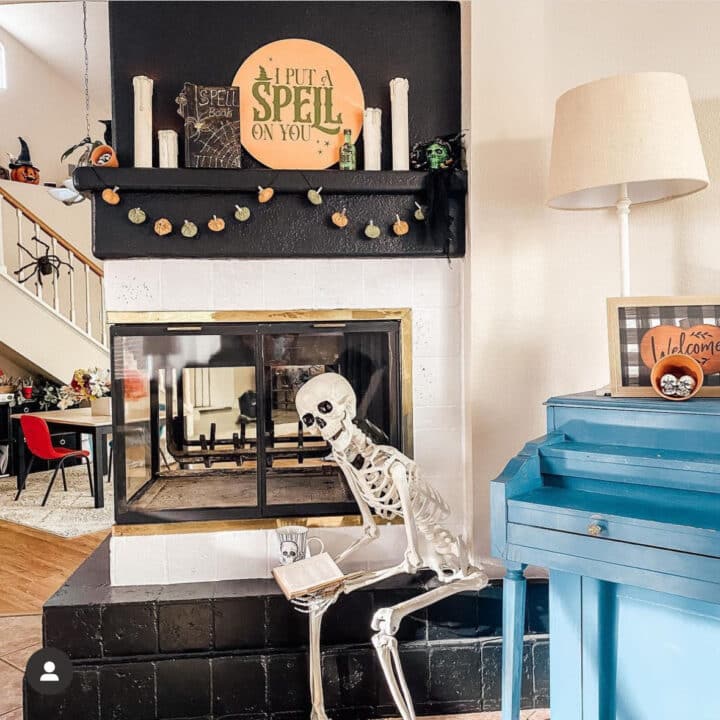
Think about what you want to hang it on too. I originally had planned to hang it on my black fireplace, so I didn’t want to pick black pumpkins. The pumpkins needed to stand out, so I picked my colors accordingly.
I love that this felt garland can be easily created to match any of your existing decor. They can even do double (triple) duty and be used for Fall, Halloween, and Thanksgiving too.
Do I have to clean the sticks?
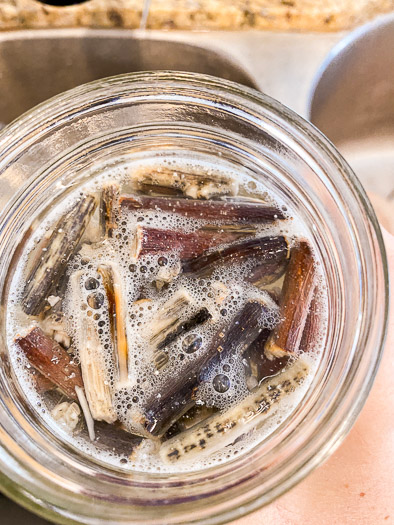
I went into my backyard and found sticks. The sticks don’t need to be thick, as the finished pumpkins are pretty small. Then I cut each stick down to a few inches each.
After, I soaked the sticks in bleach. I’m not sure if it was entirely necessary, but I didn’t want any creepy crawlies in my house. You could also bake them off like I did the pinecones for this wreath.
Love the ideas you see here on AmyLanham.com? Subscribe today and get access to our VIP library with tons of free printables and our monthly newsletter full of DIY ideas.
The sticks are too heavy and the pumpkins keep flopping over.
The pumpkins with the sticks are a little too heavy. So I find threading them in the top 1/3 of the pumpkin allow them to sit with the stem up how they are supposed to.
You could always add a rock or something to the bottom of your pumpkin when you add the stuffing to make it more bottom heavy. This would be especially good if you plan to have them just sitting out and not stringing them together.
How to create the pumpkins
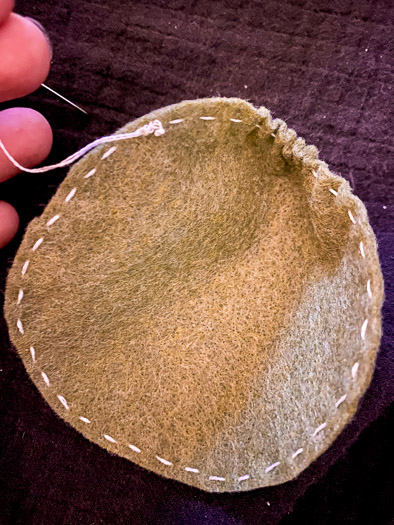
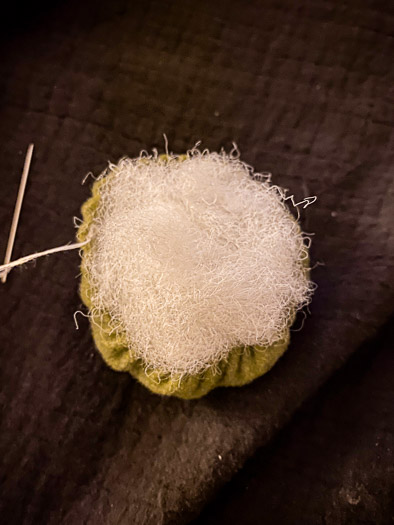
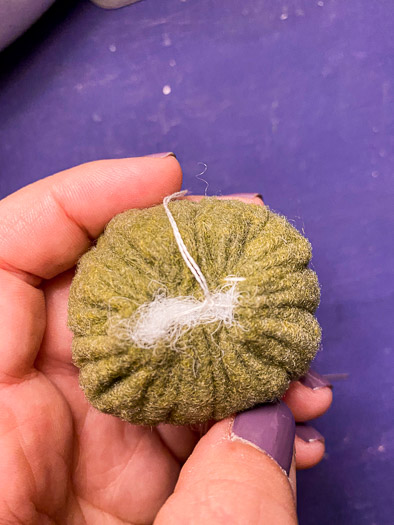
Use embroidery thread and a needle to stitch around the outside of the felt circles. When you pull the thread the felt will kind of fold into itself and create a circle.
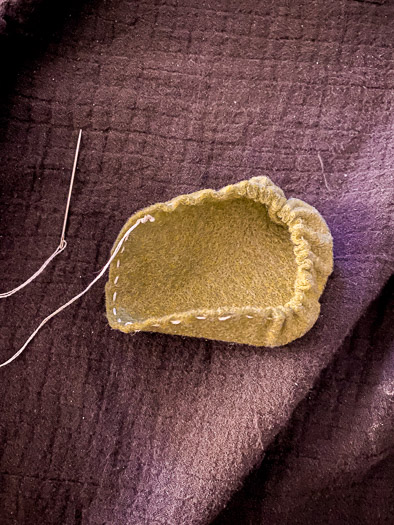
I pulled the thread a little bit first to create a cup to hold the stuffing.
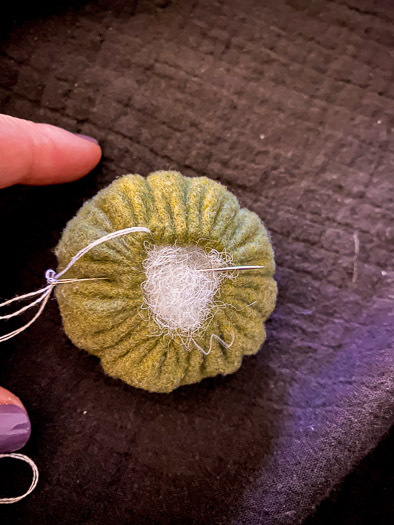
Then start stuffing the stuffing into your pumpkin.
Once it is as full as you want it to be pull tight to keep it all in place and close the top of the pumpkin. Then you can stitch the top of your pumpkin shut and tie it off.
To create a pumpkin shape, you’ll go through the top of the pumpkin with your needle, down through the bottom and then back up through the bottom and to the top.
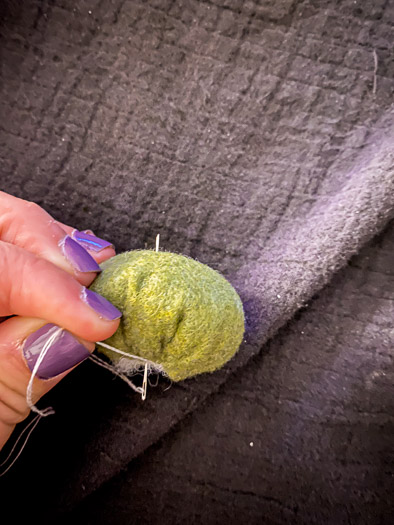
This will allow you to pull on the thread and create a dimple in the bottom of the pumpkin. It is completely optional, but I like that it gives that subtle pumpkin look.
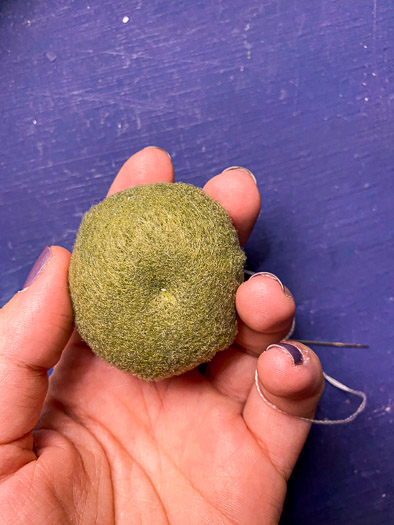
I used hot glue to attach the sticks to the tops of the pumpkins. The sticks create the perfect stem and help to hide the top stitching imperfections.
DIY Felt Pumpkin Garland
Create this cute pumpkin garland that is perfect for Halloween or Thanksgiving
Materials
- Needle
- Scissors
- Hot glue gun
Tools
- Felt in coordinating colors
- 6inch circle template
- Sharpie
- Stuffing
- Embroidery thread
- Sticks
- Bleach
Instructions
Use your 6 inch template to draw a circle on your felt using a sharpie. Make as many circles as you want finish pumpkins
Cut out the felt circles
Thread your embroidery thread onto your needle and make a knot at the end. Stitch the embroidery thread around the outside of your felt circle a 1/4 to 1/2 in from the edge.
One you’ve stitched around the full circle, pull gently on the thread to pull the felt onto itself.
Don’t pull the thread tight! Once you have a little cup, start stuffing your stuffing into the pumpkin.
Once it’s full, pull the thread tight and knot off.
Optional: Push the needle through the top opening of your pumpkin and out through the bottom middle. Then push the needle in the bottom slightly over from where it came out and back through the top. Pull slightly until the bottom puckers. Then secure the thread with a knot and cut off excess.
Cut sticks down to a few inches, and hot glue to the tops of your pumpkins.
Use embroidery thread to thread all the pumpkin together through the top.
Want more ideas like this? Subscribe today and get access to our VIP library with tons of free printables and our monthly newsletter full of DIY ideas.
Here are some other Halloween Ideas you might enjoy:
I hope that you enjoy this DIY! If you make this garland, I’d love to see it, you can tag me on Instagram.