
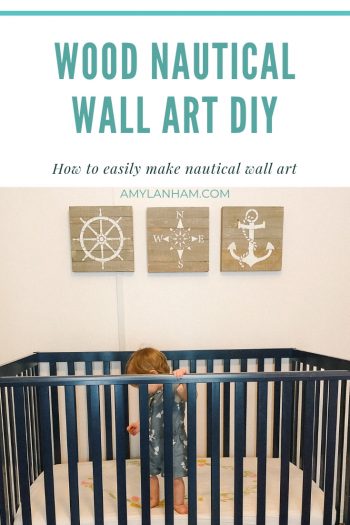
I love this Restoration Hardware inspired wood nautical wall art I made for Little Miss’ room. This was such a quick and easy project!
After the pirate themed bridal shower, I needed a place to reuse all of the decorations I made for the shower. My house isn’t that ocean-y, but I figured it would be the perfect theme for a little girl’s room.
DISCLOSURE: This post may contain affiliate links. If you purchase items through my links I may earn a commission. You will not pay more when buying a product through my link and you do not have to use my links. You can find our full policy here. Thank you in advance for your support.
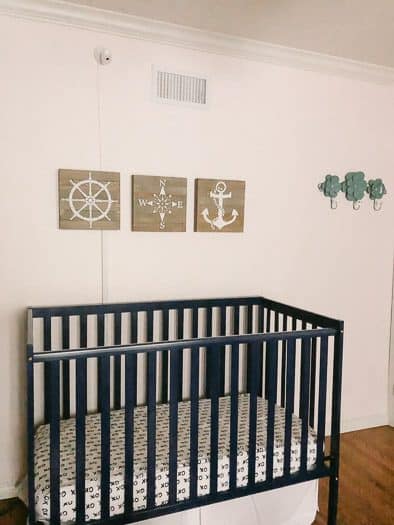
When I decided I wanted to do an under the sea, ocean themed room for Little Miss, I had such a hard time deciding what to put over her crib. Everything seemed so obvious!
I wanted something super cute, but not over the top ocean and nothing too heavy, since it would be over her crib and I’m kind of neurotic. I searched and searched, but couldn’t find anything I liked.
Then when cruising Pinterest one day, I came across this wood nautical wall art from RH Baby and Kids. I fell in love!
The Restoration Hardware wall art was perfect for the feel I was going for. But the price tag wasn’t.
So I kept searching for something I might like more. Then when walking through Walmart one day, I saw plain square wood pieces.
I knew I could make something similar to the Restoration Hardware art I fell in love with.
My original plan was to make my own stencil, but I found some nautical stencils at Walmart as well and thought they were perfect!
All I had to do now was stencil onto the wood pieces. When applying the paint, I applied one thin coat. I wanted the paint to look old and worn, so I sanded it a little bit after it dried as well.
The wood already has a rope hanger, but i just tucked it behind the piece and added sawtooth hangers onto the back.

Nautical Wall Art DIY
How to make your own nautical wall art for an ocean themed room!
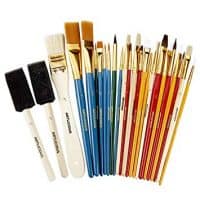
Tools
- Paintbrush
- Tape
- Hammer
Instructions
- Pick your favorite stencils to use. Line up your stencil with the center of your piece. Tape down all four sides of your stencil
- Using a paint brush, apply paint to your stencil. I find it works best to dab the paint on rather than swipe it. You may have to hold down the edges a little.
- After the stencil has been painted, carefully remove the stencil. Allow paint to dry.
- Once paint is dry, add the sawtooth hangers to the back of your wood square using a hammer.
Notes
Optional: Once the paint is dry (24 hours) lightly sand to help scuff the paint and make the piece look old and worn.
Recommended Products
As an Amazon Associate and member of other affiliate programs, I earn from qualifying purchases.
This project was quick, easy, and inexpensive! I love these kinds of crafts. What do you think? What could you make with these wood pieces from Walmart?
Pingback: How I Decorated - Kids Ocean Bedroom Decor - Lanham Creations