
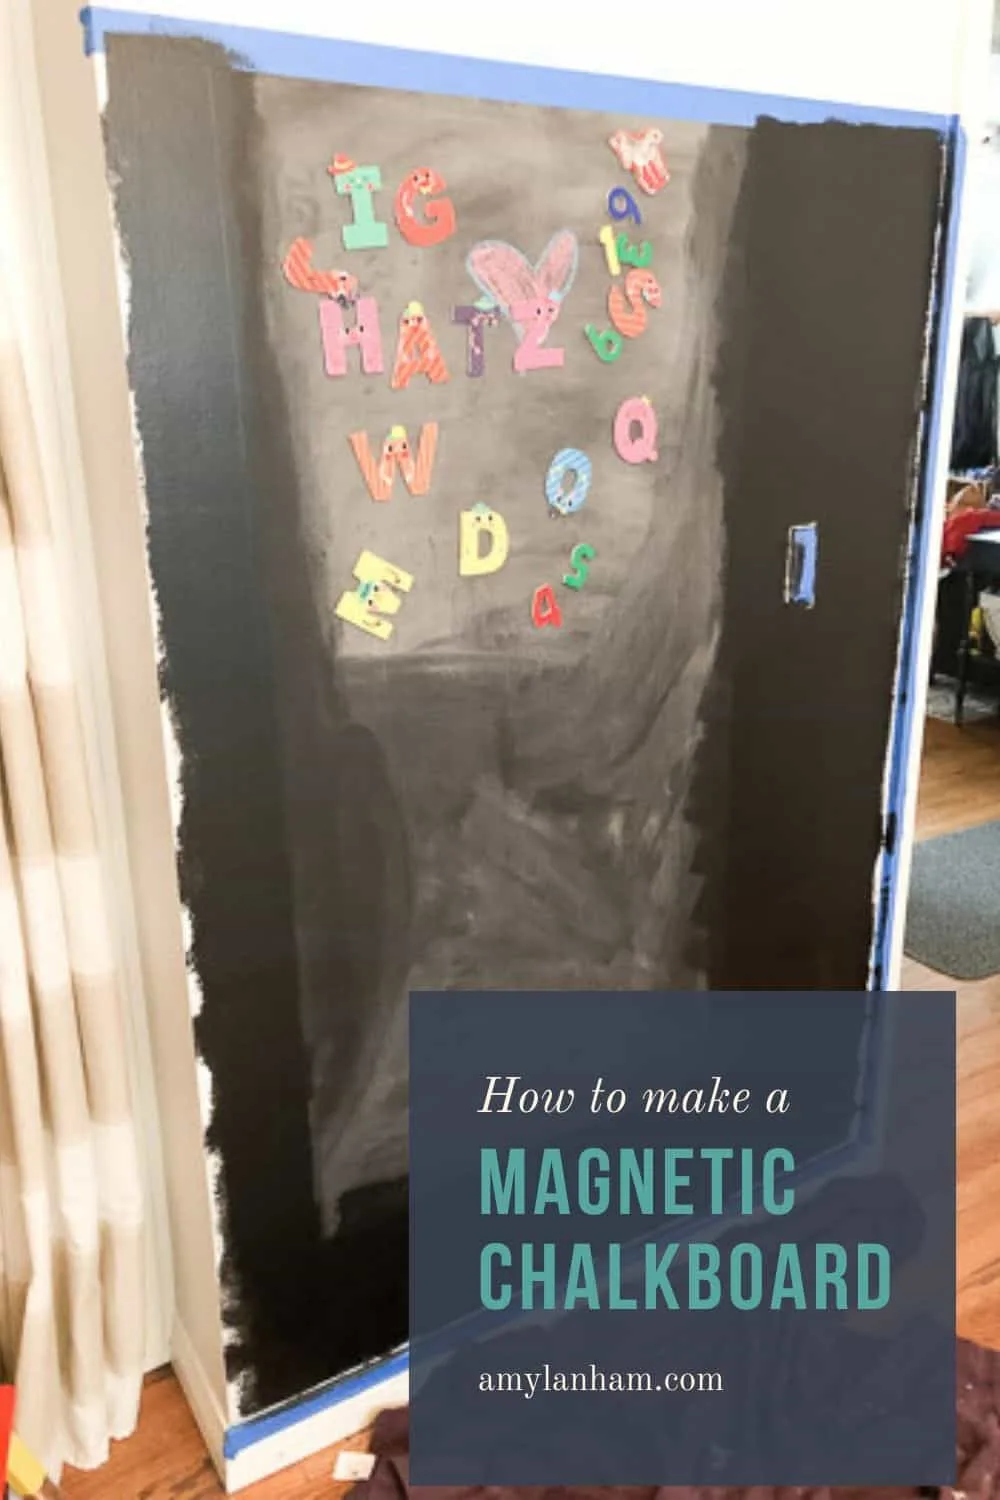
Have you ever wondered how to make a magnetic chalkboard wall? Did you know its super easy to make one! I created this magnetic chalkboard wall in my sons room with just paint!
DISCLOSURE: This post may contain affiliate links. If you purchase items through my links I may earn a commission. You can find our full policy here. Thank you.
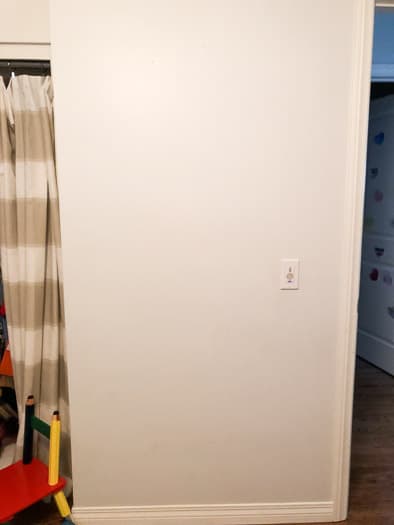
This wall was so easy to create. All you need is magnetic paint and chalkboard paint, a blank wall, and some time.
Rust-Oleum makes this project so easy! They have a great magnetic paint and chalkboard paint. Both paints are easy to work with and can be bought at your local Home Depot.
Applying all the layers of paint does take a while. But it’s so worth it in the end!
It’s worth noting: since you need so many layers of paint, the magnetic chalkboard might not be level with the rest of the paint on the wall. It’s not a huge deal.
But if you don’t want this to happen, paint plywood and then hang it on the wall. If this isn’t an issue, just paint directly on the wall.
How to Make a Magnetic Chalkboard
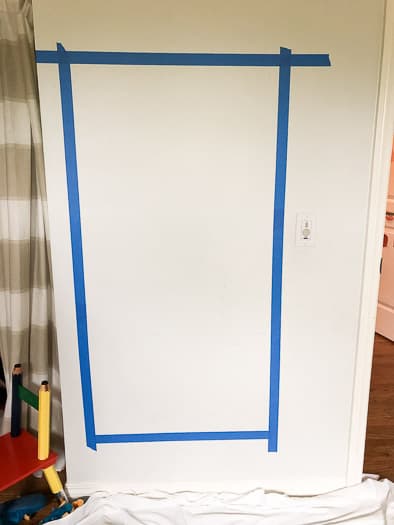
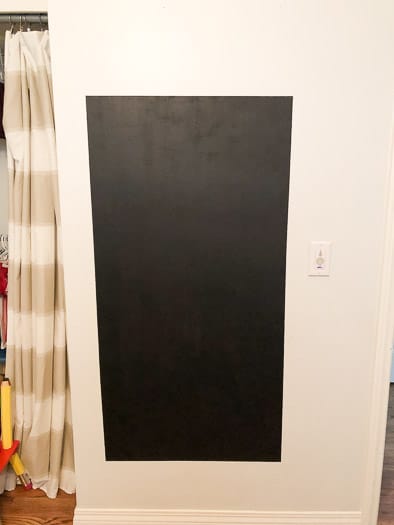
At first I thought I wanted a rectangular magnetic chalkboard and was going to attach a frame around it. So I started by taping off the area I wanted to paint.
I started with the magnetic paint. Paint with a good roller. Make sure you stir the paint well. It’s really thick and has a strong smell.
I painted three coats of the magnetic paint. Making sure to paint in a very well ventilated room. The instructions say to wait a minimum of 30 minutes between coats. I doubled the time to wait at least an hour.
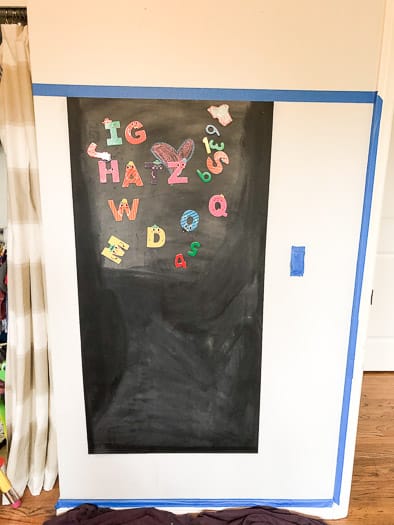
After, I painted two coats of the chalkboard paint, waiting a minimum of 4 hours between each coat. Then you’ll have to wait 3 days after the last coat to use your chalkboard.
You’ll need to condition your chalkboard. Take a piece of chalk and rub the side over the whole board. Then don’t erase the board until it’s been at least 7 days after painting.
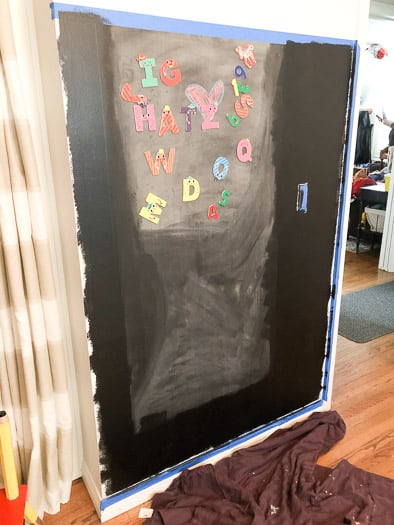
After I was all done, I decided I wanted the chalkboard to cover the whole wall instead. So I ended up just painting the chalkboard paint over the rest of the wall.
Because of this only the original part I painted is magnetic, but it doesn’t bother my kids, so I’m fine with it.

How to Make a Magnetic Chalkboard
Easiest way to make a magnetic chalkboard!
Instructions
- After stirring well, paint 3 coats of magnetic paint, waiting at least 30 minutes between each coat.
- Then, paint 2 coats of chalkboard paint over the magnetic chalk paint, waiting at least 4 hours between each coat.
- Wait 3 days and then condition the chalkboard by rubbing the side of a piece of chalk over the whole board.
Notes
Because you need so many coats of paint, the magnetic chalkboard will stick up a little bit from the rest of the paint on the wall. It's not a huge deal, but worth being aware of when painting on a wall.
The part of the wall that is magnetic also has a different feel. It’s grainer and rougher than a traditional chalkboard. The wall that I just painted with chalkboard paint is smooth.
If you like your chalkboards smooth, don’t make it magnetic. But again, the roughness of the board doesn’t bother us!
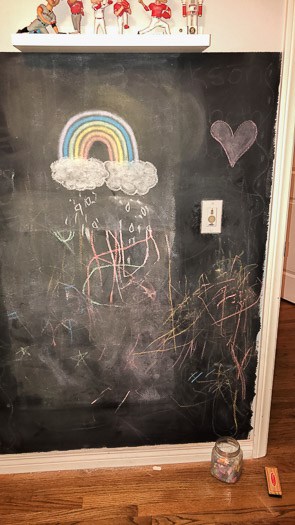
The kids love the chalkboard wall! They play with it all the time!
Great idea. I definitely want to try this idea!