
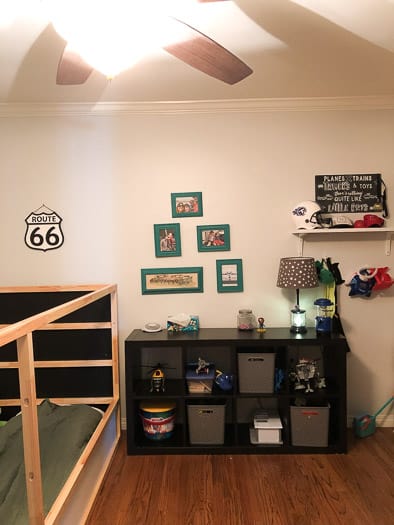
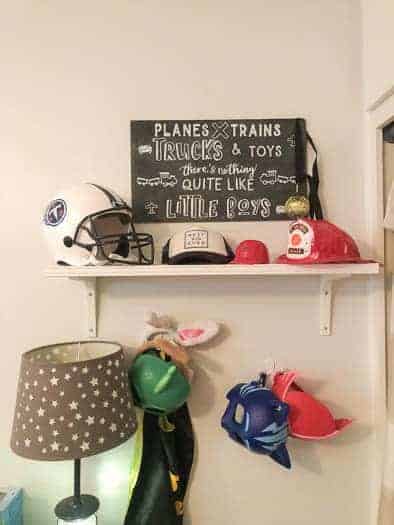
My son is very in to cars, planes, and trains, so my first plan was to go with something like that. I had a chalkboard sitting in the garage and thought I would make a little DIY chalkboard art decor to go in his room.
DISCLOSURE: This post may contain affiliate links. If you purchase items through my links I may earn a commission. You can find our full policy here. Thank you.
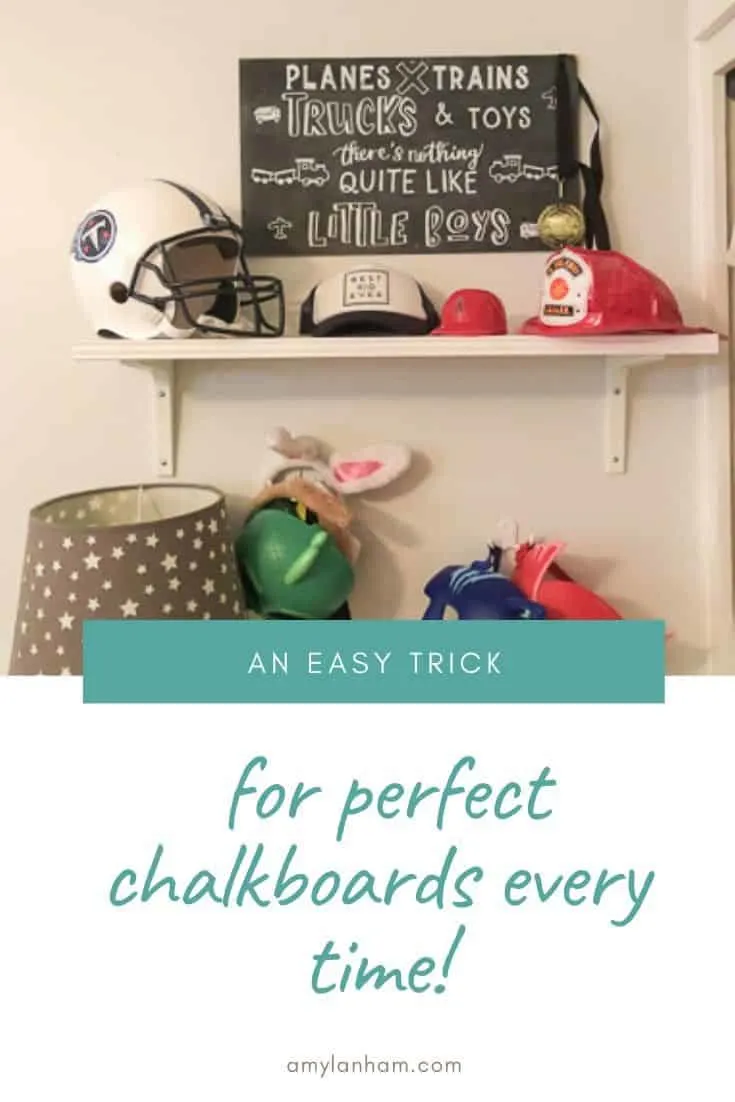
First, I had to come up with what I wanted on the sign. I found a quote that I thought was cute and explained my 3 year old well. “Planes, Trains, Trucks, and Toys there’s nothing quite like little boys”.
I’m horrible at freehand writing. I knew I wanted this chalkboard sign to look a little more perfect.
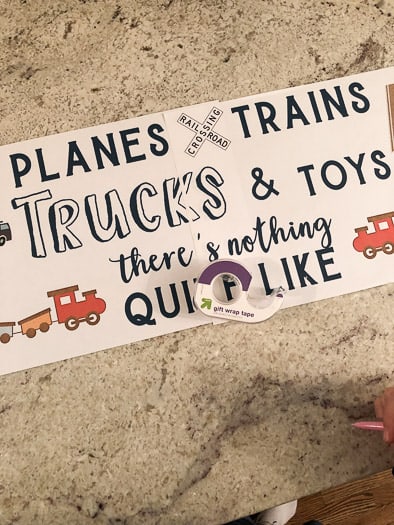
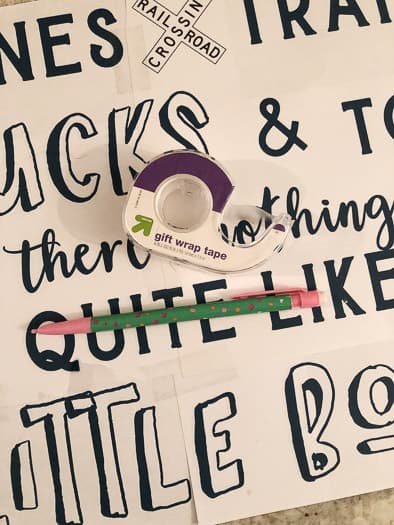
I went into photoshop and created a cute graphic that I liked for my DIY chalkboard art. I printed it out so that it would fit the chalkboard sign perfectly.
Once printed, I taped the sign together. Now here’s the fun part!
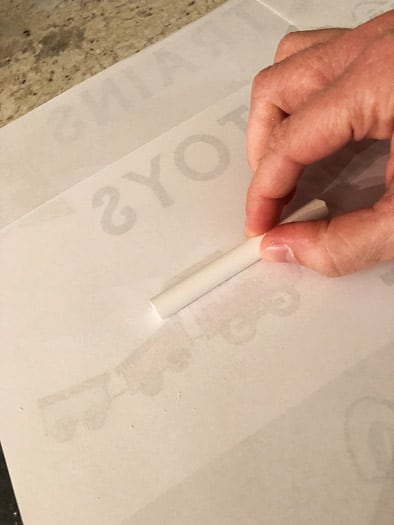
Take a piece of chalk and rub it all across the back of the paper. Tape your paper onto your chalkboard, then use a pencil or pen to trace over the letters.
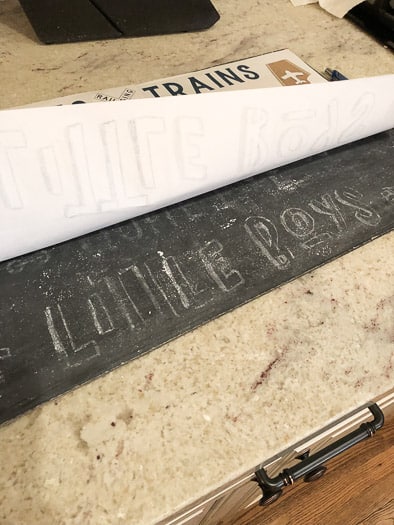
When you’re done, you’ll have a light chalk outline of all the letters and shapes on your chalkboard. I went over this outline with a chalk pen.
Be careful when using chalk pens, depending on your chalkboard, it may not come off! But I wanted this to be a pretty permanent sign, so I was ok using it.
That’s it! It’s super easy to get perfect chalkboard lettering!

How to get Perfect Chalkboard Lettering
Use this super simple trick to get perfect chalkboard lettering every time.
Materials
- Paper
- Chalk
- Chalk Pen
- Chalkboard
- Pencil
Tools
Instructions
- Print out the saying on paper to the size that you want.

- Flip your paper to the backside and cover with a layer of chalk.
- Tape paper with the saying facing up on your chalkboard.
- Outline the letters/graphics with a pen or pencil with a medium to hard pressure.
- Carefully remove the paper, you should have a faint outline of your saying left on the chalkboard.
- Use a chalk pen to trace over the outlined letters and graphics.

I also made a sign for my front porch using a very similar technique!
Pingback: How to Make a Magnetic Chalkboard - DIY with Amy