
I love making my front porch look welcoming and cozy. I wanted something to welcome our guests to our home. So I decided to make this DIY welcome sign!
My kids love playing on the porch in the evenings in the summer, so I try to make it as comfy as possible. I know we don’t have the biggest porch, but it suits us just fine.
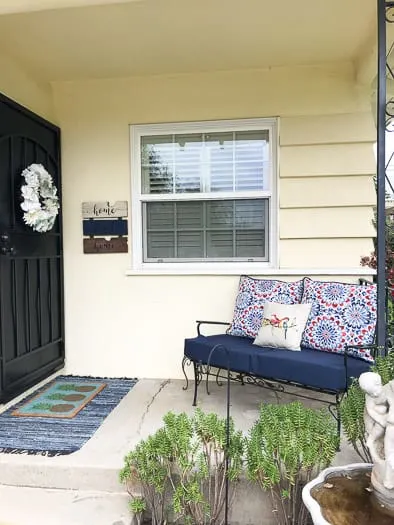
We had this little wall next to the door that I just felt was missing something. I saw a welcome sign at the store and fell in love with it. But I thought it might be too small.
I wanted to make a similar sign that would be the perfect fit for my wall. So that’s exactly what I set out to do.
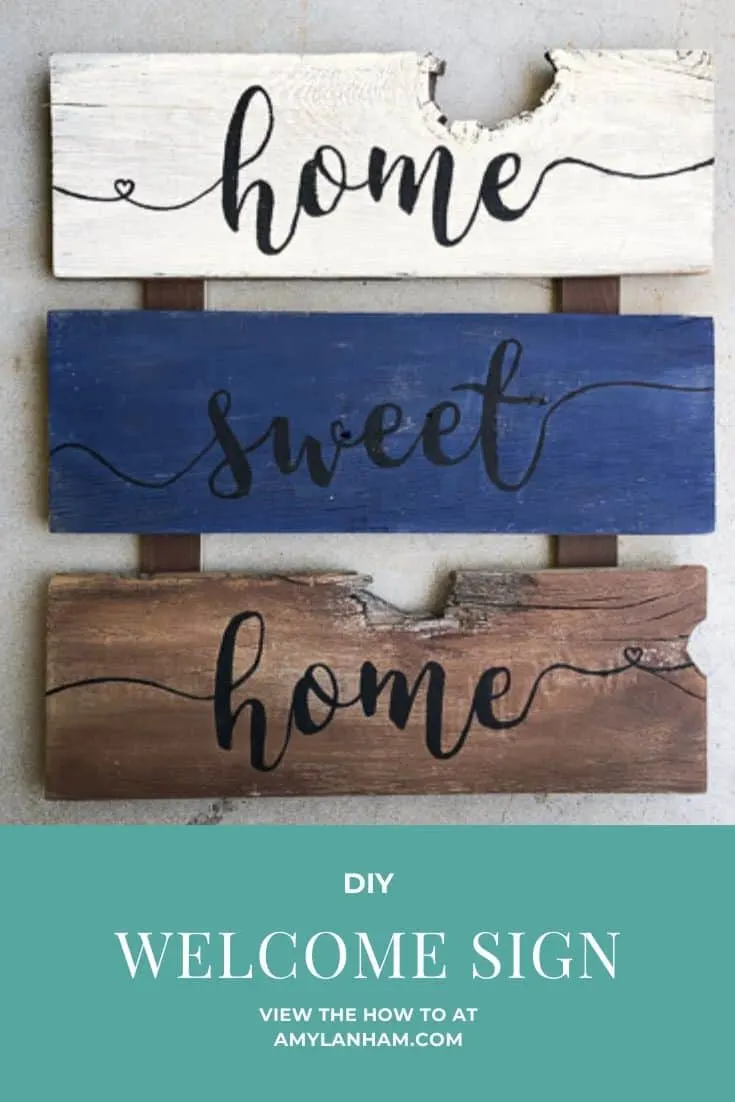
DIY Welcome Sign
DISCLOSURE: This post may contain affiliate links. If you purchase items through my links I may earn a commission. You can find our full policy here. Thank you.
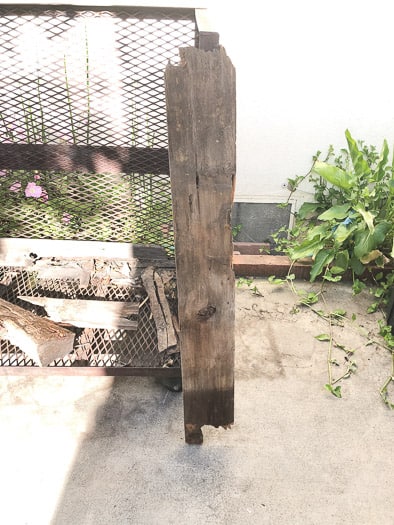
A couple months back, my mom found some old fence pickets in the trash. I’d been looking for the perfect project to use them on.
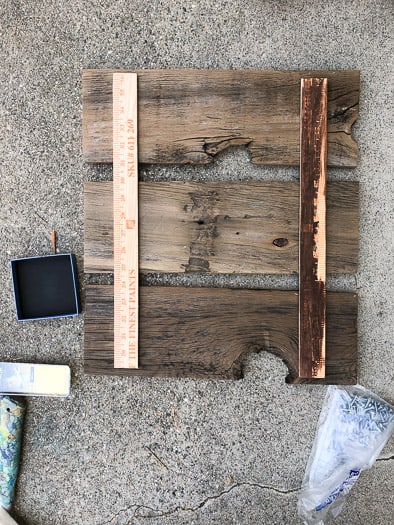
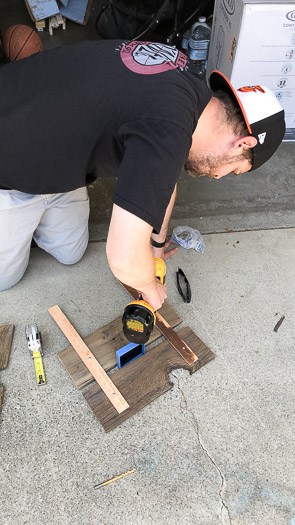
I measured and had John cut the posts to the perfect size. Then I connected the pieces together with some wood. After, I painted the wording on the signs. It was a super easy project!
Assembling the Sign
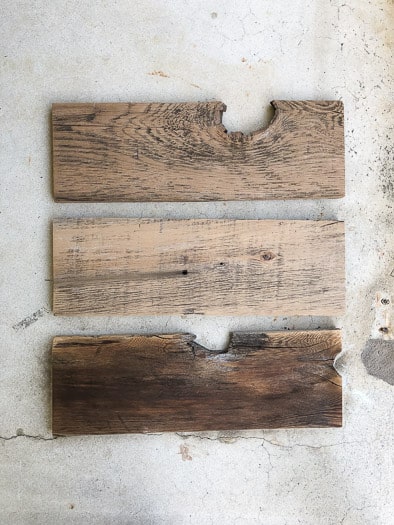
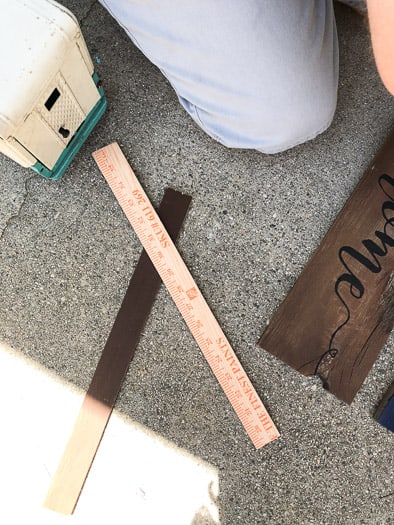
To make the sign, cut 3 pieces of fence post the same size. You’ll need to cut some extra pieces of wood to attach to the back. I used Home Depot yard sticks.
Cut the yard sticks to the length you want your sign to be. Paint the yard sticks. Once you’ve finished painting the words, you can attach the yard sticks to the sign.
Painting the Wording
You could just paint the wording free hand, but I hate my free hand. So I headed to photoshop and made the wording. I used a similar trick to how I did the chalkboard wording. You can find the printables for this project in the VIP library.

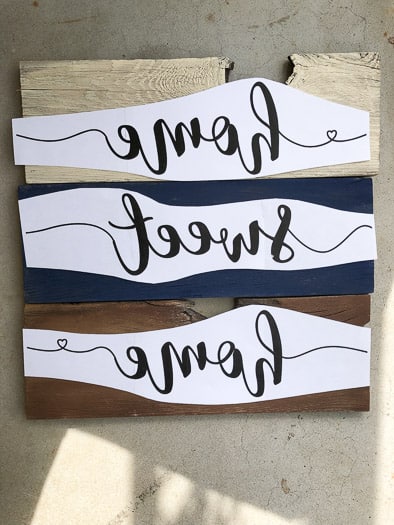
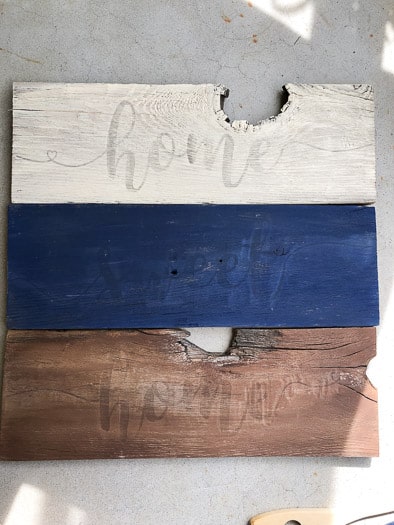
I printed out the wording to be a perfect fit, but I printed it out backwards. Then I taped it onto my wood and used a wooden spoon to apply pressure to the back of my paper.
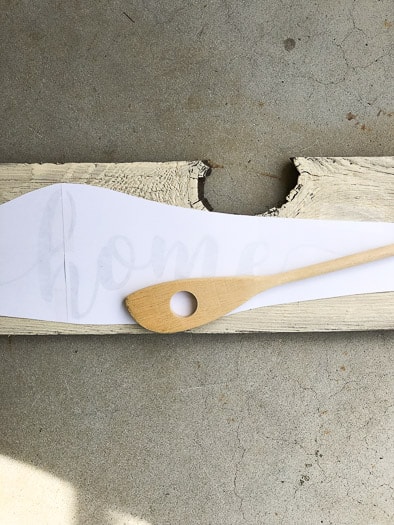
I applied a little too much pressure and left marks on my wood, so don’t push too hard! When you apply pressure to the back of the paper, it should transfer the ink of your wording to your wood.
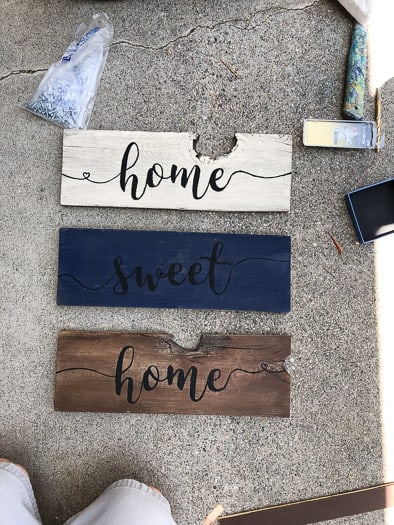
Then you can paint over the wording that was left behind! This way you get perfect wording every time!
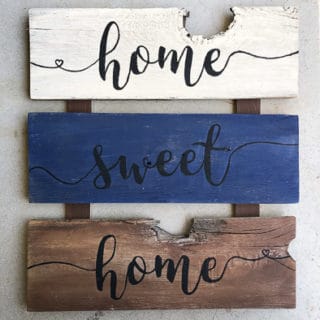
DIY Welcome Sign
How to make a DIY welcome sign for your front porch using old scraps of wood.
Materials
- Wood
- Screws
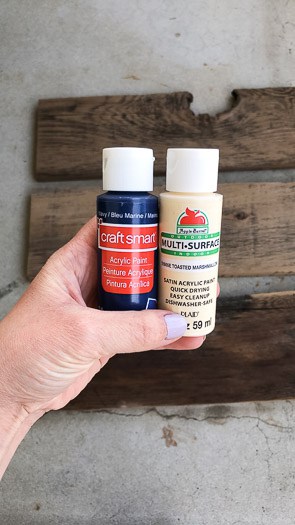
- Paint
- Paint Brush
Tools
- Printer
Instructions
- First measure the spot you want your sign. Cut 3 pieces of wood to fit.

- Paint 3 wood pieces. I painted blue, white, and left one wood.

- Print out the words that you want to use, make sure to print them out backwards. - you can find this wording in the VIP Library
- Lay your wording down on the wood. Using a wooden spoon, apply pressure to the back of the paper to transfer your wording.
- Paint over the wording transfer.
- Cut 2 pieces of wood (b) to the length you want your sign to be.
- Attach the 3 pieces of wood (a) to the 2 pieces of wood (b) with wood screws, with (b) being vertical and (a) being horizontal.
- You can then use some picture wire to hang the sign.
There you have it! A super cute and easy welcome sign, perfect for any front porch.
You can also use this same technique to make a chalkboard sign!

Pingback: How to easily make DIY Chalkboard Art - Amylanham.com