

2018 is absolutely flying by! It’s time to start mentally preparing for the craziness that the holiday season will bring – planning for trips, festive parties, and of course, getting the perfect gift for everyone on your list.
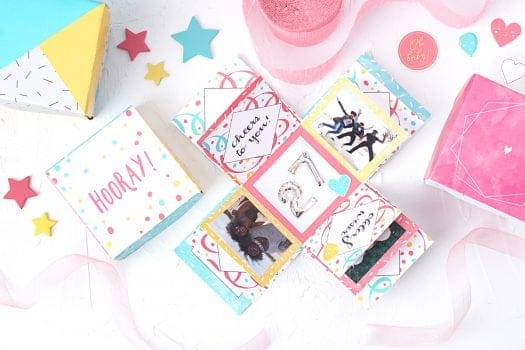
If you’re looking for a quick but also custom and personal gift, look no further than an explosion box! These boxes are like a cross between a card and a gift, with the pages “exploding” out when you lift the box lid. Fill the pages with photos, personalized messages, and you can even put a small gift inside of the box!
DISCLOSURE: This post may contain affiliate links. If you purchase items through my links I may earn a commission. You will not pay more when buying a product through my link and you do not have to use my links. I only recommend products & systems that I use and love myself, so I know you’ll be in good hands. You can find our full policy here. Thank you in advance for your support.
I love the designs of these explosion box printables from Shari’s Berries, who have you covered for any occasion! You also only need a few materials to make this gift happen, and only a few minutes of your time. Who will you gift with a personalized explosion box this year?
I decided to make one for my husband. Life with two kids is hard! I feel like one of them is always awake!!
Between running a business, running a household, my husband’s job, the kids, my husband started an MBA program, it’s all I can do to get myself into bed at night. That means time with John has fallen way down on the things I have to do list.
I hate that. It’s my least favorite part about having kids. Having to share my husband with someone else.
So I made this little explosion box for him. To be honest at first I had no idea what I was going to do. We don’t have an anniversary coming up, and we’re really not the lovey dovey type.
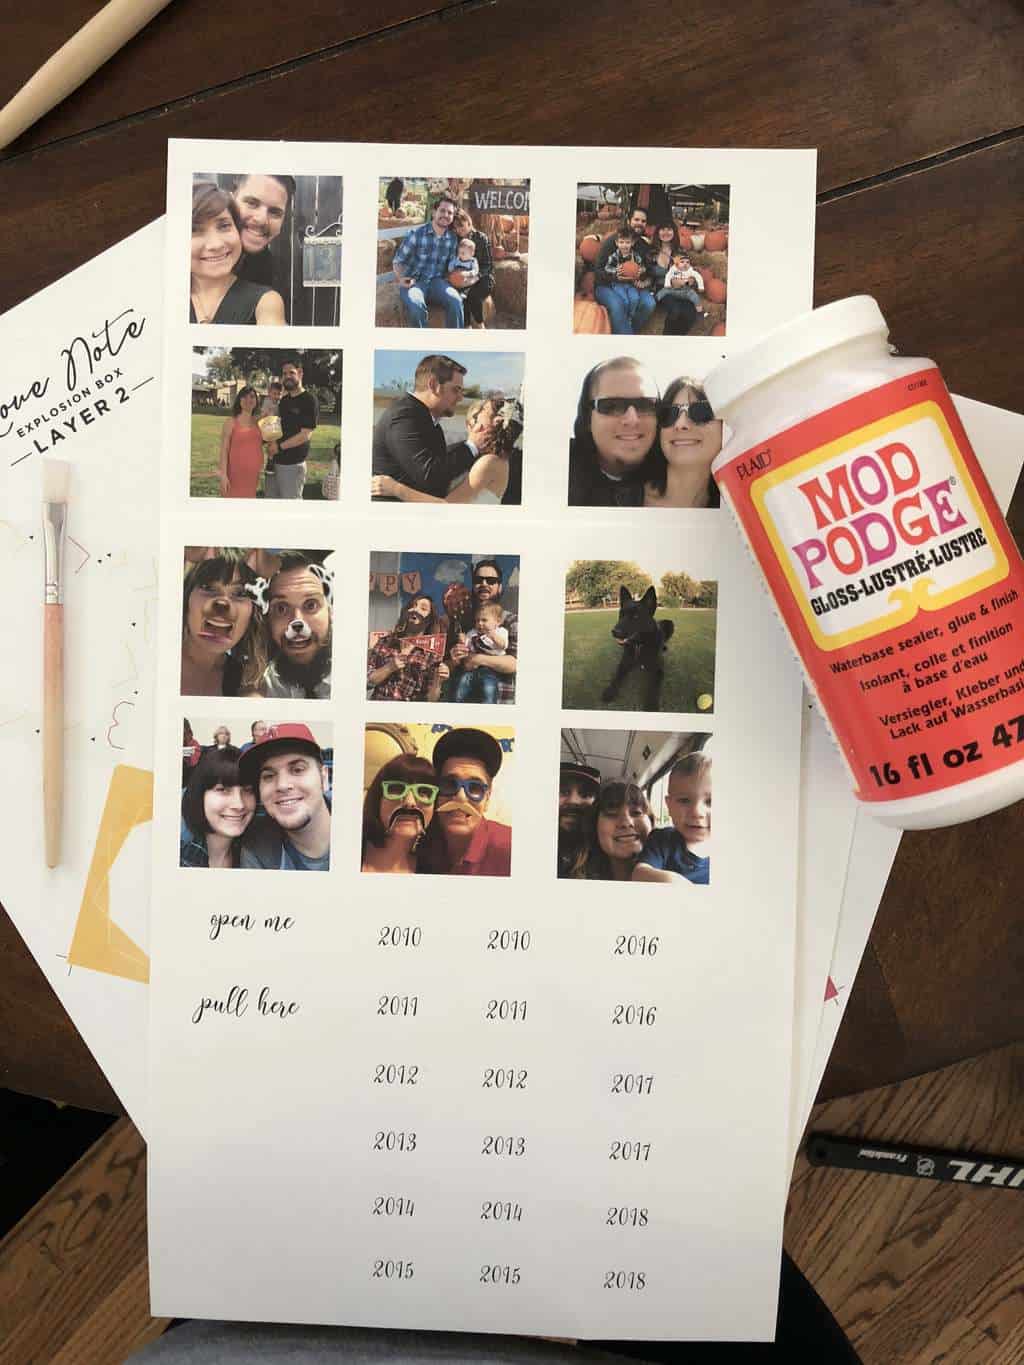
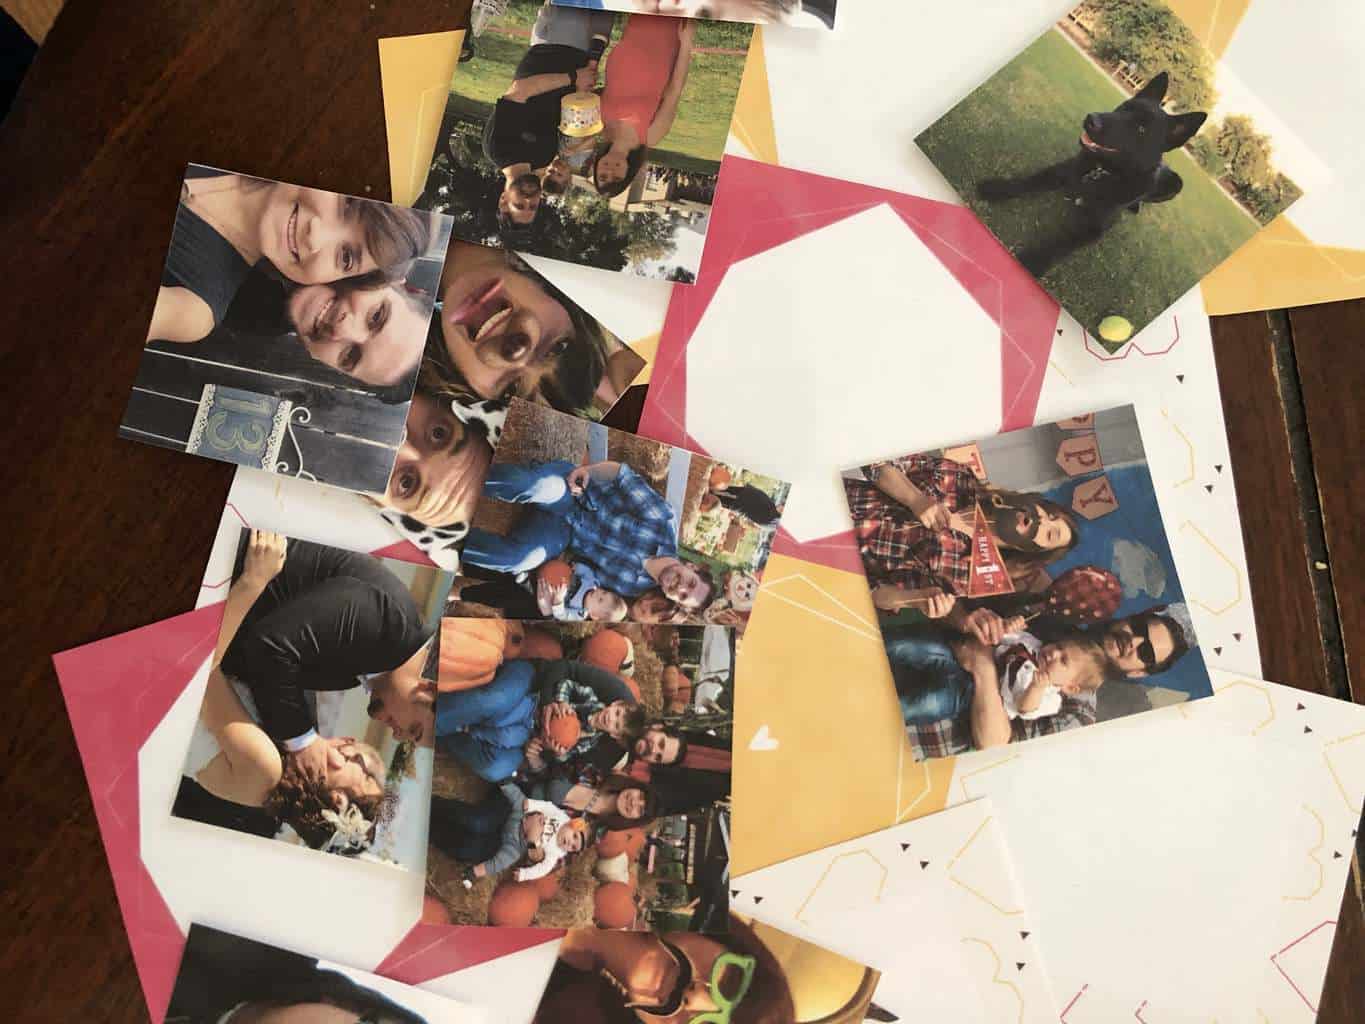
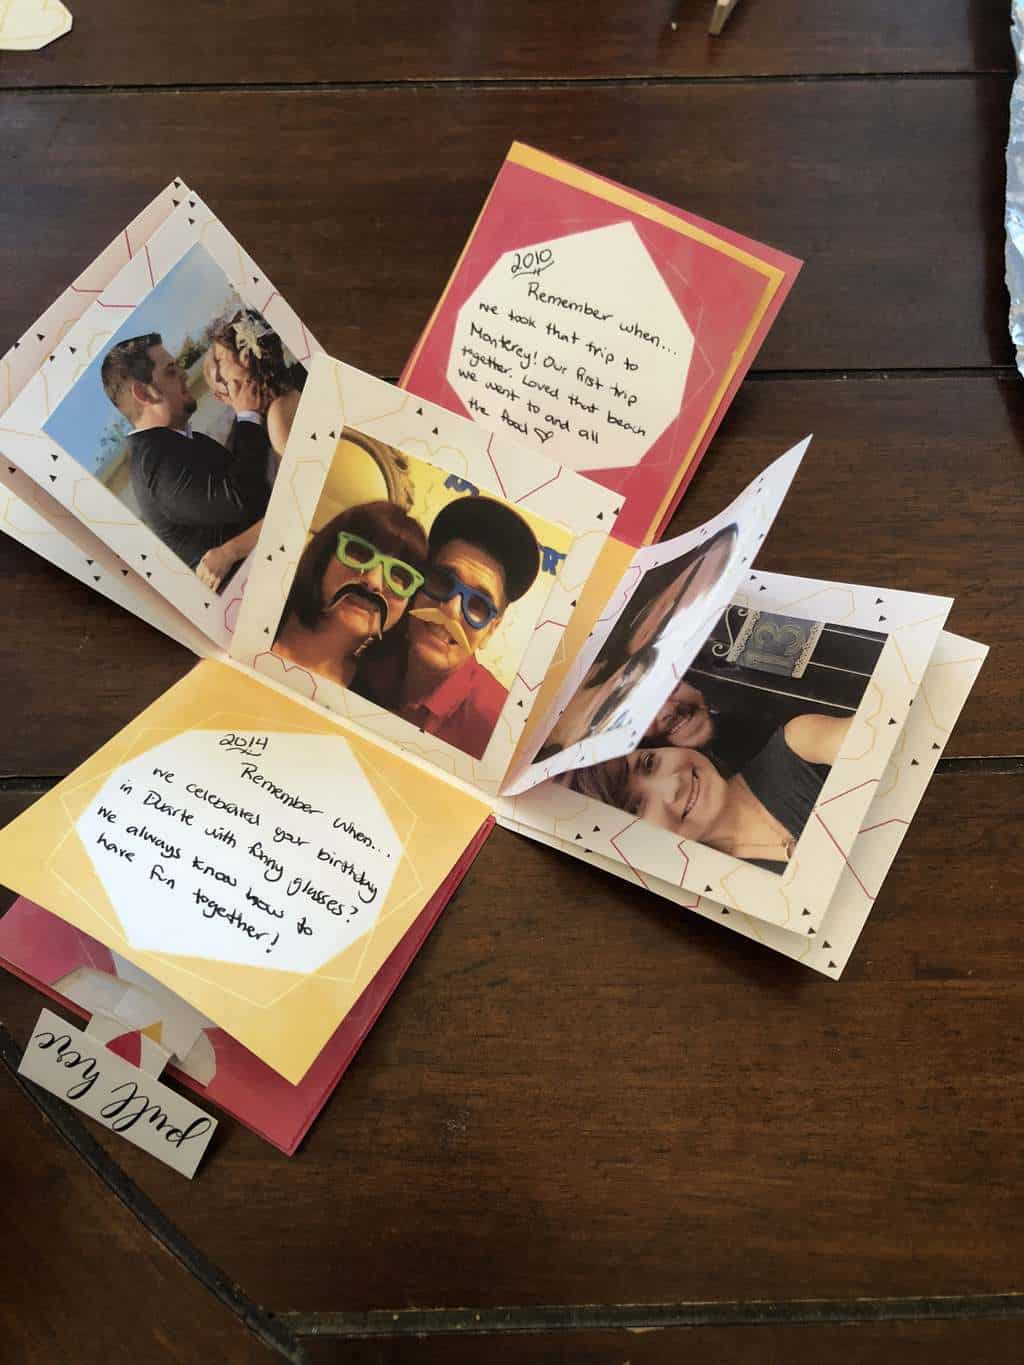
I used to scrapbook, but life just got too busy. So I figured this would be the perfect gift to use as a sort of scrapbook. When looking through photos I decided to make this a chronicle of the high points of our relationship. One thing that stood out from each year.
Technically, we’ve been together since 2008, but I don’t have pictures on my computer from that far back! So I chose 2010, the year we took our first vacation together, to be the starting year.

Explosion Box Template - Shari's Berries
Explosion Box gift great for any occasion!
Materials
- Template from Shari’s Berries
- Card Stock
- 10 pictures sized 2”x2”
Tools
- Scissors
- Printer
Instructions
- 1. Print out your template. Print one lid by itself. Print out layer 1 and then print out the outside layer on the back of that so it’s 2-sided. Print out layer 2 on both sides of the paper and layer 3 on both sides of the paper. You should have 3 pages that are 2-sided to make your box and the lid page to make your box
- 2. Also print out one extra of Layer 1 with nothing on the back and the Outside Layer with Layer 2 on the back.
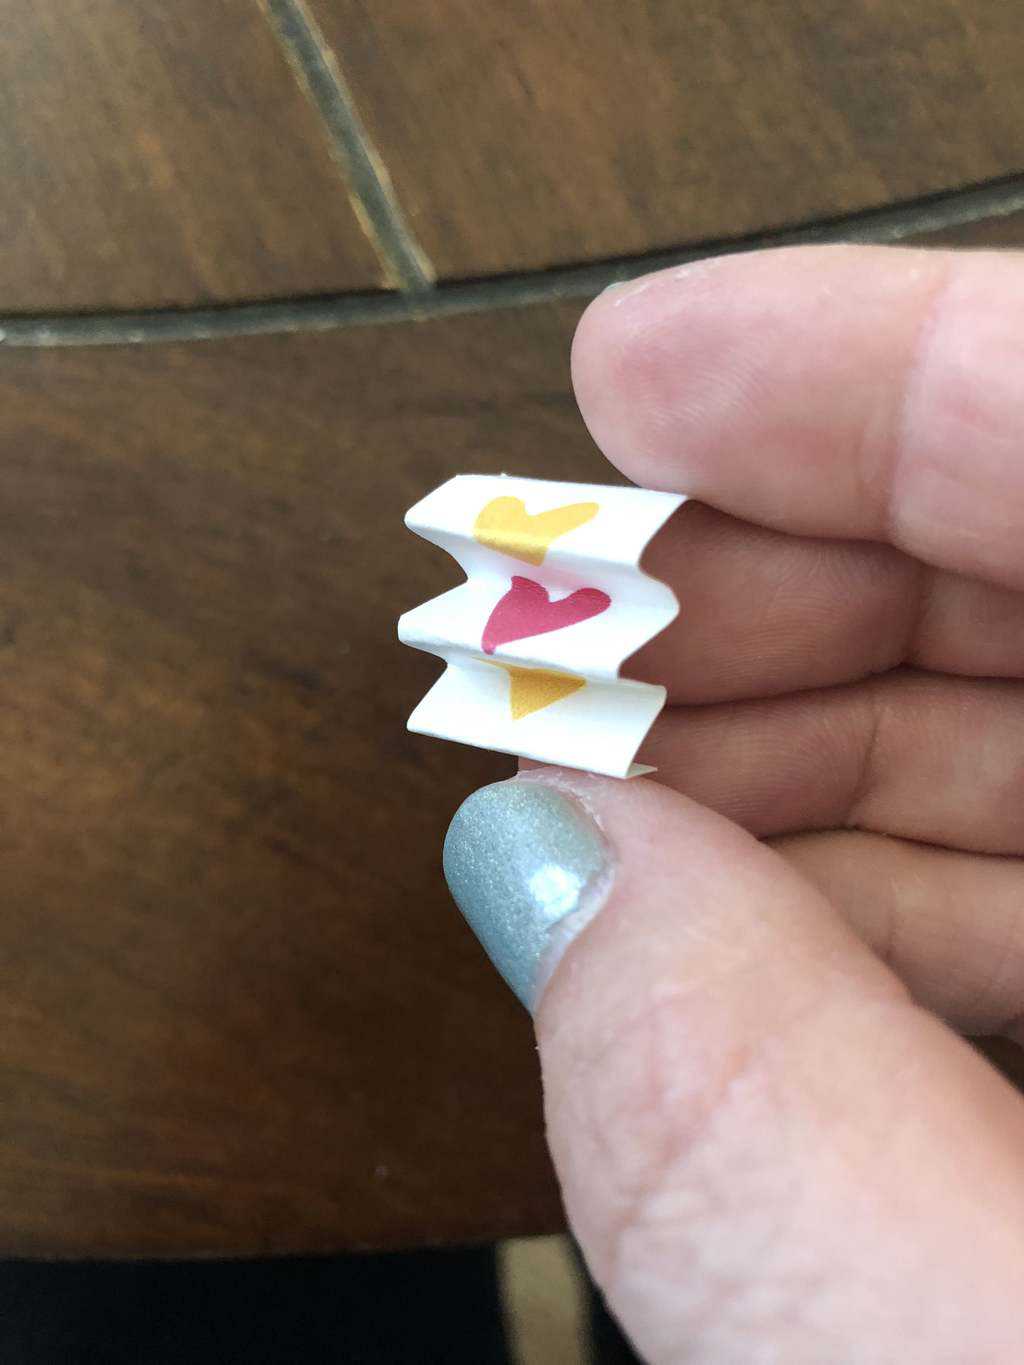
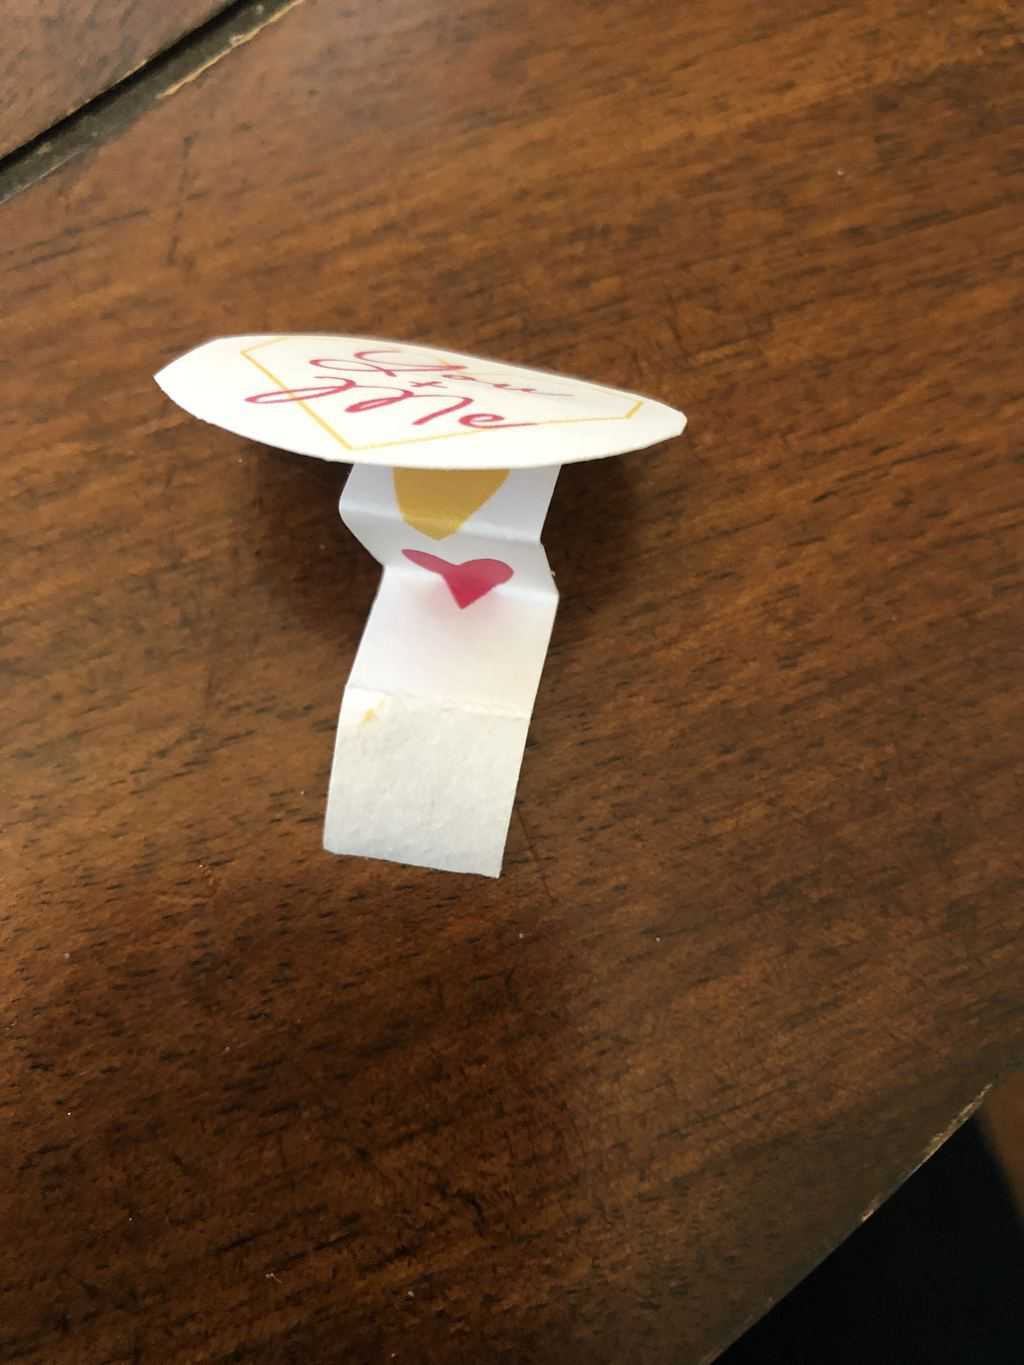
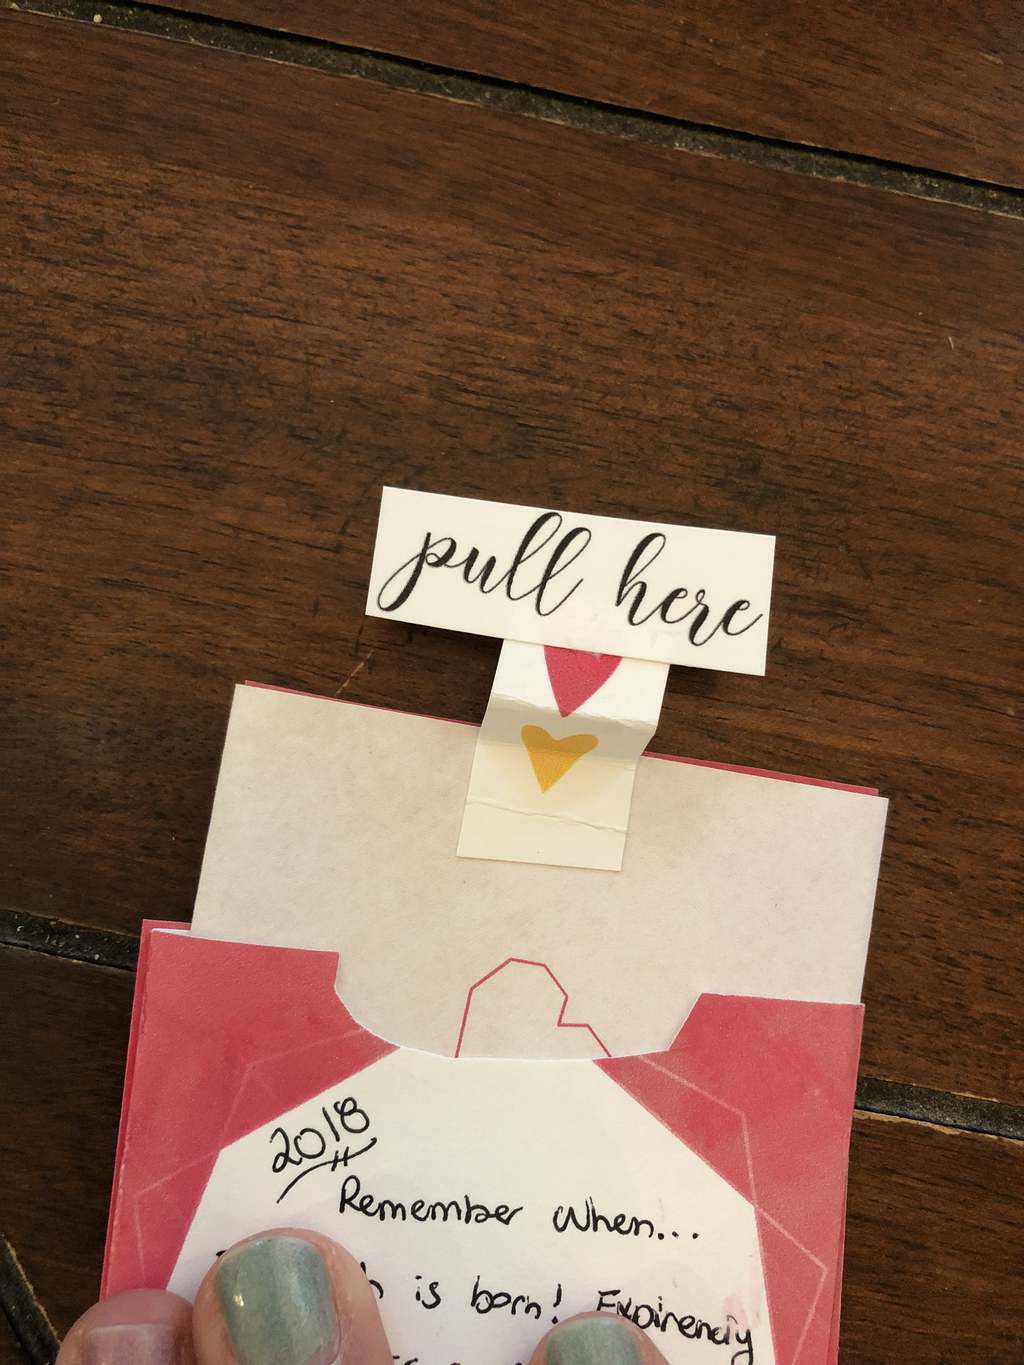
- 3. Cut everything out. Cut the layers for the box out following the cut lines. When cutting out your individual Layer 1, cut just one of the pink boxes leaving extra white around it. This will make a pocket for a note. You can also cut a notch in the top area. For the Outside Layer with Layer 2 on the back. Cut just around the white leaving the pink sides off. This will be your note. Cut out the 3 hearts off the lid page and the ‘You and me’. Cut out any other decorations you want to use!
- 4. For the lid, you’ll fold along the dotted line, then pinch the sides in and glue. For step by step see Shari’s Berries.
- 5. Assemble your box. Start by folding all the layers in towards the center. Then assemble. The outside layer goes down first with Layer 1 facing up. Glue Layer 2 to the center of Layer 1 and then Layer 3 to the center of Layer 2. You can line up the colors however you want, I made all the white picture areas go together.
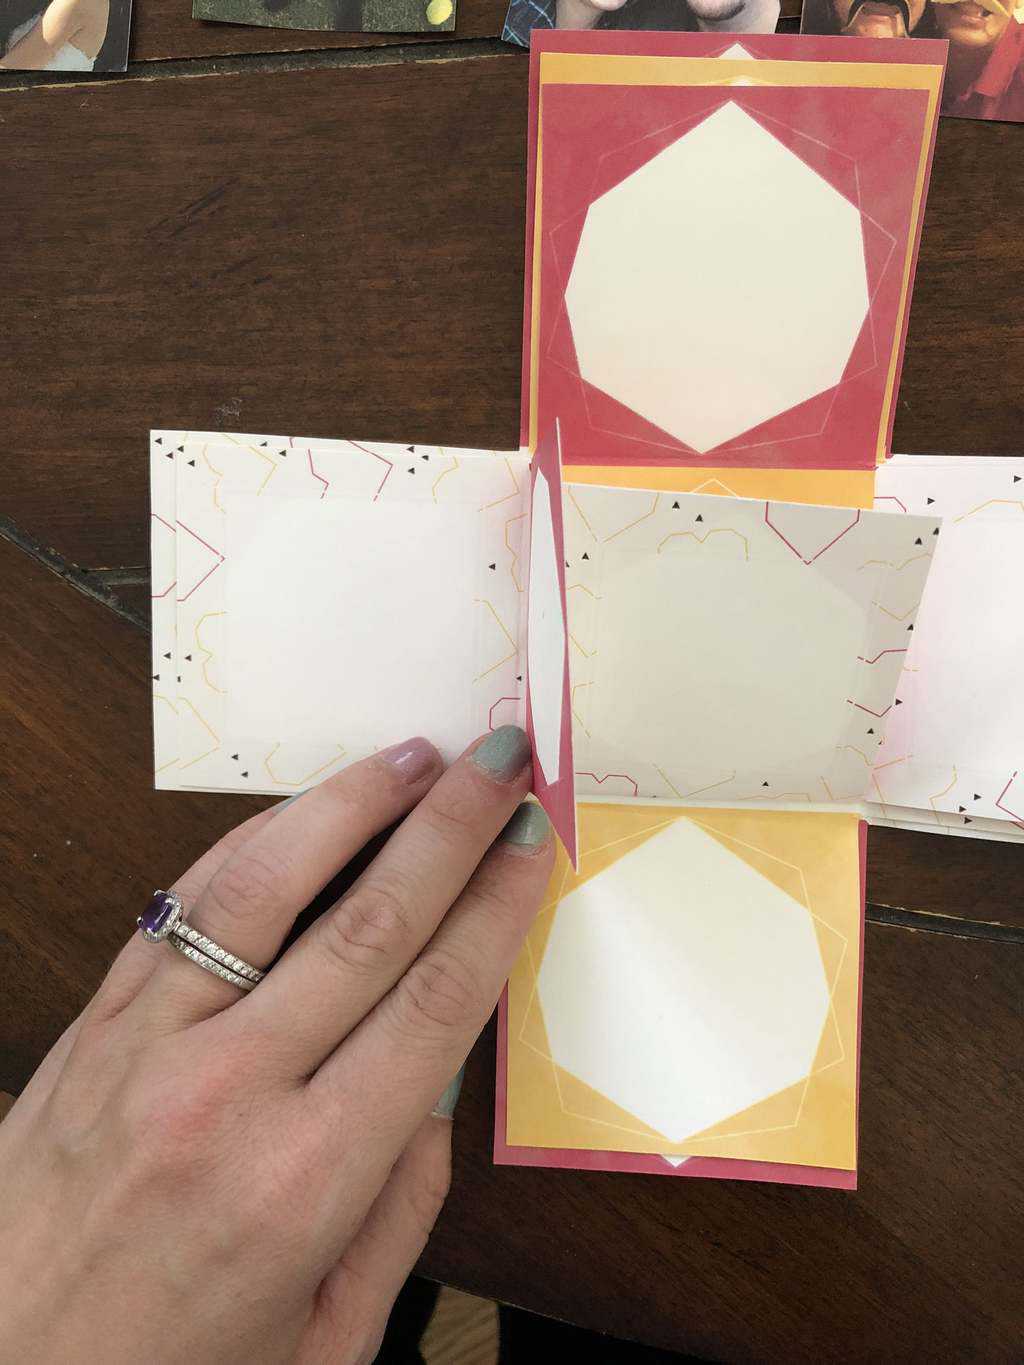
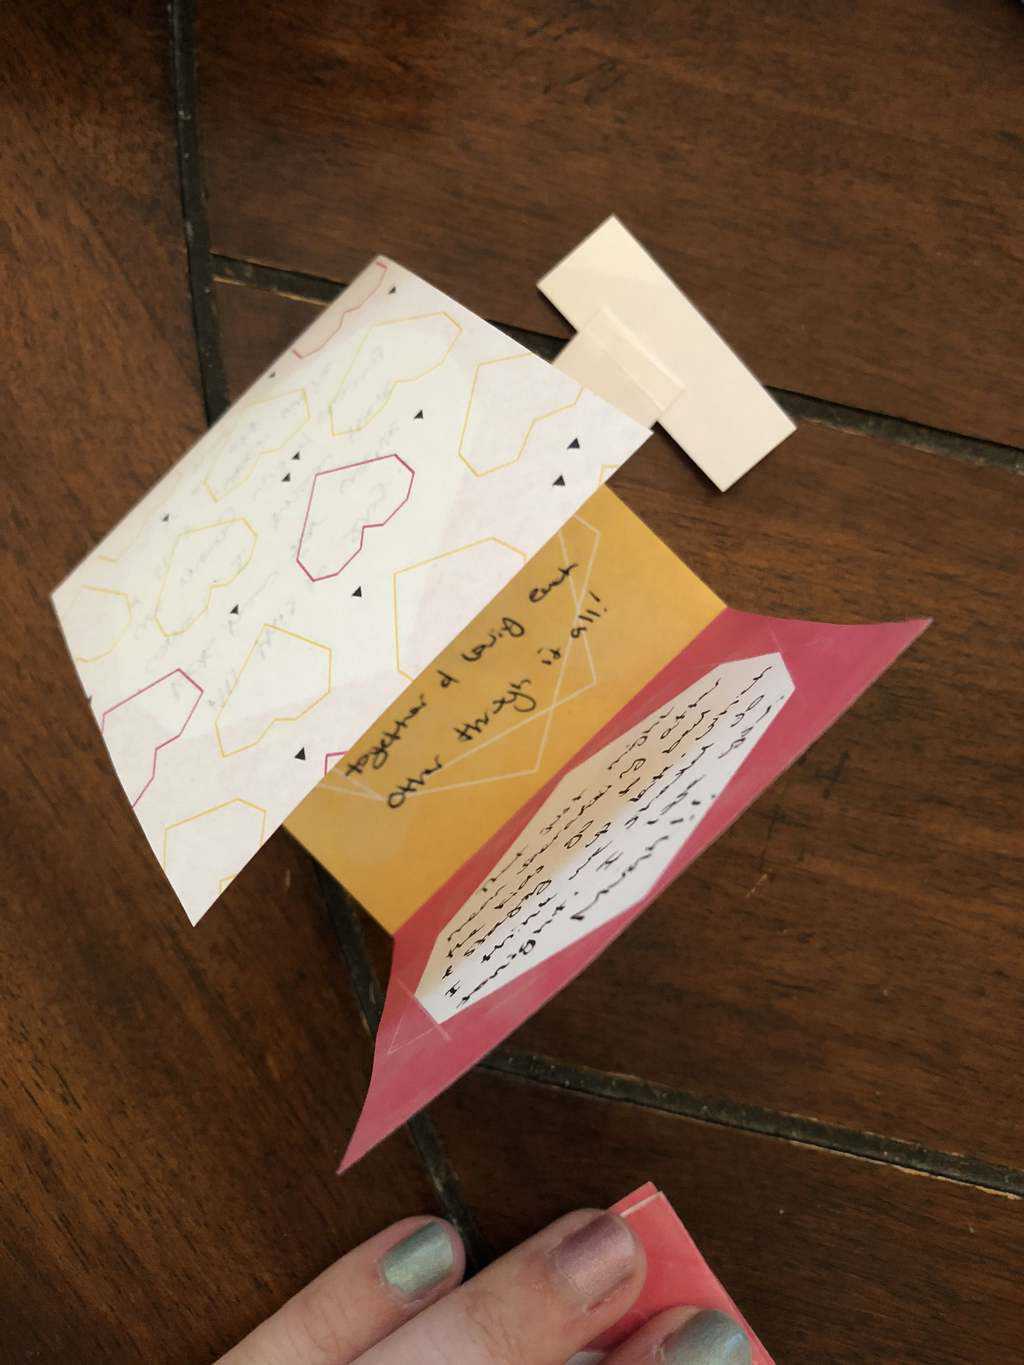
- 6. The pink box for the pocket we cut out you’ll want to add in now. I added it to the bottom layer, Layer 1. Fold all the white around the pink to the back, place glue onto those white areas then glue on top of one of the pink boxes already there. This will create a pocket for your note.
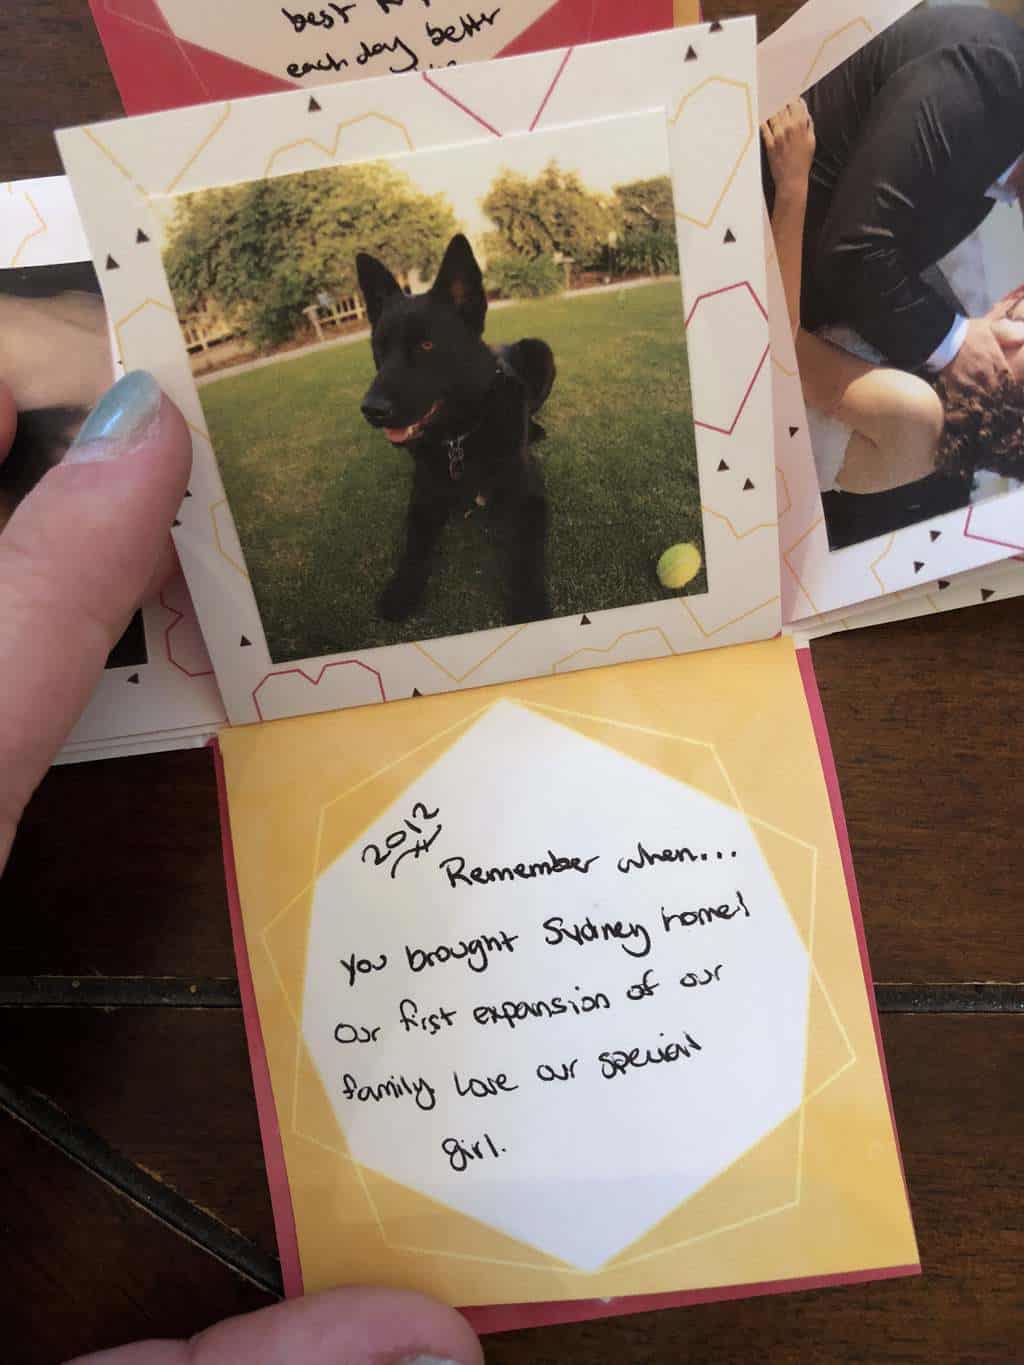
- 7. Next add your text. I found it easiest to write before gluing the pictures in. Write on top of your pocket as well!
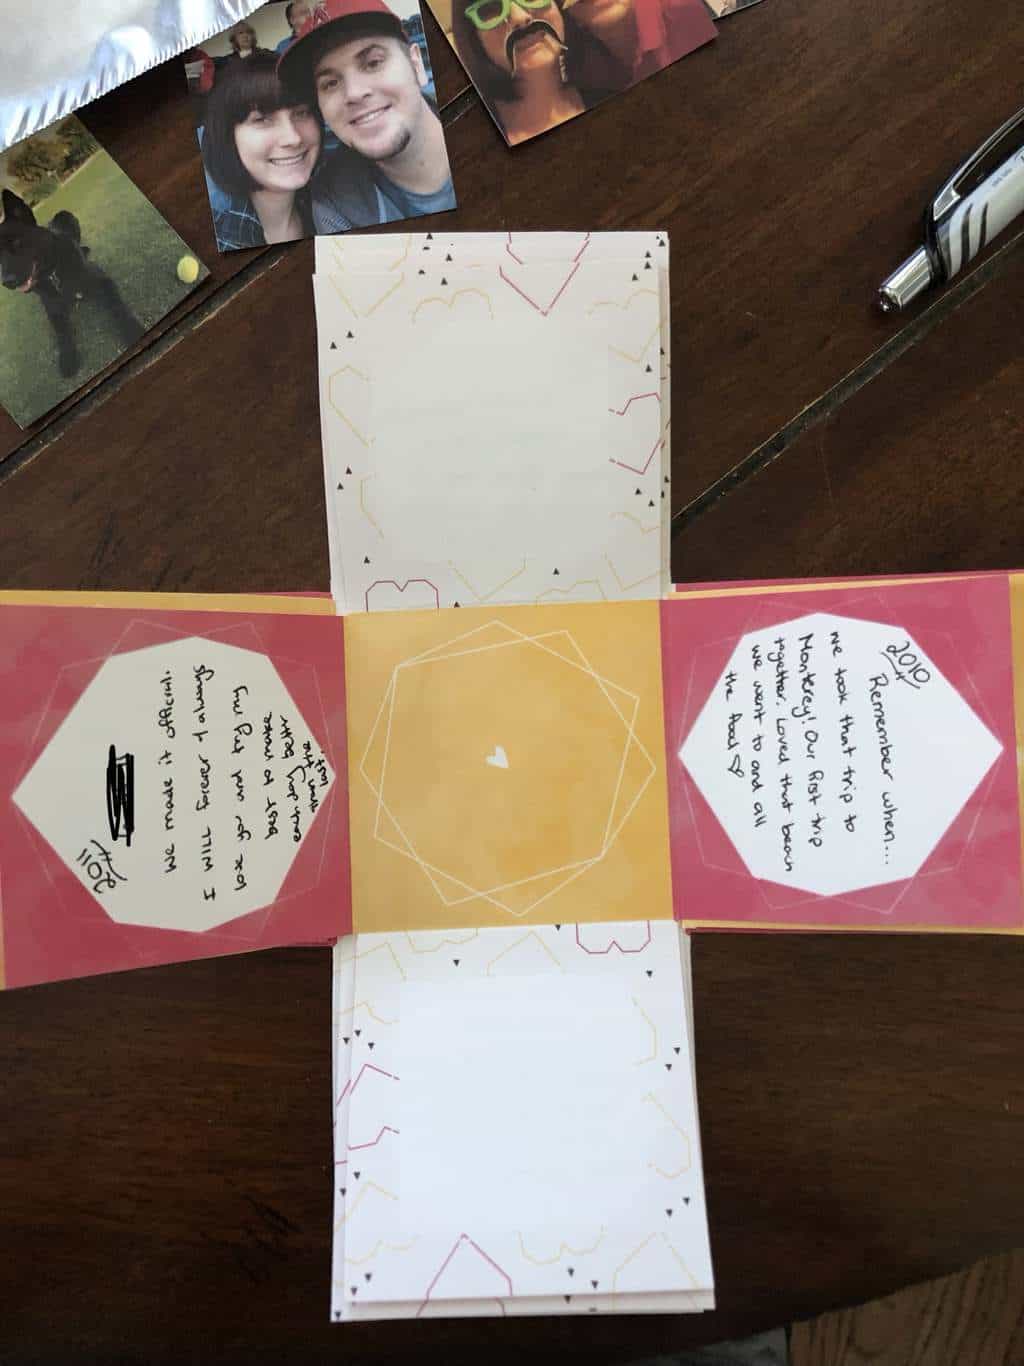
- 8. Now glue in your pictures! Making sure to line the pictures up to the correct words.
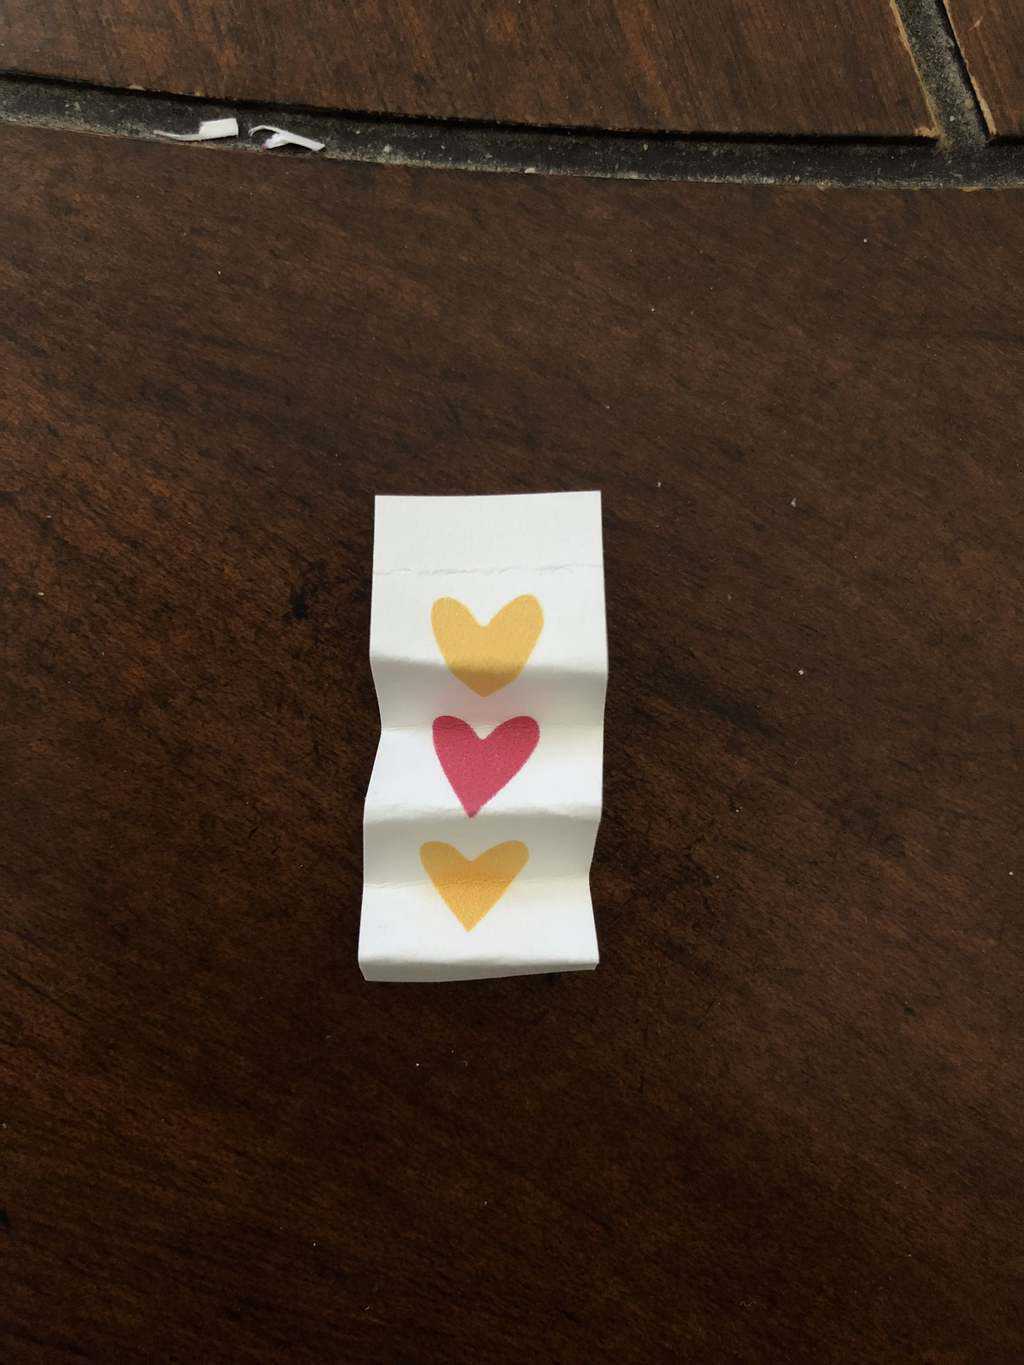
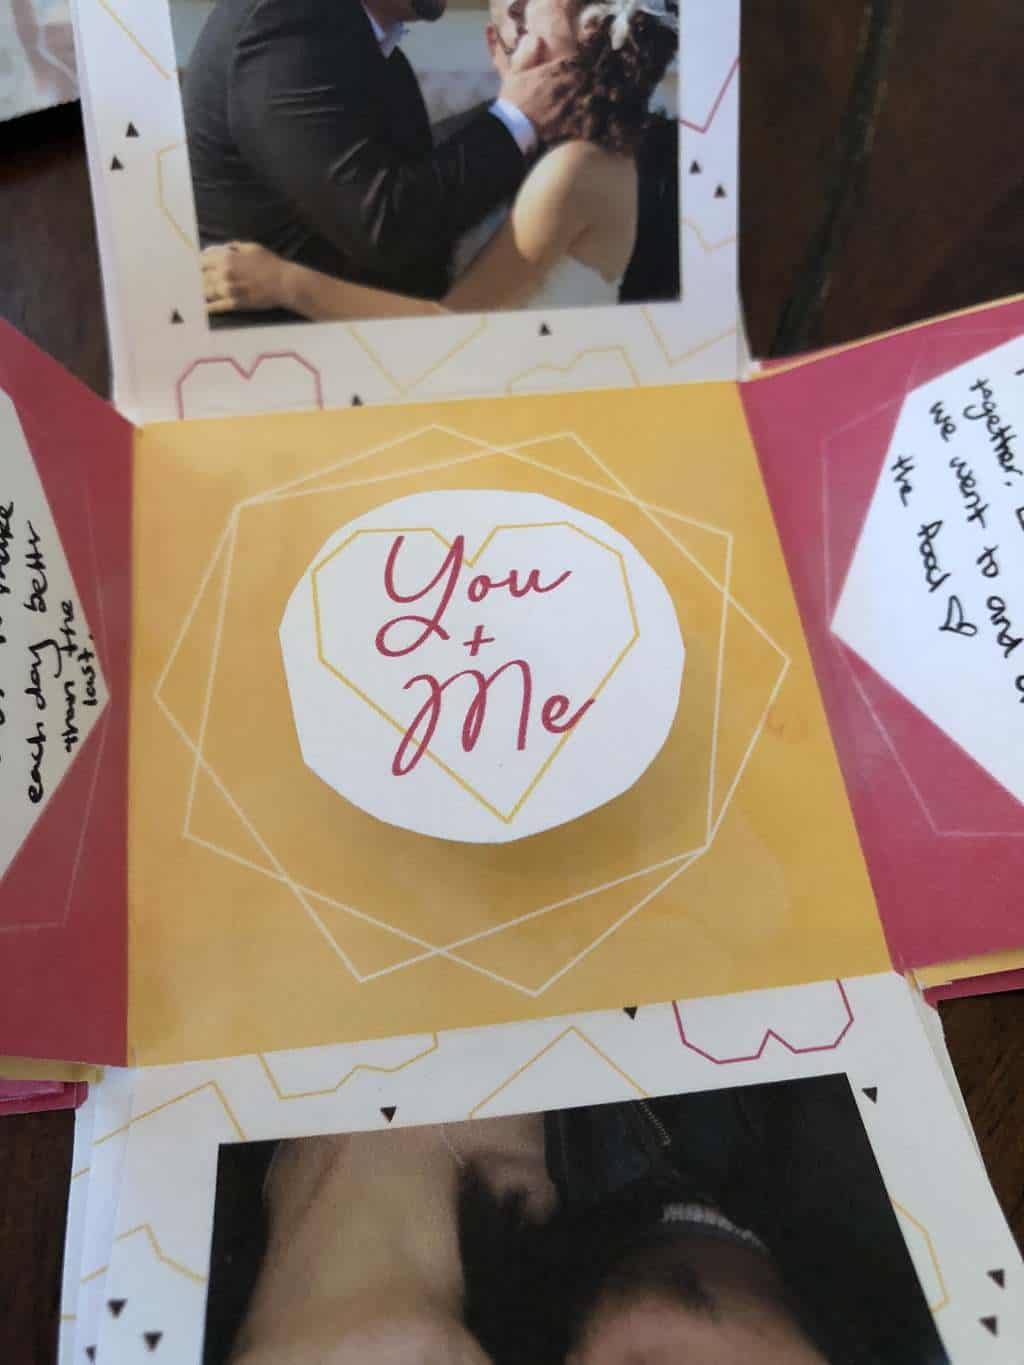
- 9. Now take the 3 hearts, and crinkle them to create a spring. Do that to both sets of hearts. Take one set and glue it to the ‘you and me’ then glue the other side to the inside of your box. This creates a cool 3D effect. Take the other set of crinkle hearts and glue them to the center of your note. I also added a ‘pull here’ that I glued on as well.
- 10. Now you can write on your note and then slide it into the pocket.
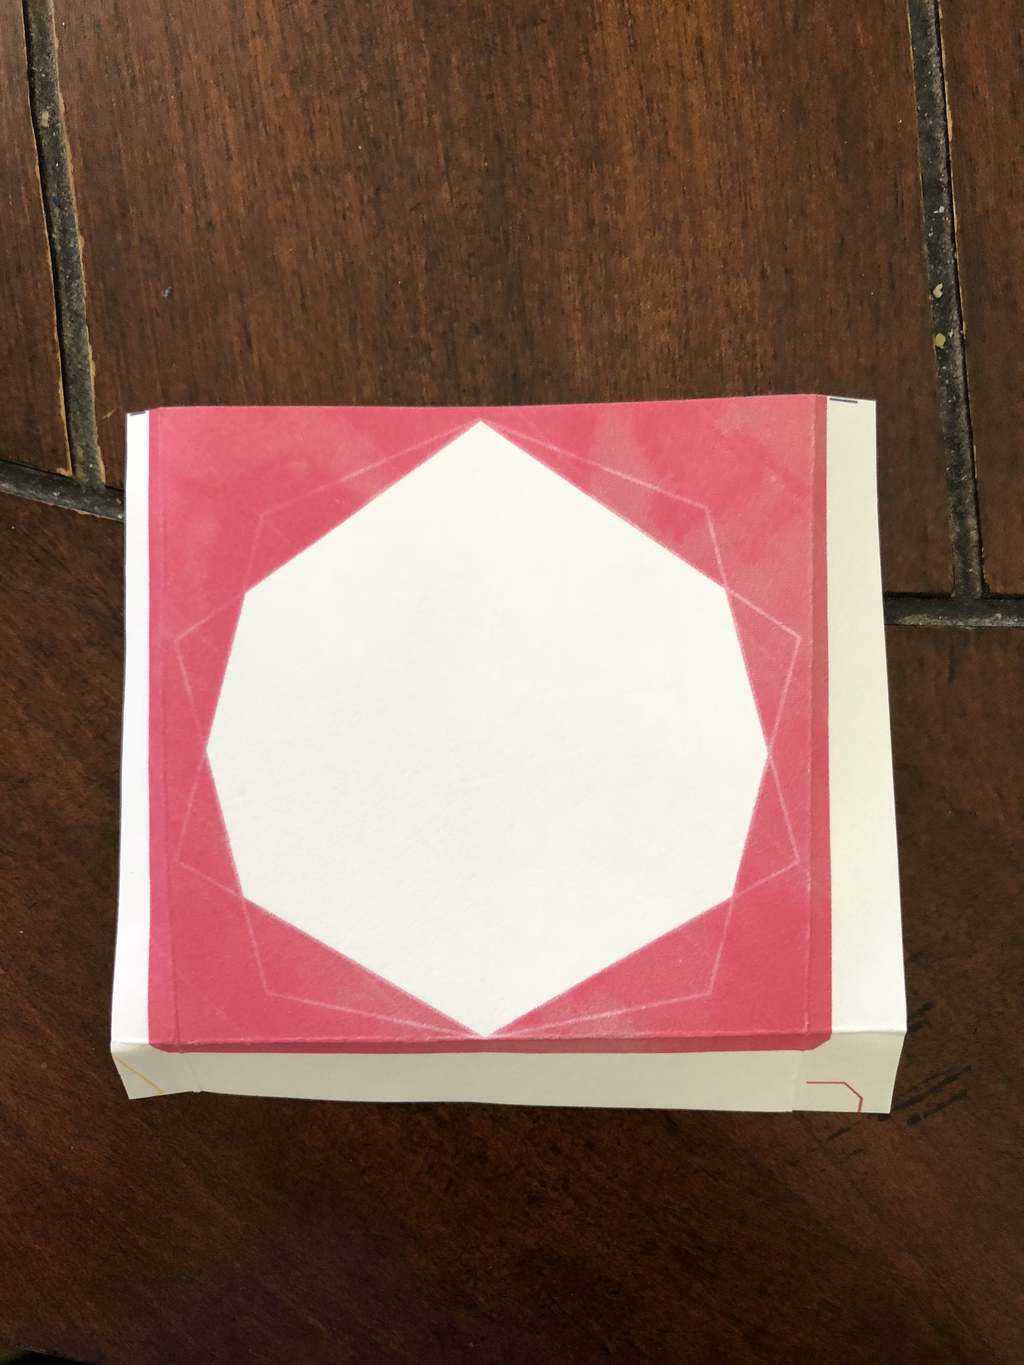
- 11. Finally lift all layers up to create a box and add your lid.
- 12. You’re all done! When your recipient opens the bod it will ‘explode’ outward.
Recommended Products
As an Amazon Associate and member of other affiliate programs, I earn from qualifying purchases.
I think this explosion box would be good for so many different uses. You can use it to chronical a relationship like I did. Or you can use it for anniversaries, birthdays, or just because.
I also think the pocket area could be used for so much! You could use the pocket area to pop the question or announce a pregnancy! These would even make darling ‘would you be my bridesmaid’ gifts.
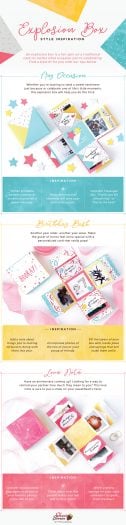
Really the possibilities are endless! Make sure to check out all the templates Shari’s Berries has to offer. They have different ones for love, birthday, and just because. Don’t forget to head on over to download yours for free!
And if you decide to make this project, let me know! I’d love to see your creation. You can tag me on Instagram or leave a comment below.
This is such an adorable gift idea. I love the way you turned it into a collection of beautiful memories!
That’s such a cute idea! I would make one for a relative that is much older and put family photos inside. Best personalized gift ever!
Pingback: 7 DIY Gifts Kids Can Make -
Pingback: Open When Letter Ideas for Men -
Pingback: What to Put Inside Your Open When Letters -