
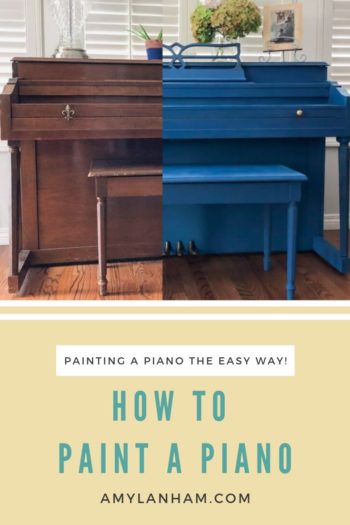
Last week I finally tackled painting my piano. It’s something I’ve been wanting to do for a long time.
The piano belonged to my husband’s great grandmother, then was passed down to his grandmother, and eventually to us. The piano isn’t tuned, and we’re honestly not sure if it can be.
But it has sentimental value to my husband and he has asked that we keep it. It was in storage for a few years until we moved to our current place. And now it is prominently displayed in our living room.

DISCLOSURE: This post may contain affiliate links. If you purchase items through my links I may earn a commission. You will not pay more when buying a product through my link and you do not have to use my links. You can find our full policy here. Thank you in advance for your support.
It’s pretty much the first thing you see when you walk in the house. Bugs has decided that it is his personal racetrack, so the top of the piano is pretty dinged up now too. I knew it was finally time to paint it.

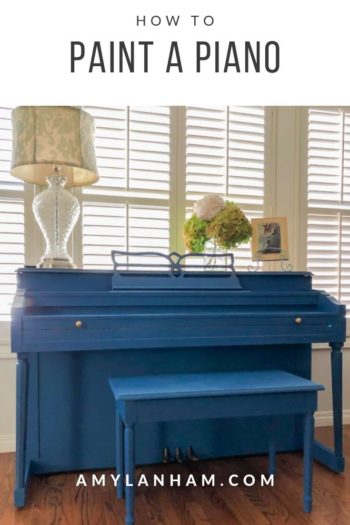
We have a small shop uptown from where I live that sells Annie Sloan Chalk Paint and she paints a number of her pieces in this beautiful blue color. Last time when I walked by there was a piece with this blue color and gold handles and I fell in love!
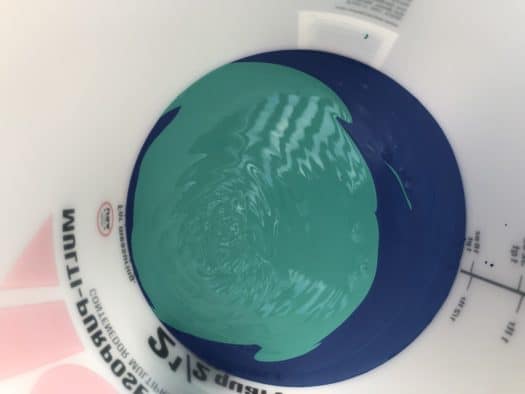
I knew that was the color I wanted for the piano. The color, of course, was a special mix. It’s one part Napoleonic Blue to one part Florence. So I got all the supplies and mixed it myself.
Mixing the Paint
It was pretty easy to mix the paint. I bought some syringes and added the paint 60ml at a time. I tried to mix the paint really well with a stir stick.
A few things to note, it’s important to put the paint in a container that can be closed and is air tight. I bought a plastic paint storage container at Ace.
You’ll also want to make sure you stir the paint as you are painting to make sure that the paints don’t separate.

How to Mix Chalk Paint
How to mix chalk paint
Materials
- Chalk Paint
Tools
- Mixing Sticks
- 2 Syringes
Instructions
- Get your two paint colors ready. For this project I used Napoleonic Blue and Florence. Open both cans of paint and stir them well.
- Use one syringe for each paint color. Start with one paint color and add a syringe full. For this project I use 6 syringes of each color.
- Next add in the same number of syringes of the second color. Mix well.
- When painting continually mix your paint to make sure there is no separation.
Painting a Piano
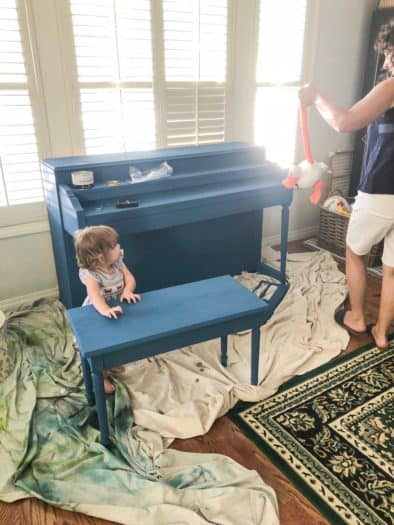
After cleaning the piano, protecting my floors with a drop cloth, and taping off the keys, I started painting. I painted the piano in the front room exactly where it sits so that we didn’t have to move it.
That meant mainly painting when the kids were asleep, which is part of the reason it took me so long. You should only need two coats of paint.
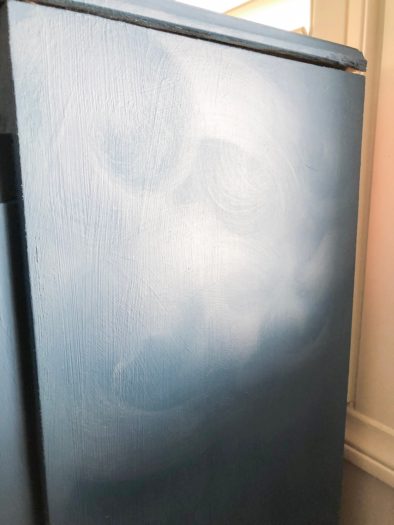
To be honest, it was pretty well covered with only one coat, but I put a second coat on to be safe. This is where I messed up. It was the middle of the day, it was very hot, and the paint became thick.
I forgot to stir as frequently, so I ended up with some darker areas of paint. I ended up having to do a third coat to correct this.

If something like this happens to you, don’t panic! All I did was add some water to the paint to thin it out and then put on a third coat. I mixed super well every few minutes to make sure the paint didn’t separate.
The water helped to make sure the paint went on smoothly and took a little less time to dry. This fixed the darker spots.
Waxing the Piano
I let the paint dry 1-2 hours between coats, and before waxing. After the third coat of paint, I waxed the piano. The wax helps to give it a little bit of a shine and just finishes off the piece. It also protects the paint.
I find it easiest to use a wax brush. Put a little wax on your brush, and then apply the wax to the piano in circular motions. Make sure to get the wax into all the brush strokes.
In the picture below I have the wax freshly put on the right and not yet waxed on the left. The wax will darken the piece slightly as you apply it, but once dry it will leave a slight shine.
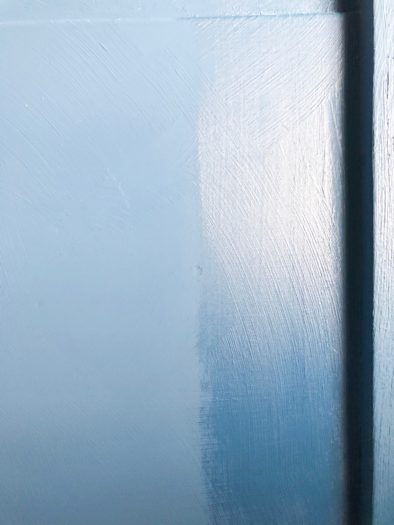
In this second photo you can see what I’m talking about. The top portion has been waxed, but the bottom has not.
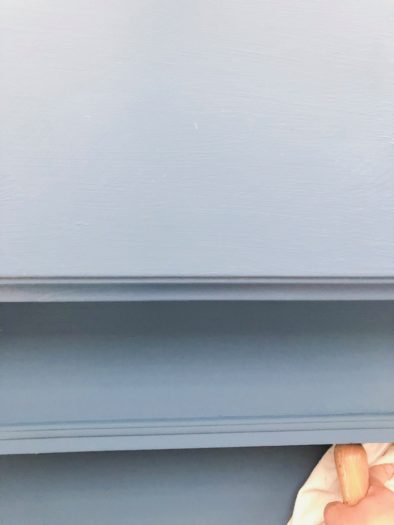
Let it soak into the paint for a minute before wiping it off with a lint free white towel. I like to wipe it off in strokes with the paint. You want to buff the wax a little bit.
You don’t want the wax to be tacky to the touch, but rather give the piece a smooth finish.
There you have it! The easiest way to paint a piano.

Painting a Piano
How to paint a piano without sanding or priming!
Materials
- Chalk Paint
- Clear Wax
- Dark Wax
Tools
- Paint Brush
- Wax Brush
- Towels
Instructions
- Clean your piano! You need to make sure that there is no dust. Let the piano dry before starting to paint.
- Protect your floors. Lay down a tarp so that you don't drip paint.
- Put on your first coat of paint. Annie Sloan Chalk Paint is really forgiving. So just slap that first coat of paint on.
- Let the paint dry for 1-2 hours. Then you can put on your second coat of paint. This should be the only other coat you need.
- Let the paint dry for 1-2 hours. Then apply the clear wax. Apply clear wax with a wax brush in circular motions. Making sure to let it soak in to the paint. Use a lint free white cloth to wipe off the excess wax.
- You can apply dark wax to the edges if you would like at this point as well. Use the wax brush to apply the dark wax. You don't want to apply too much. You can apply it over the clear wax and then wipe it off. If you have too much dark wax still, you can apply more clear wax on top to thin it out.
- Let the wax 'cure' for 24 hours, then apply a second layer to the top of the piano to protect it. This step is especially important if you have small children.
What do you think? Do you think that you will tackle painting your piano?
Pingback: Painting a Piano, No Sanding, No Priming, Easy! | Dadne
Pingback: Painting a Piano, No Sanding, No Priming, Easy! - Amy Lanham | Dadne
Pingback: Christmas Eve Party and Decoration Ideas - DIY with Amy