
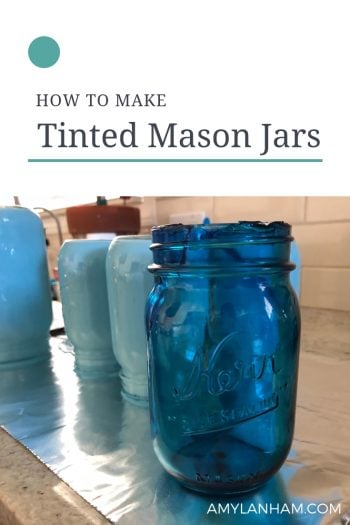
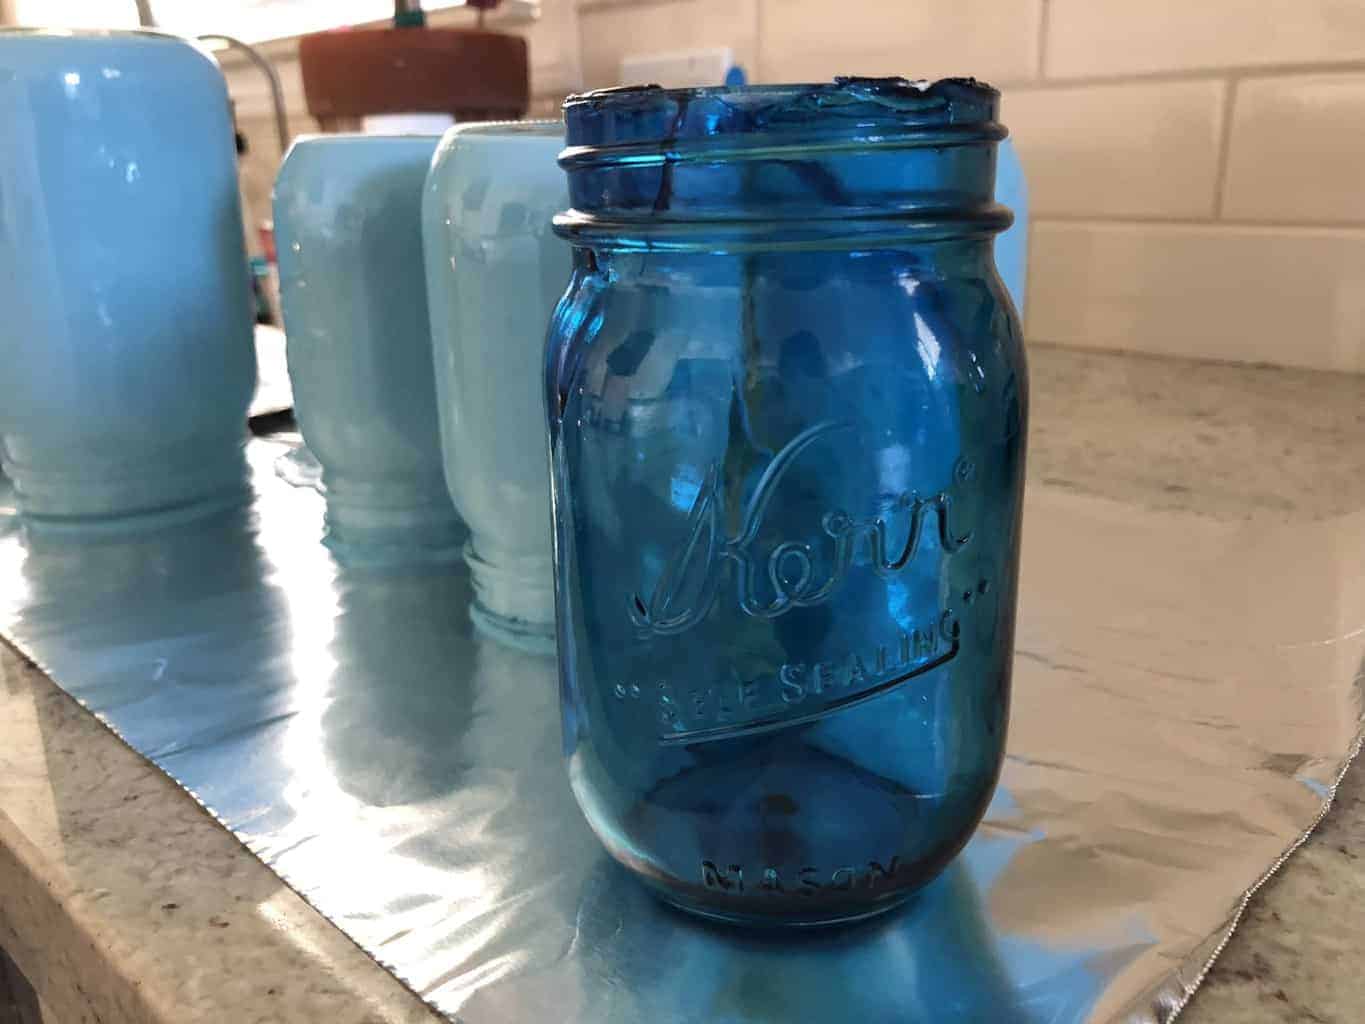
Have you seen the blue tinted mason jars in the store? They are surprisingly expensive compared to just the regular clear mason jars. So I thought I would make them myself.
DISCLOSURE: This post may contain affiliate links. If you purchase items through my links I may earn a commission. You will not pay more when buying a product through my link and you do not have to use my links. I only recommend products & systems that I use and love myself, so I know you’ll be in good hands. You can find our full policy here. Thank you in advance for your support.
A good friend of mine is getting married and I am throwing her bridal shower. She is having a pirate themed wedding, so I’m throwing a pirate themed bridal shower. These mason jars are going to be part of the centerpieces for the table.
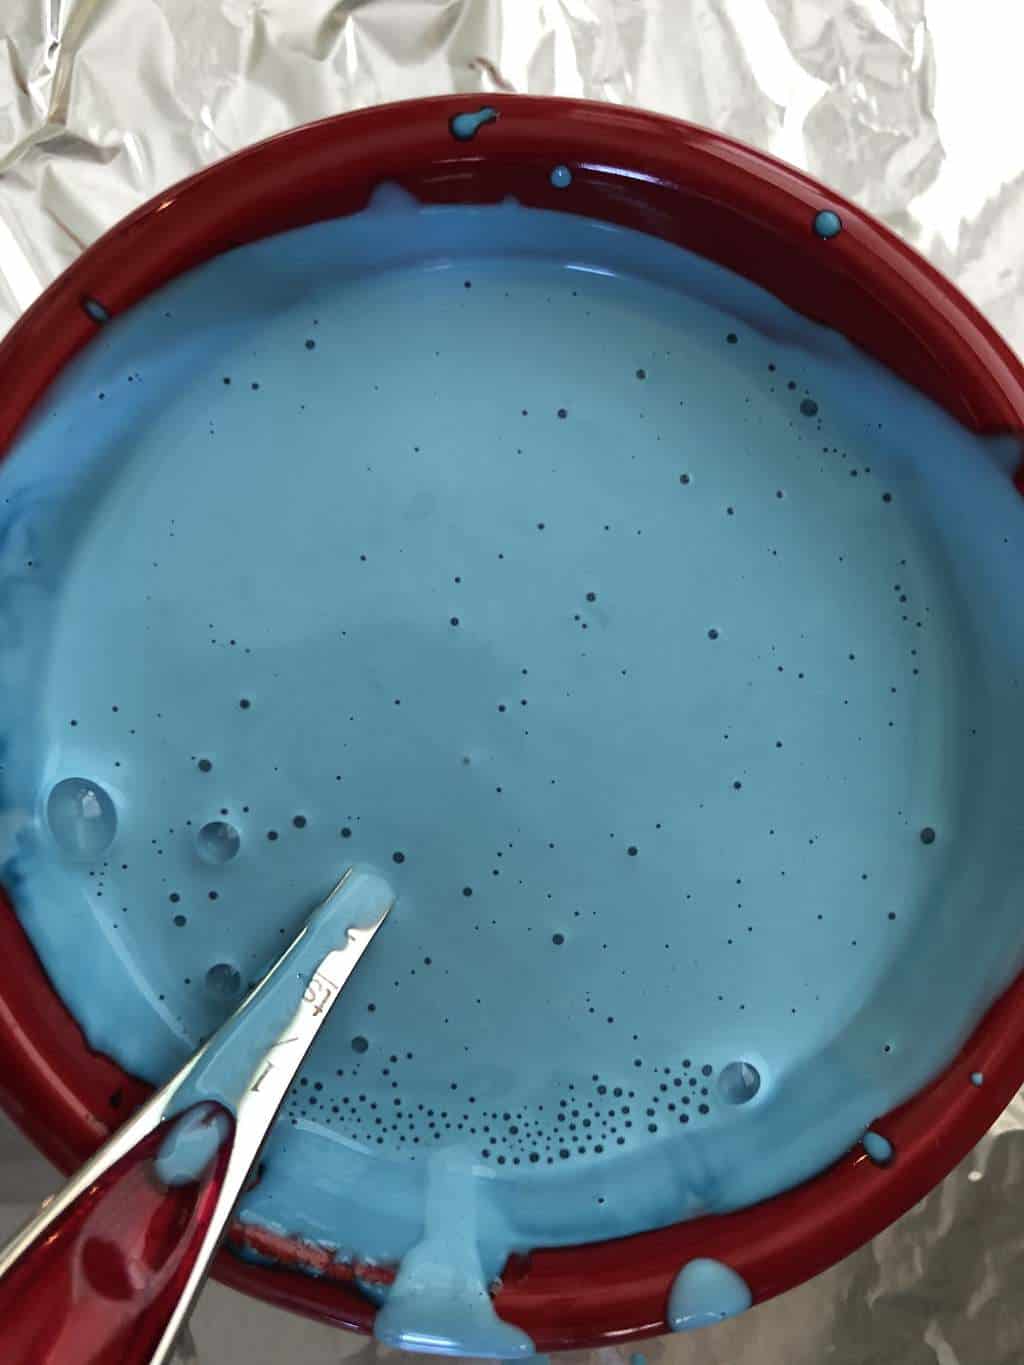
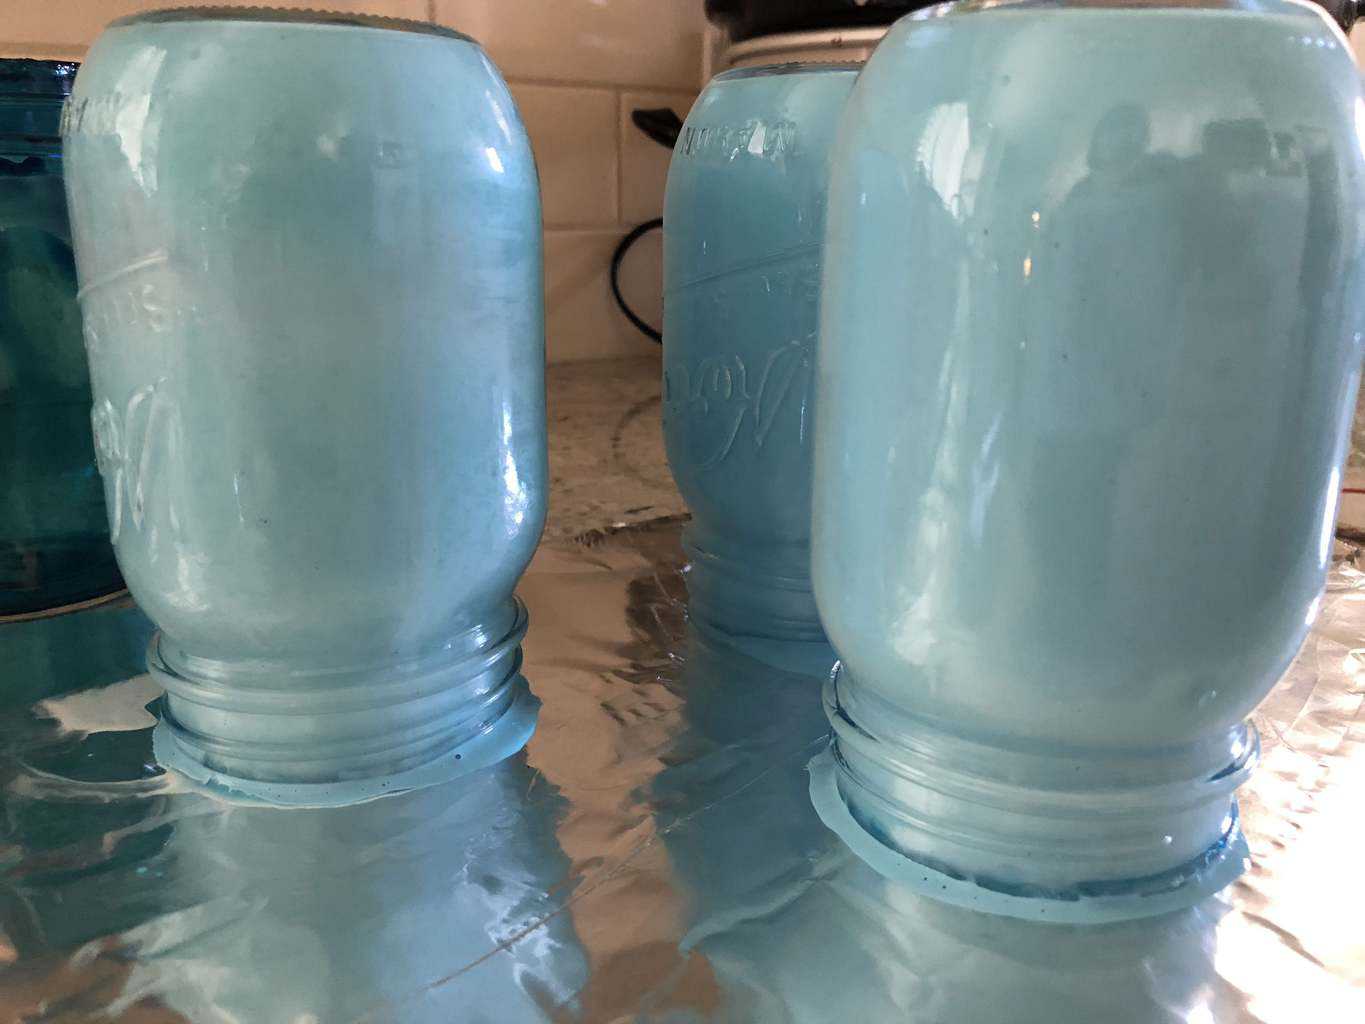
These are not that difficult to make, but it can take a little trial and error. You can change the hue of the color by using less water, the less water you use the more drips there will be. You can use any color you want it doesn’t have to be blue.
How to create tinted mason jars to use in different projects As an Amazon Associate and member of other affiliate programs, I earn from qualifying purchases.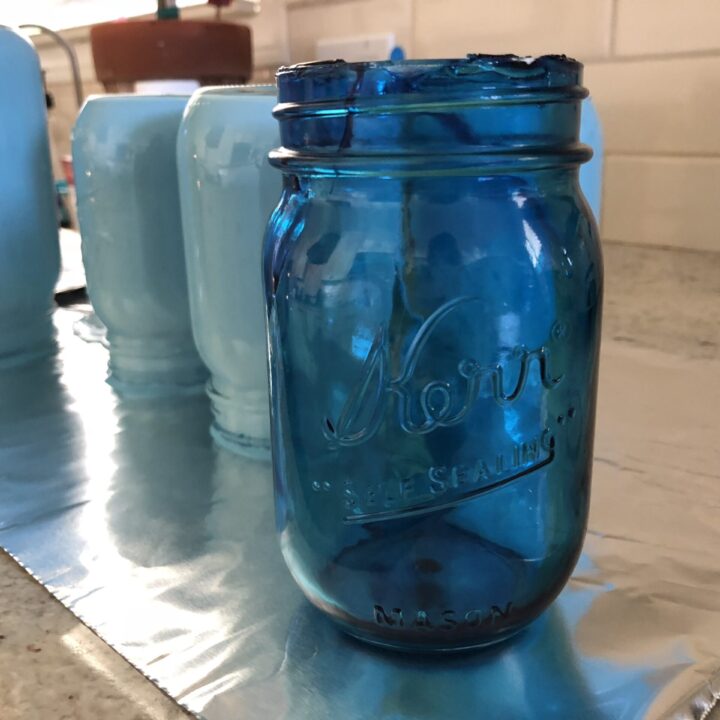
How to Make Tinted Mason Jars
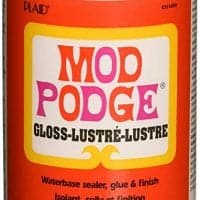
Materials
Tools
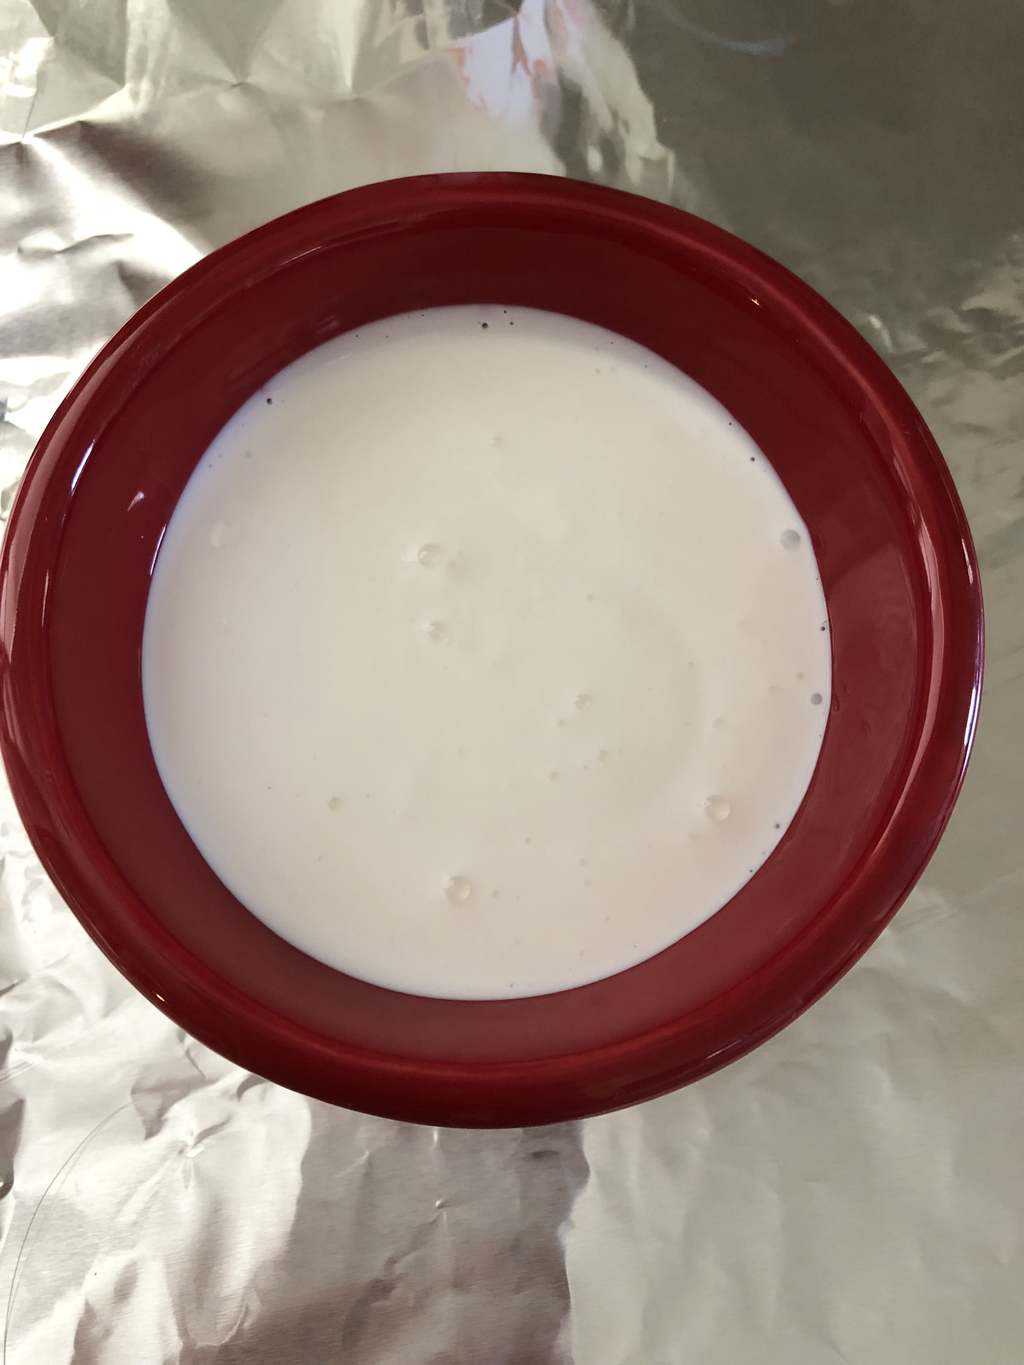
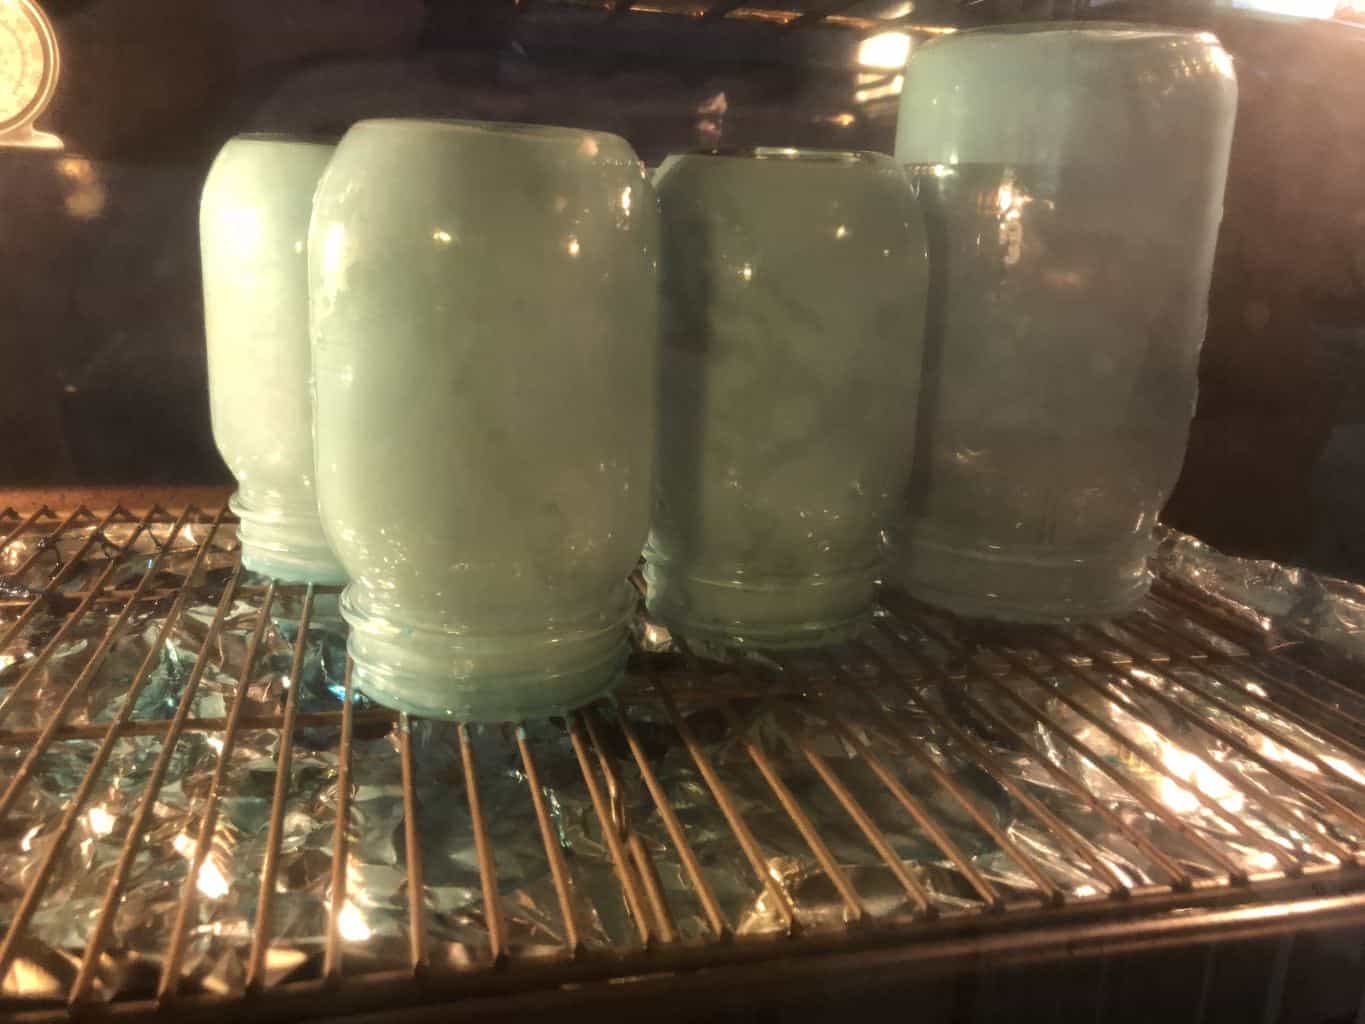
Instructions

Recommended Products
You get a deeper hue than the mason jars you can buy, and these are fully customizable. So if you want green or pink or purple, the sky is the limit. What is your favorite color?
I think these would be just lovely in greens and reds for Christmas!
Be sure to check out how I made these into net covered centerpieces for the pirate bridal shower!
What great directions. I wanted to do this when I remodeled my bathroom with an ocean theme.but did not know I could color my own jars. I am remodeling my kitchen and will be sure to buy these items. This is such handy knowledge and sure to help me transform my kitchen with the perfect color scheme. Thanks so much for sharing your knowledge.
Wondering if these would be food safe, dish washer safe or hand wadh
Hello! These would not be food safe, you could probably hand wash them, I’m not sure if they would be dishwasher safe. I use them as centerpieces or to hold art supplies, so I’ve never washed them.
This worked out great. Tinted a bunch of sharing jars antique blue and green. Mod podge some pressed flowers on the outside.
I would like to add color to the outside of some old glass oil lamps could this also be done on the outside of the glass?
I don’t see why you couldn’t do it on the outside of the glass. You’d just need to be really cautious about drips. The inside helps to hide the imperfections.
Pingback: Pirate Bridal Shower Decorations - DIY with Amy
Can you tint the outside of jar (except the rim) and make them food safe?
Love this!!! I have turquoise ball jars and wondering if you think I’d be able to make them a more navy blue?
I’ve been wanting to try something to change the color and hopefully this would work.
I’m honestly not sure if it will change the color much. I would try with one before trying with all of them. Would love to hear the results!