
Wanting to replace some worn out toilets, lead to us learning how to remove banjo counter tops.

The toilets in the house are original to the house from the 90s. They have some cracks and weren’t all seated properly. So I knew I wanted to replace the toilets.
The only problem was we the banjo counter tops. And standard toilets wouldn’t fit under the them. Any toilets that would fit under were so expensive and really short.
Buying an expensive toilet that we didn’t even like seemed silly. It was cheaper to replace the vanity or we could try to cut the banjo counter tops
We looked into new vanities and they’re all around $400. There’s nothing wrong with the current vanity, and I really wanted to keep it if it was an option.
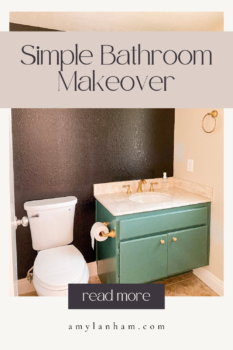
How to Remove Banjo Counter Tops
We decided to attempt cutting the counter top. I figured worse case scenario we’d just have to buy a new vanity. So it was worth seeing if we could cut them.
What You Need:
Tools Needed:
- Circular saw with a diamond blade
- Grinder
- Shop Vac
- Ruler
- Safety Gear
- Putty Knife
Supplies Needed:
- Blue Tape
- Sharpe
- Mud
- Texture Spray (optional)
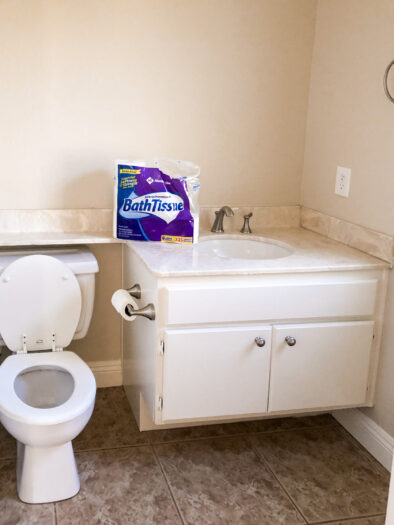
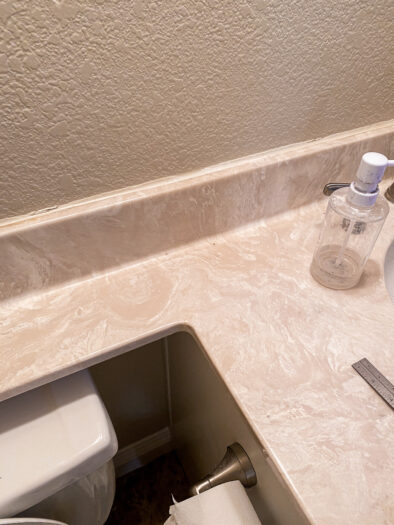
What is a Banjo Counter Top?
I’m sure you’ve seen one before. A banjo counter top go over the top of the toilets to create a sort of shelf. I’m not really sure what the purpose of the shelf is.
These were really popular in the 80s and 90s for some reason.
How Do I Know If the Counter Top Can Be Cut?
Do you know what kind of material your counter top is made from? Most types of counter tops can be cut.
We consulted a contractor friend who said we could definitely cut them. We’re not entirely sure what the counter top is made of, but again we felt confident after talking to our contractor that we could do the project. Make sure to consult someone before cutting your counter top to ensure it can be cut.
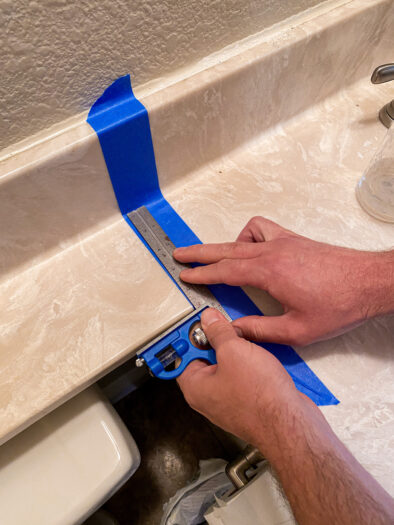
How to Cut a Banjo Counter Top
To cut the counter top we used a circular saw with a diamond blade. We used blue tape to tape off the counter first and a straight ruler and a sharpie to make the line for the cut.
This makes a mess, but we used a shop vac to try to limit the mess as much as possible. Be sure to wear proper safety gear, masks, long sleeves, and eye protection.
It helps to have two or more people. One person cutting, one person to hold the shop vac to try to catch as much debris as possible.

We went slow and were able to cut the counter relatively straight with no problem. Then just pulled the counter away from the wall. We used a grinder to grind down the edge to make sure there are no sharp edges.
Fixing the Wall
Pulling the counter top away from the wall will leave a little bit of a hole and might pull some paint away. We used a tool to pull any of the remaining wood away from the wall as well.
If you’re having trouble pulling anything away, it’s probably caulked, and you will need to cut the caulk with a utility knife. We didn’t have that problem here.
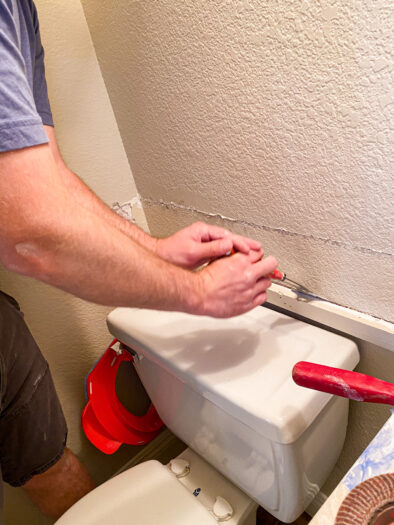
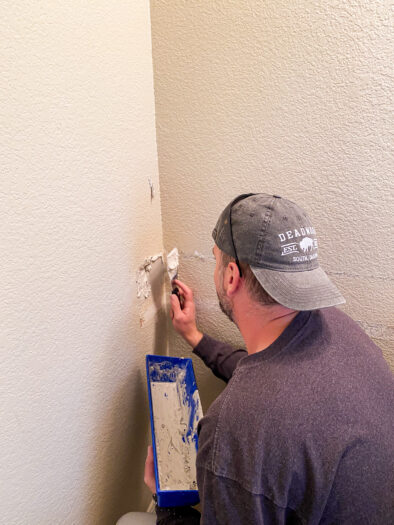
We bought some mud from Home Depot and then mudded the wall.
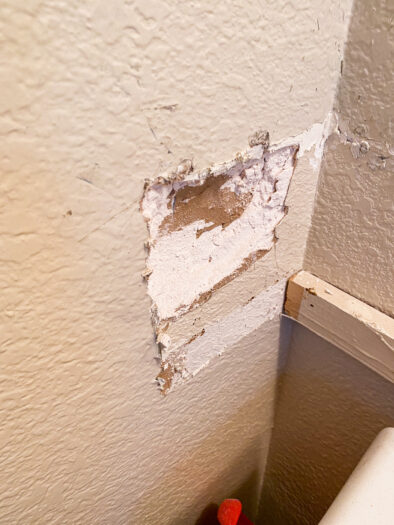
My wall is textured, so we bought textured spray too. It was really easy to work with. The patch is barely noticeable.
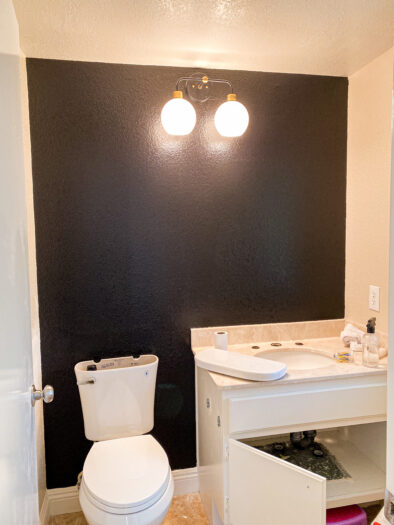
Once the counter was cut, I was able to paint the bathroom to update it a little bit. And was totally worth it to be able to replace the toilet!
What’s Next?
If you liked this bathroom project, you’ll probably like these other projects too.

Thank you so much! I had to spend 800 bucks on a new one piece toilet due to this banjo problem and couldn’t afford or hire someone to do what you did, nor did I have the tools or confidence to attempt this!
Several years later, my overpriced toilet needed a new worn out valve inside, and it’s a challenge to work on the replacement due to this banjo countertop, as it gets in the way. Looked all over for a video to cut it off and to no avail. I’m so happy I found rhis tutorial and now I know my husband can easily do this! Thanks again! Your bathroon looks great!
Thank you! I had also tried looking for a video and couldn’t find one. I hope you guys are able to cut it!
This is a great post! Thank you.
How did you finish the cut piece and backsplash to match the rest of the trim?
We just used a grinder to grind the edge down so it wasn’t sharp. That was it. Then added a little caulk to the edge of the cut backsplash to keep water from going behind and then patched and painted the wall.