
Quarantine was a pretty crazy time. Since we were home anyway, we figured why not figure out how to make a garden at home. So that’s exactly what we did!
I’ve always wanted a beautiful backyard garden space. I just think they are a beautiful way to use a backyard space. It’s so nice to have home grown food and I just think they’re beautiful.
With given all this time at home we wanted to really transform our space. So we decided to create a beautiful garden space for our family to enjoy.
I also thought it was important to create this place for the whole family, so we included a dirt pit for the kids, in addition to all the learning they’ll be getting in the garden as well!
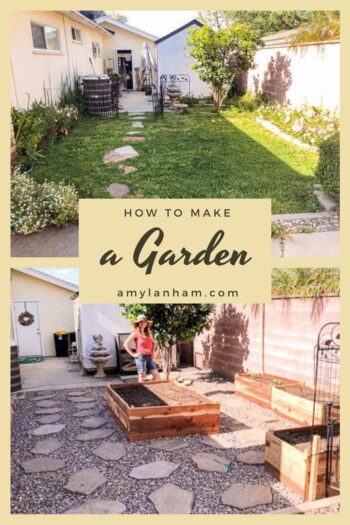
How to Make a Garden at Home
1. Survey your light
The most important thing to do when making a garden is to survey the light. You need to make sure that your plants are going to have enough sunlight to thrive.
We actually did this, but still messed up! I probably should have switched the kids dirt pit and our planters, so that the planters would get the afternoon sun. But it’s fine.
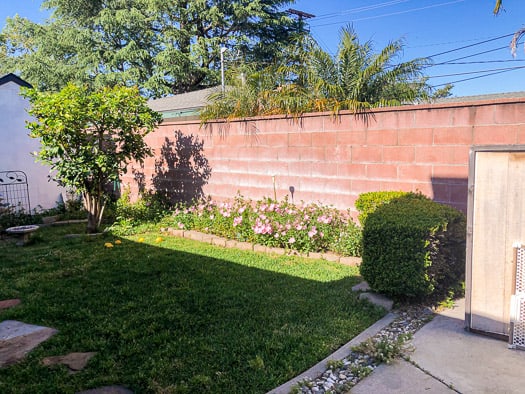
Your plants don’t have to be in full sun all day long, they just might not grow as quickly. Figure out which spots get the most amount of light, and plan your planters for that spot.
2. Decide how you want to make your planters
DISCLOSURE: This post may contain affiliate links. If you purchase items through my links I may earn a commission. You can find our full policy here. Thank you.
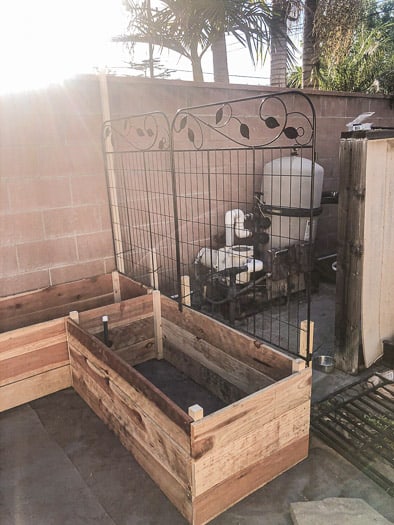
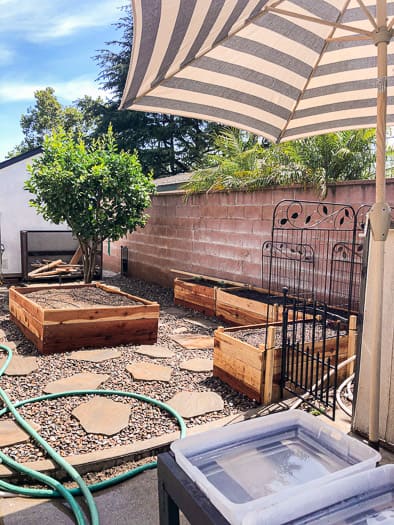
We chose to make our planters out of and I wanted them to be 18″ high for easy planting and harvesting, with less bending over. We also have a waist high planter and that one is the easiest for planting and harvesting.
The boxes don’t have to be that tall, or if you have good soil, you can plant directly in the soil. You can also use containers! There are so many options.
We had tons of grass and lots of invasive weeds, so building boxes was our best choice. Plus, I love the aesthetic of boxes.
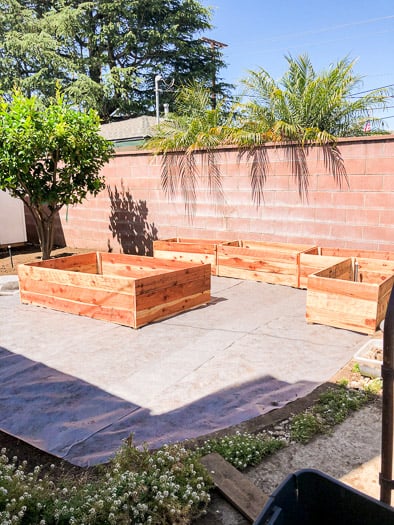
When , make sure they aren’t too big. We chose 2 feet by 4 feet for the majority of our boxes. These are up against a wall and we can’t walk around so we picked only 2 feet wide to make harvesting easy.
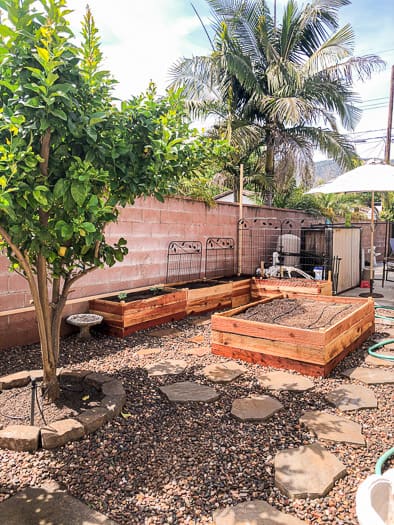
Then we have one box 4 feet by 6 feet. Anything wider than 4 feet with be hard to harvest the plants in the middle.
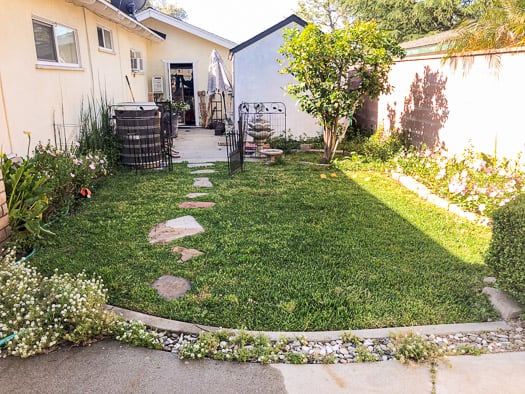
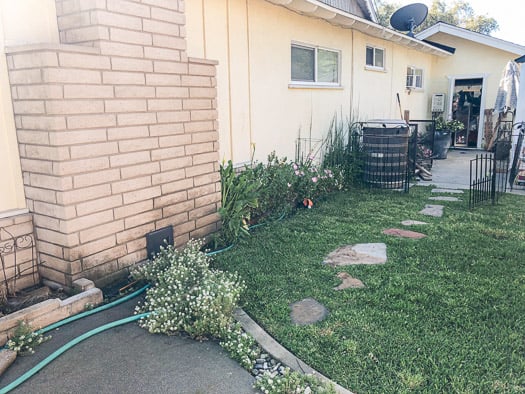
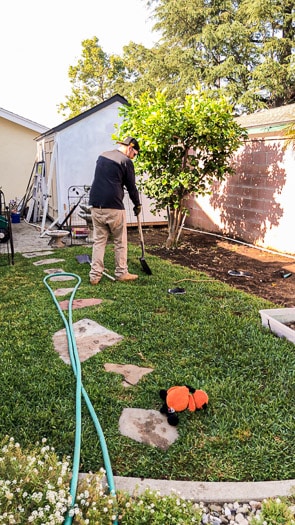
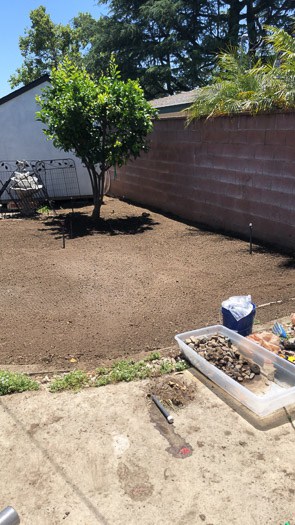
3. Prep your ground
Like I mentioned before, our space had a lot of grass and invasive weeds. So we had to rip everything out in order to create a clean area for planting.

Then we leveled the ground, so that the boxes will have a level surface to sit on. We also laid down to block the grass and weeds from growing into our boxes.
Once the weed fabric was nailed into place, we gently placed the boxes on top in the spaces that we wanted them. Then laid all around.
4. Prep your soil
The most important part of how to make a garden at home is the soil!
Whether you’re going to plant straight into the ground or into planter boxes, soil is so important. We bought a special from a local nursery, some top soil mulch, and I also bought and .
We layered the special veggie mix into the boxes first and took that most of the way up to the top. Then we layered in 2-3 inches of the top soil mulch.
5. Plant your plants!
Now plant the plants. We bought some seeds and also some seedlings. When planting seedlings, I like to dig a hole, add some fertilizer, then plant and water generously.

For seeds, I water the area first, then plant my seeds, then water again. I wait to fertilize until the seeds have sprouted.
Although, I prefer to grow my succession seeds in cups outside of my beds as I have better success that way, the initial seeds are pretty easy to grow inside the beds.
6. Fun elements
I really wanted to garden to be fun for the whole family. We we’re going to be spending a lot of time here tending to the garden, so I wanted there to be something fun and special for the kids as well.
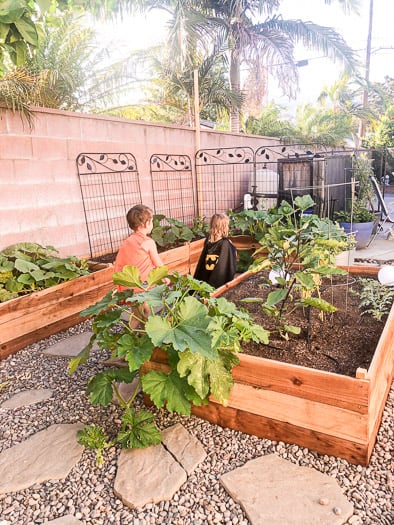
This led to me building a little dirt pit for the kids. Since we tore up all the grass anyway, it wasn’t that hard to build. The kids love playing in the dirt/mud pit and it was such a great addition to this space!
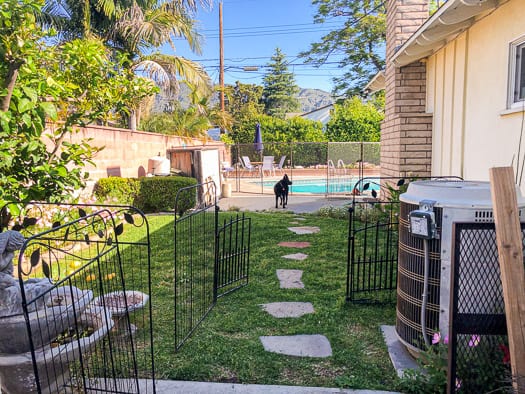
We also added some benches for sitting, DIY trellises, and this privacy screen around our AC.
I can’t even tell you how much I love this space! It has been so great for our family and has given me something constructive to do during this stressful time.
Now that you know how to make a garden at home, also check out these fun free printable seed packets for when you start saving your own seeds!