
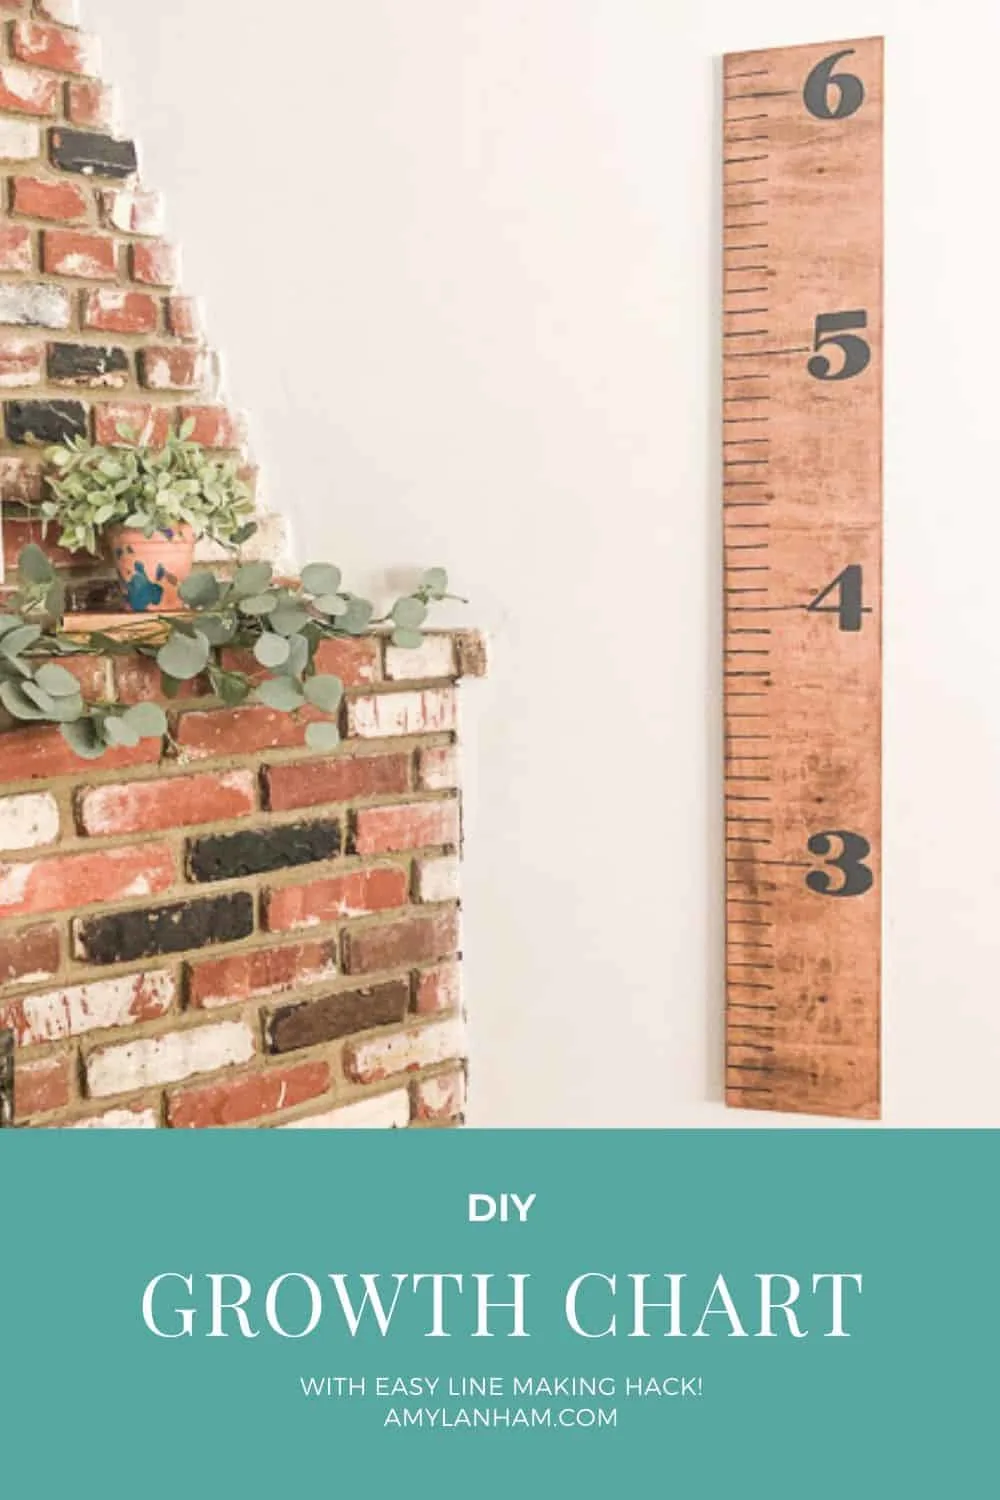
If you rent a house or aren’t in your forever home a growth chart DIY would be the perfect thing! You can still measure your kids as they grow and be able to take it with you if you move!
DISCLOSURE: This post may contain affiliate links. If you purchase items through my links I may earn a commission. You can find our full policy here. Thank you.
We’ve been renting for years now, and we’ve moved pretty frequently. As soon as I got pregnant, I knew I wanted a growth chart that I could take with us when we moved.
But they are so expensive! I found this cheap one at Michaels for $3 on sale and decided it would work great.
The growth chart originally started at 1 and only went to 4. So I easily changed it by putting some blocks with new numbers over the old numbers so that I wouldn’t have to redo the whole thing.
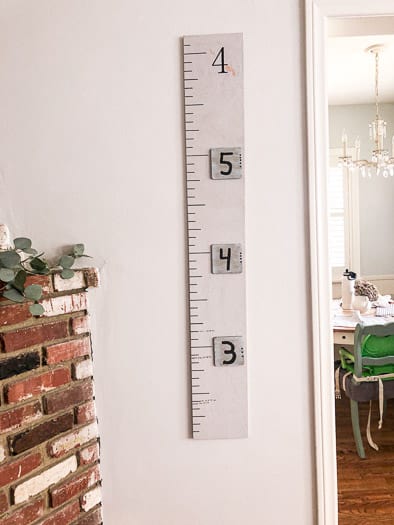
I never totally loved it, but I thought the number lines would be a pain in the butt to redo. So I put it off for 4 years!
Growth Chart DIY
As I’ve really honed in on my aesthetic at home, I have decided that this growth chart just didn’t match what I wanted for my home. So I changed it!
I really wanted a wood tone chart. I wasn’t sure what this growth chart was made of, so I sanded off a small portion of the back to make sure it was wood.
If you don’t have a piece of wood to work with already, you can get a 1×8 board in whatever length you want!
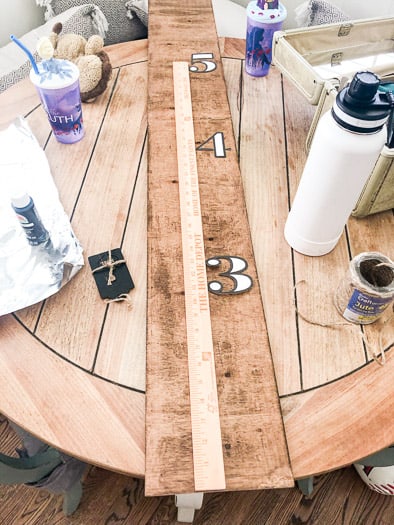
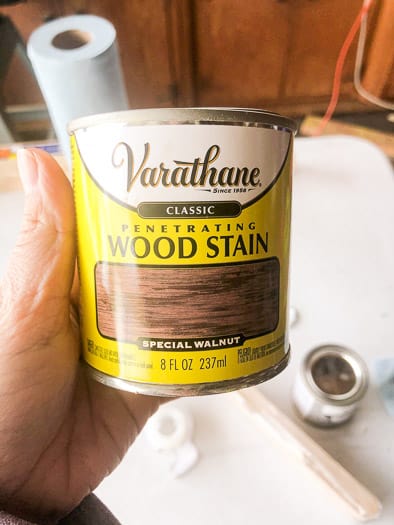
First, I sanded down the front of the old growth chart to take all the paint off. Then I stained it a dark walnut color, since I felt that would go best with my house.

After the stain was dry, I decided to polyurethane it. I’m not sure if this is entirely necessary, but I did it anyway.
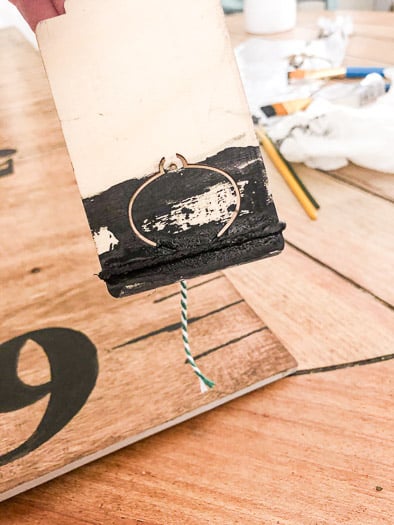
There are a number of ways to make the growth chart lines. I chose to make a quick and easy stamp. I wrapped a piece of twine around a block and used this as my stamp.
Just place it in your paint, and then stamp it onto the growth chart. I used a yard stick to make sure my lines were spaced out 1 inch each. On the foot marks, I stamped twice, so the line would be longer.
Then I created a stencil to make the numbers. Did you know it’s really easy to create a custom stencil?
I just traced the numbers onto the growth chart, and then painted them in.
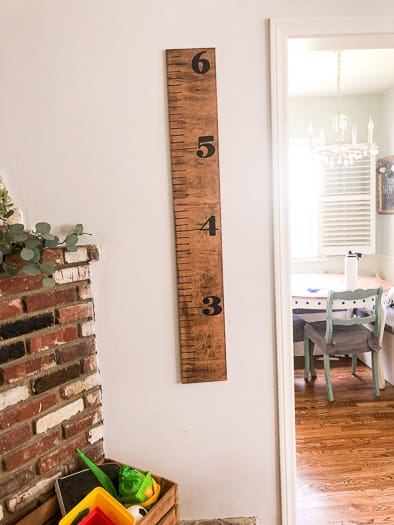
Done! It was so much less time consuming than I thought it was going to be. And now I have a growth chart that matches my decor perfectly!
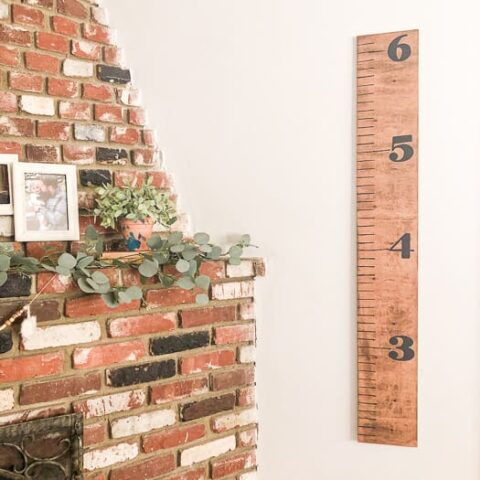
Growth Chart DIY
How to make your own growth chart.
Materials
- 4 foot 1x8 board
- Stain
- Number Stencil
- Twine wrapped block
- Paint
- Polyurethane
- Ruler/Yard Stick/Tape Measure
Tools
- Paint Brush
Instructions
- Stain your 1x8 board. Wait for it to dry.

- Polyurethane your board to ensure it stays nice.
- Wrap twine around a block in order to create a stencil for your lines.
- Use a ruler/yard stick/tape measure to make sure your lines are spaced out every 1 inch.
- Use your number stencils to create numbers 3, 4, 5, 6 on your ruler.
- Install your diy growth chart 2 feet off the floor!
I enjoyed your way of doing this Growth chart very simple and saved me time thank you.