
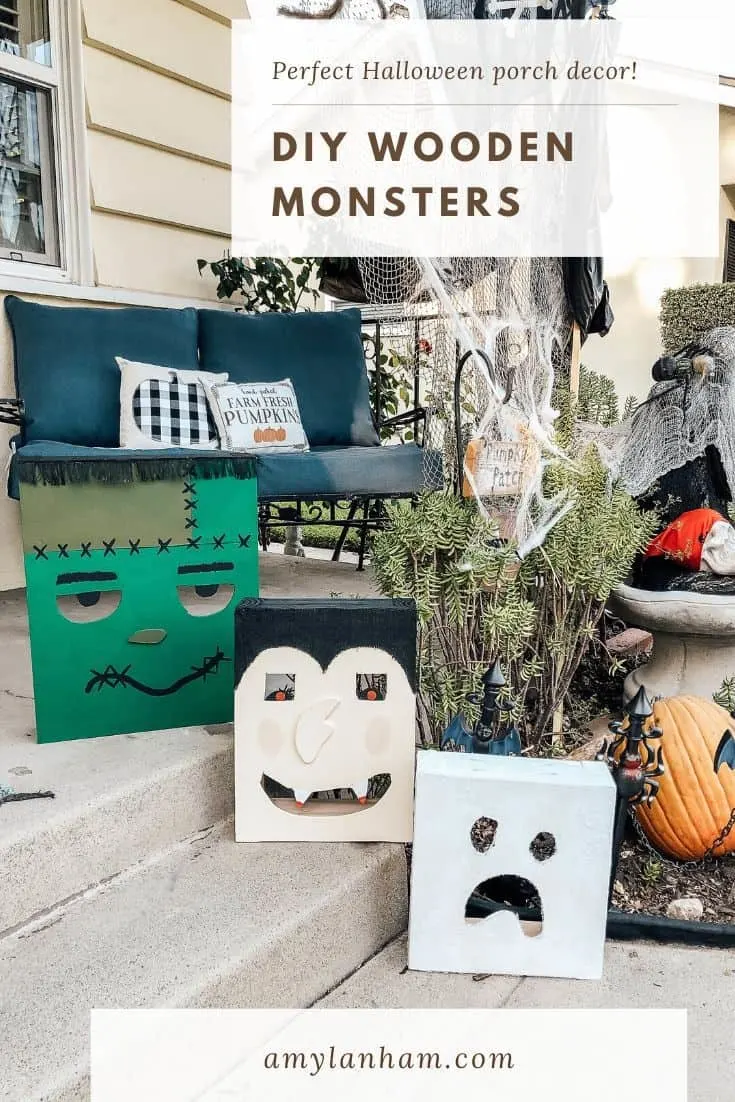
I love the way these DIY outdoor Halloween monsters turned out! Such an easy and fun project and it’s so versatile.
DISCLOSURE: This post may contain affiliate links. If you purchase items through my links I may earn a commission. You can find our full policy here. Thank you.
Do you ever have a project that you’re really excited for and can’t wait to start? This was that project for me.
I thought of the idea to make these DIY outdoor Halloween monsters for our porch in early September. But September was the month of sickness around our house, so I had to wait.
Because I needed John to make the base boxes and wait until we all got better, I didn’t end up finishing this project until the beginning of October. But that’s ok! These wooden monsters will be able to be displayed for years to come.
This project also cost us almost no money! I love a good budget friendly project!
DIY Outdoor Halloween Monsters
The 2x4s and 1/4 inch plywood we had left over from our kitchen benches. All I needed to buy was a couple paints.
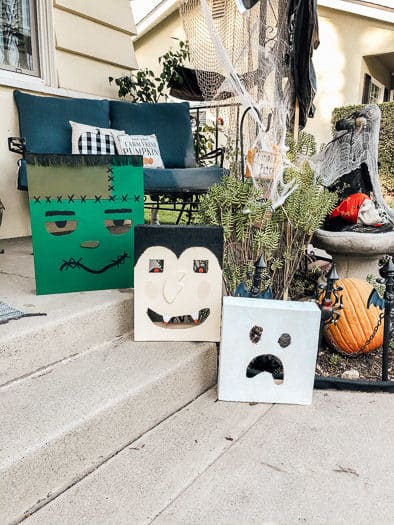
I decided to make Frankenstein, Dracula, and a witch. But once the boxes were all made and we started drawing on faces I couldn’t quite figure out the witch. So I changed it into a ghost.
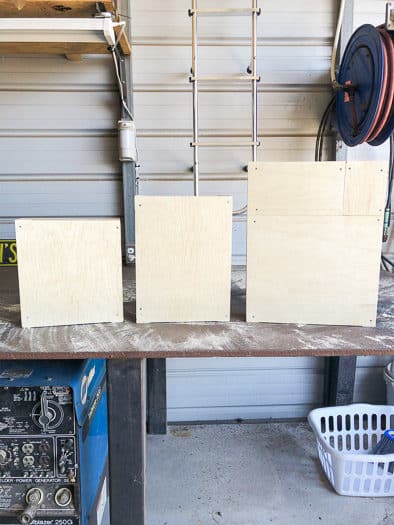
John made the boxes for me out of 2x4s and 1/4 inch plywood. Then I drew some faces on and he used a jigsaw to cut them out. The plan is to put lights in the back so that the eyes and mouths will light up at night!
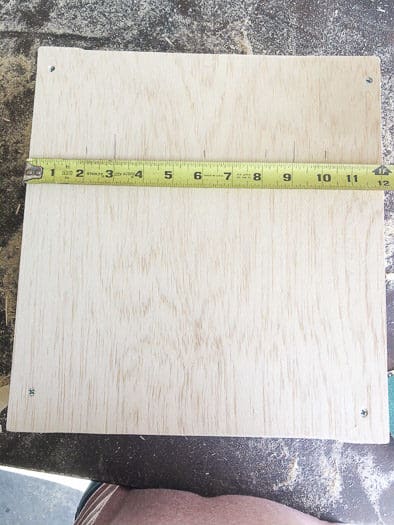
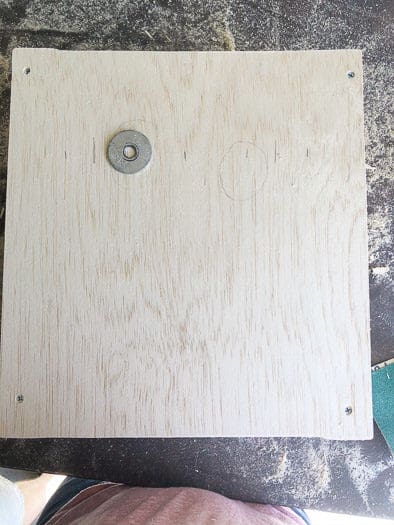
I used a pencil to draw on the faces first. Measure the boxes, mark every 2 inches and then center the features.
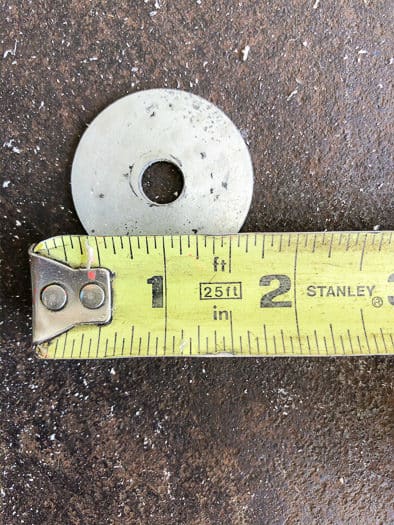
I found a 1.5 inch washer and used that to help make the eyes on all the monsters.
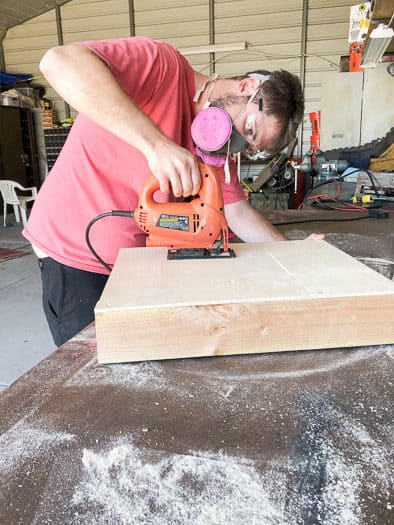
Then, John cut out the eyes and mouths with a jigsaw. Make sure to wear protective gear!
After the boxes were built and the faces cut out, all that was left to do was add some personality! I scavenged around my parents house and found burlap ribbon for Frank’s hair, burlap for Dracula’s hair, and cheesecloth for the ghost.

Decorating the Wooden Monsters
Then I used those items and some paint to transform the DIY outdoor Halloween monsters. Seriously, such an easy project!
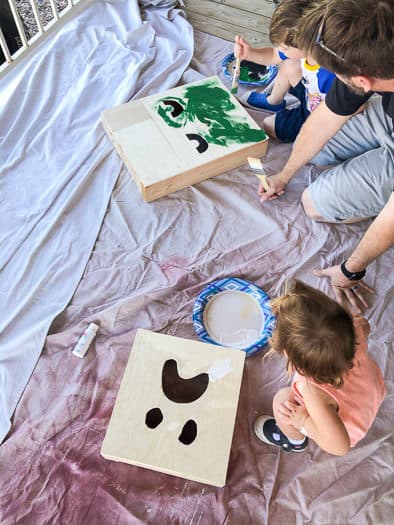
The painting was a great project for the whole family too! since the boxes really just got painted one solid color and then I did the detail work later.
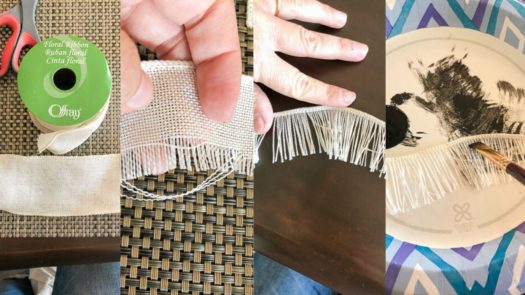
For Frank’s hair, I cut the burlap ribbon in half and then pulled out all the horizontal strings, so all I was left with was the fringe. Then I painted the fringe black on both sides and attached it to his head.
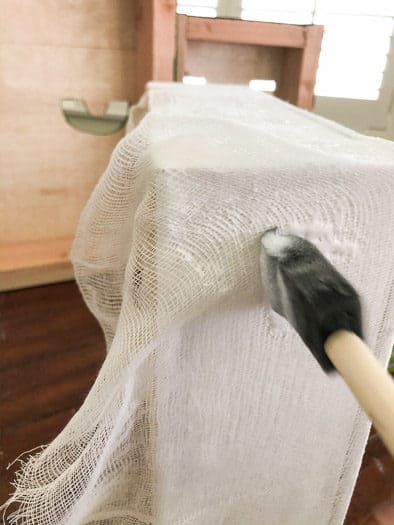
For the ghost, I used Mod Podge to attach the cheese cloth, and then blotted the Mod Podge on top to make sure it was really stuck.
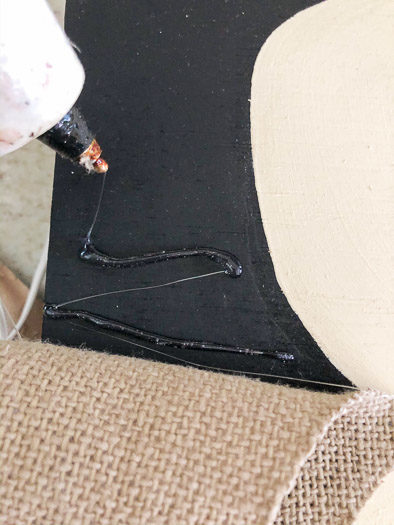
Dracula’s hair was really easy. Just cut the burlap in the shape you want, paint black, and attach with hot glue!

DIY Outdoor Halloween Monsters
Easy, budget-friendly DIY outdoor Halloween monsters for your front porch.
Materials
- 2x4's cut to size - 4-9", 4-13", 2-16", 2-20"
- 1/4 inch plywood cut to size - 16x20, 12x16, 12x13
- 1-1/4" pocket hole screws
- Wood Filler
- Paints
- Pencil
- Burlap
- Cheesecloth
- Wired Burlap Ribbon
- Mod Podge
Instructions
- First, you need to make your boxes. I made 3 different sizes. For Frankenstein, the box was 16x20. Take your 2 13” pieces as the top and bottom and attach them to the 2 20” pieces at the sides. We drilled pocket holes into the 13” pieces and attached with pocket hole screws. For Dracula, the box was 12x16. Take your 2 9” pieces for the top and bottom and attach them to your 2 16” pieces as the sides. We drilled pocket holes into the 9” pieces and attached with pocket hole screws. For the ghost, the box was 12x13. Take your 2 9” pieces as the top and bottom and attach them to the 2 13” pieces at the sides. We drilled pocket holes into the 13” pieces and attached with pocket hole screws.
- Once the boxes are built, you can attach your 1/4" plywood, use a countersink bit to drill the holes, then attach using screws. By a happy accident, we didn't have a piece big enough to cover all of Frankenstein and piece milled it together. It looks awesome. - if you aren't able to cut the plywood before hand, you can attach and then use a router to make the plywood flush with your frame.
- Using an 80 grit sand paper, sand the edges of the 2x4s and plywood to get rid of any 'hairs'
- Use wood filler to fill in the holes on the plywood, let dry, and then lightly sand. You want to overfill the holes slightly so it doesn't sink in while it dries.
- Take a pencil and outline the eyes and mouth, then use a jigsaw to cut out the pieces.
- Go through your cut pieces and find ones that will look good as Frankenstein's and Dracula's nose. You can use your 80 grit sandpaper to shape the noses to make them perfect.
- Use wood glue to attach the noses to your pieces.
- Now that the monsters are all put together, now comes the fun part! Decorating!!
- For the ghost, paint white, then use mod podge to attach cheese cloth. You can dab the mod podge over the cheesecloth to make sure it's really stuck. Make sure you paint the sides of your pieces too!
- For Frankenstein, paint green. To keep with his pieced together nature, you can use two different greens. Use black to paint on eye brows, a mouth, and his eyes. I used burlap ribbon to make his hair. Cut the ribbon in half, pull out the horizontal strings so all you're left with in fringe. Paint it black and then glue it to the top of the wood block.
- For Dracula, paint his face a peach-y white, add ghastly pinkish cheeks. Cut out burlap in the shape of his hair, paint black, and hot glue on.
- DONE!
Notes
You can easily use what you have to decorate the monsters. Or you can just use paint.
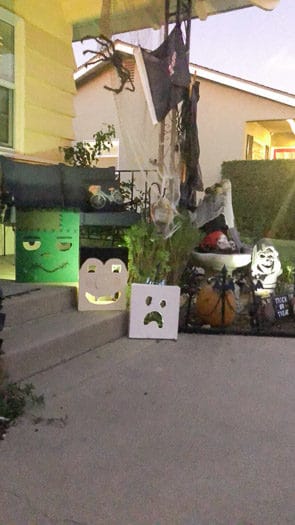
If you want them to light up, just put a light in the back!
It would be really easy to make these in any sizes you see fit. I’m thinking of making some smaller box pumpkins for my piano!
At night, I put lights in the back and then the eyes glow! Looks really cool.
Pingback: 15 Fun Halloween Crafts for Kids - Ottawa Mommy Club
Pingback: 57 DIY Halloween Decor Ideas to Try This Fall - Run To Radiance
Pingback: DIY Floral Pumpkin Centerpiece - amylanham.com
Pingback: Monster Party Fall Porch Decor - Blog Hop - Amy Lanham