
I love these lamps. I bought them at Marshalls a couple years ago and I always meant to find new lampshades for them, but I never got around to it. Well, I noticed that they are getting a little dirty, there’s some smudges on them. I tried to clean it with some vinegar and they wouldn’t come out. So I was on the hunt for new lampshades! But one, lampshades can be expensive! And two, I never know what size to buy to fit my lamp. I’m sure there’s some easy way to figure it out, but it sort of overwhelms me. And since I look at these lamps everyday in my family room, I had to have something that I loved.
I was walking through Michaels one day, looking for something entirely different, and found myself on the paint aisle. I think I was looking for stencil that said Merry Christmas or something and I found this flower like stencil. It was only like $3, I picked it up and thought it looked really cute, but couldn’t decide what I would do with it. So of course I put it back and left.
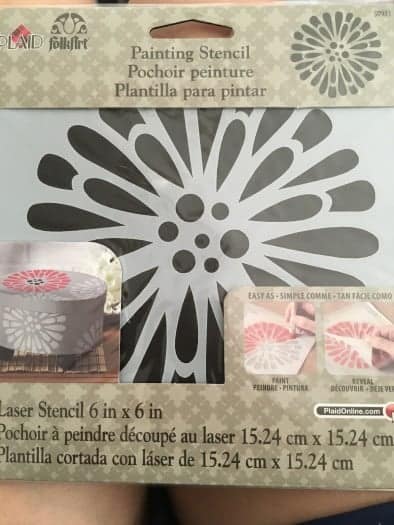
A couple days passed by, and I don’t know why, but it hit me that I should paint my lampshades! I love when I’m just struck with inspiration. So I went back to Michaels and bought this stencil.
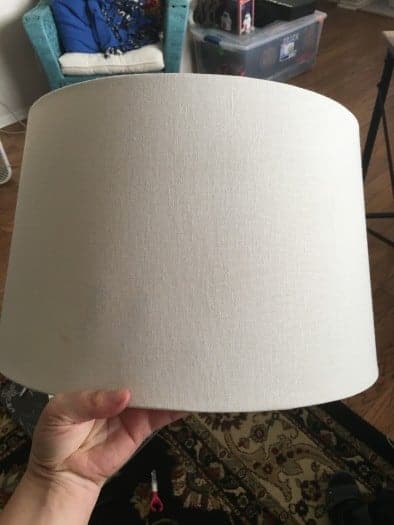
Here is the lampshade before. It’s nothing special, but it is a good quality lampshade. I figured if I didn’t like the end product, I’d just buy new lampshades like I had originally planned. But if I loved them, then I’d only have spent $3 and have a great piece for my house!
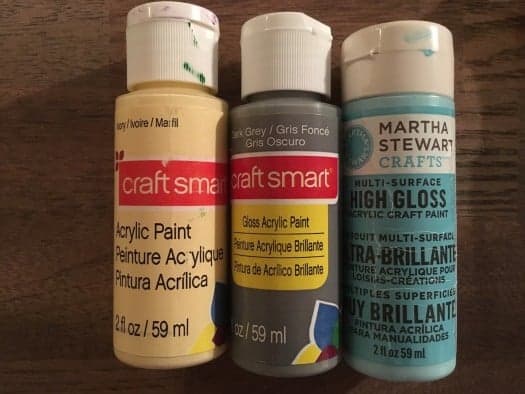
I have tons of paints, so I went through my acrylic paint stash and found these three that I thought matched perfectly to the colors in my house. I wanted the grey to be the main color and then have pops of blue and yellow.
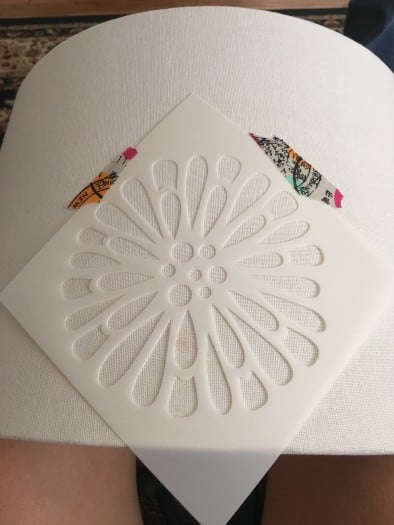
I used some washi tape to tape down the stencil onto the lampshade. I tried to turn the stencil so that it wasn’t exactly the same every time.
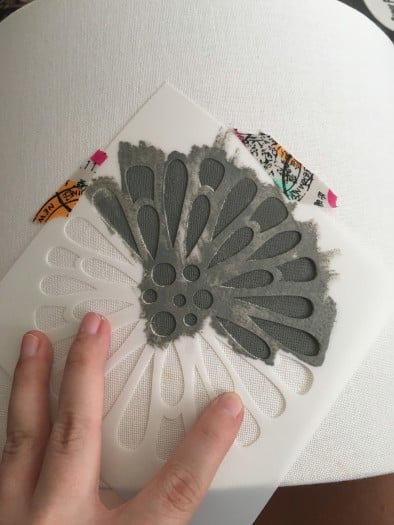
Then I used a sponge brush to apply the paint. I tried to apply it very carefully so that it wouldn’t bleed under the stencil.
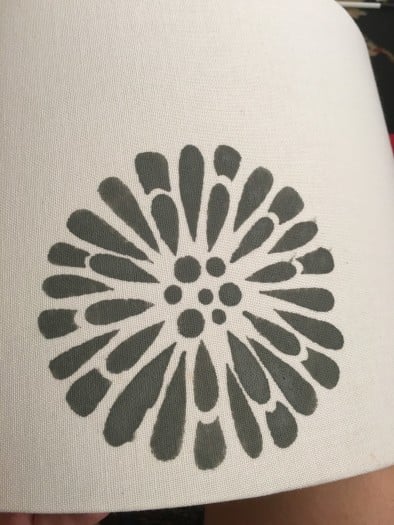
As you can see there was a little bit of bleeding that happen, so the edges aren’t perfectly smooth. I got better as I painted more of them. But the small mess ups are not super noticeable once its all done. I tend to think that with any DIY project that not everything will be perfect. It’s the imperfections that make it unique and unlike anything else.
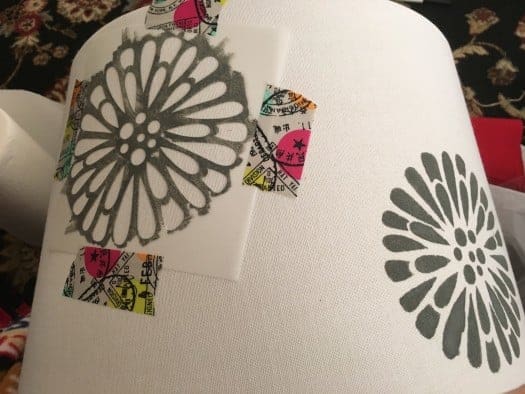
Here you can see that I positioned the stencil sort of diagonally every time I moved it. I also made sure that the stencil covered up any dirt that was on the lampshade. Once I finished making grey flowers all the way around both lampshades, I washed the stencil. I just washed it with warm water and some dawn soap. I then dried it really good and moved on the the blue and yellow paint. I did the blue and yellow at the same time, being careful that they didn’t overlap. I then let them dry overnight, and put them back on the lamps.

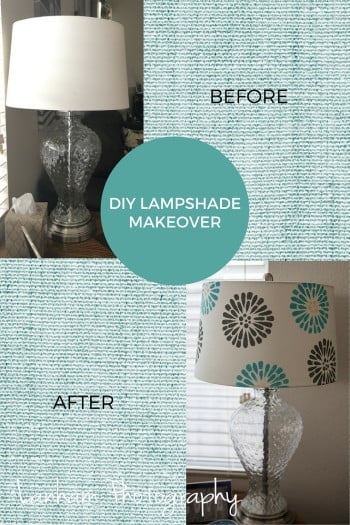
They came out super cute and I really like them! They look great during the day and at night with the light shining through. They don’t block the amount of light that is put out either. This was such an easy way to update my lampshades and make them look cleaner really inexpensively!
For more DIY Projects and Pictures make sure to follow my Pinterest board.