
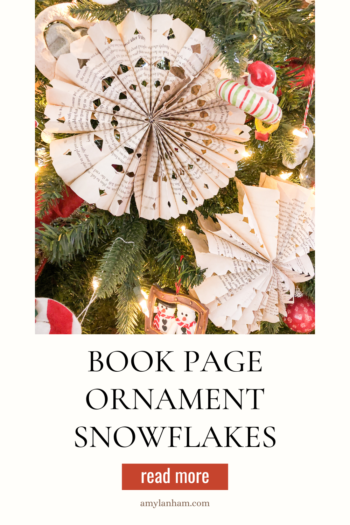
This year all over Instagram are these big paper bag snowflakes. They’re cute and would make a perfect addition to your holiday decor. But I wanted to put a twist on them, so I made book page ornament snowflakes instead.

DISCLOSURE: This post may contain affiliate links. If you purchase items through my links I may earn a commission. You can find our full policy here. Thank you.
I had lots of left over book pages from my Halloween decor. So I used the same logic from the paper bags and made some big snowflakes.
This DIY is so easy because you only need three things and you probably already have them all at home! Book pages, glue, and scissors.
Want more ideas like this? Subscribe today and get access to our VIP library with tons of free printables and our monthly newsletter full of DIY ideas.
Book Page Ornament Snowflakes
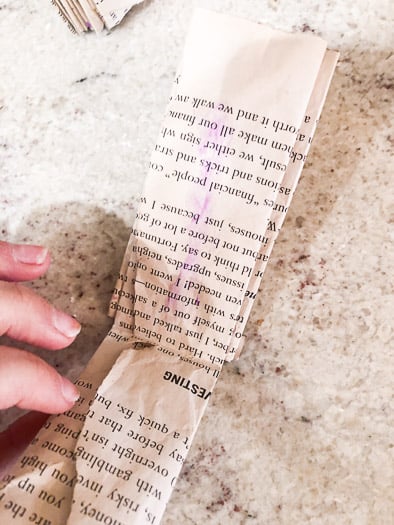
There are two different ways to make them and they both come out looking pretty similar. You can either fold your book pages in half or in thirds.
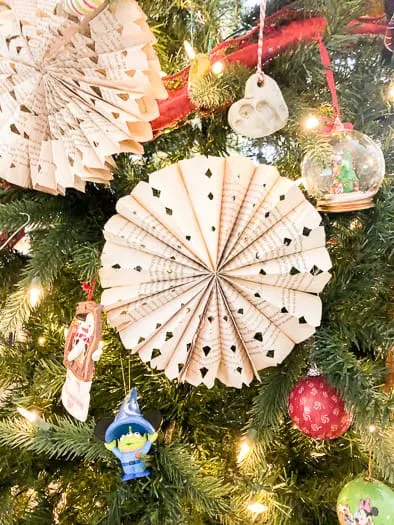
Each of them is unique and will look great in your tree or hanging as decor around the house. They also make great gifts!
They turned out so cute and they are the perfect addition to my Christmas tree. I love how big they are, great for filling holes!
You could also add glitter or other embellishments onto these ornaments. I also think they would look great as a gift topper.
Book Page Ornament Snowflakes

How to make ornaments out of book pages to display in your Christmas tree
Materials
- Book
- Tea
- Glue
Tools
- Scissors
Instructions
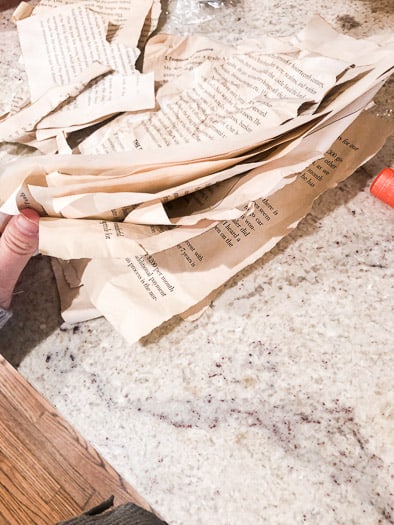
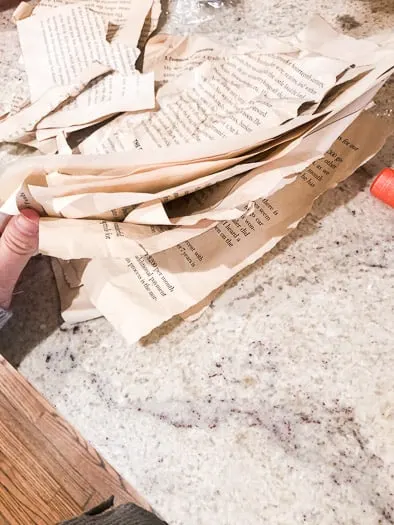
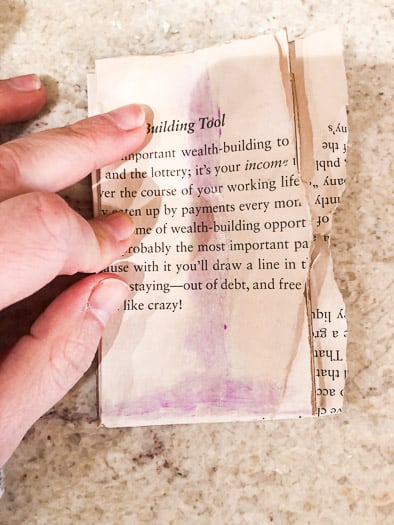
- Rip pages out of a book and let them soak in tea and then dry
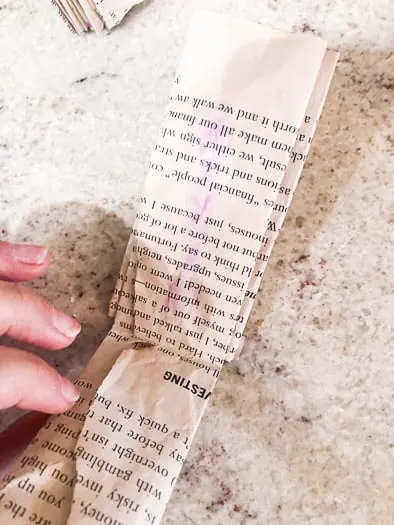
- Once dry, fold the pages in half
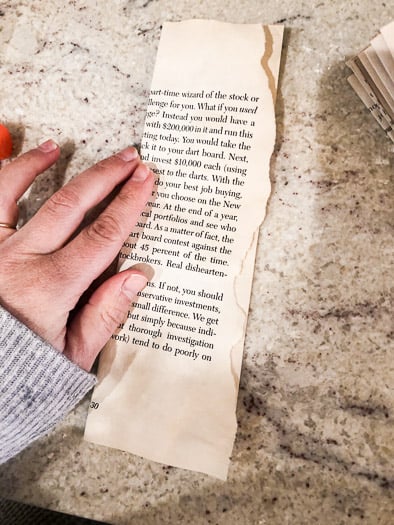
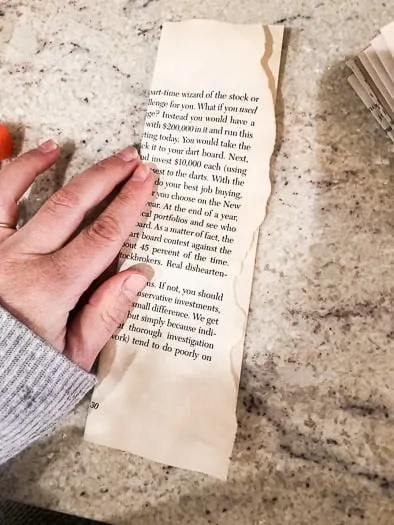 or in thirds along the shortest edge
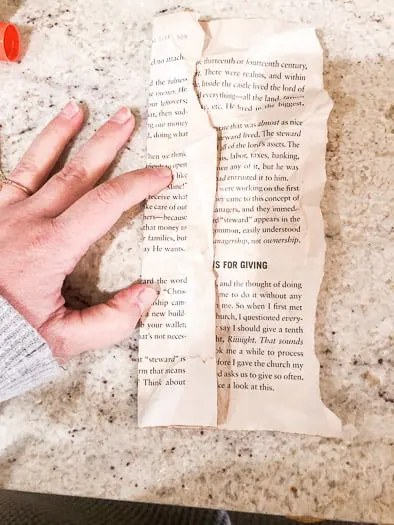
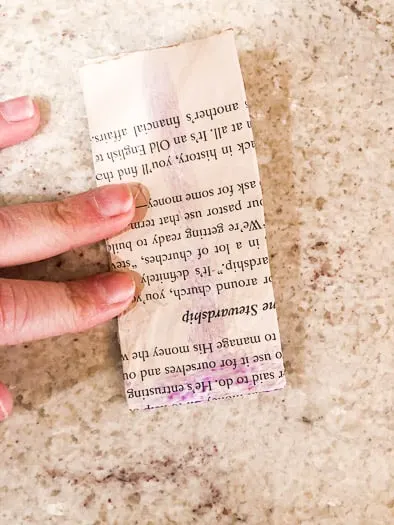
- Then fold the page in the half so the two shortest edges are touching

- Glue along the middle of the fold so the two halves of the paper are glued together
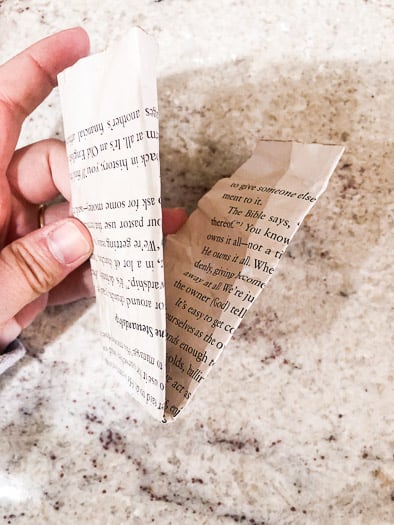
- On the outside, glue along the middle and bottom edge,

 stick the next bundle onto this.
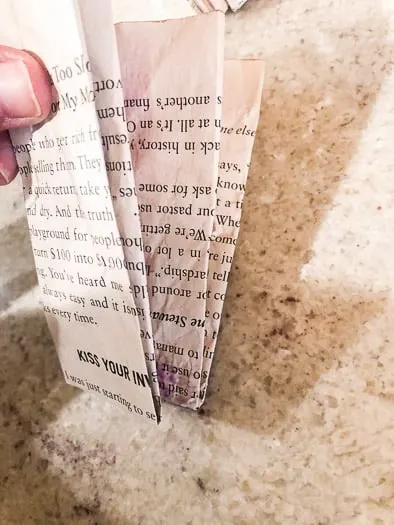
- Cut shapes in the edges as you go.

- Continue doing this until you have 12+ sheets glued together.

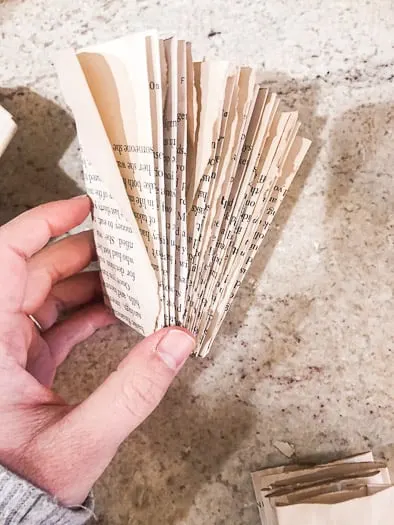
- Open the snowflake up and glue the two sides together to complete your snowflake
Love the ideas you see here on AmyLanham.com? Subscribe today and get access to our VIP library with tons of free printables and our monthly newsletter full of DIY ideas.
Other Crafts
If you like these ornaments, check out these other Christmas ornaments:


Elaine
Wednesday 23rd of November 2022
Love these snowflakes!