
Beginning of week 3 of the One Room Challenge! So excited to finally start the trailer remodel painting and see what the colors I chose actually look like on the walls.
Week 1 / Week 2 / Week 3 / Week 4 / Week 5 / Week 6
The whole family headed out to my parents house for the weekend. I didn’t get as much done the previous week as I had wanted and my mom offered to help me paint.
So we headed out to their house for a weekend of painting and to let the kids play.
Trailer Remodel Painting
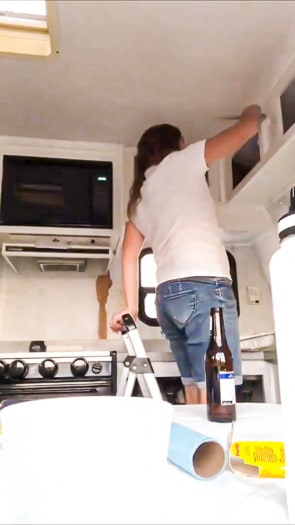
My mom painted the kitchen since I had already cleaned and primed it last week. While she was doing that, I cleaned and primed the center, ‘living room’ of the trailer.
It was at this point that I decided this is as much as I’m going to work on for the One Room Challenge. I’ll save the bedroom and bathroom for another time.
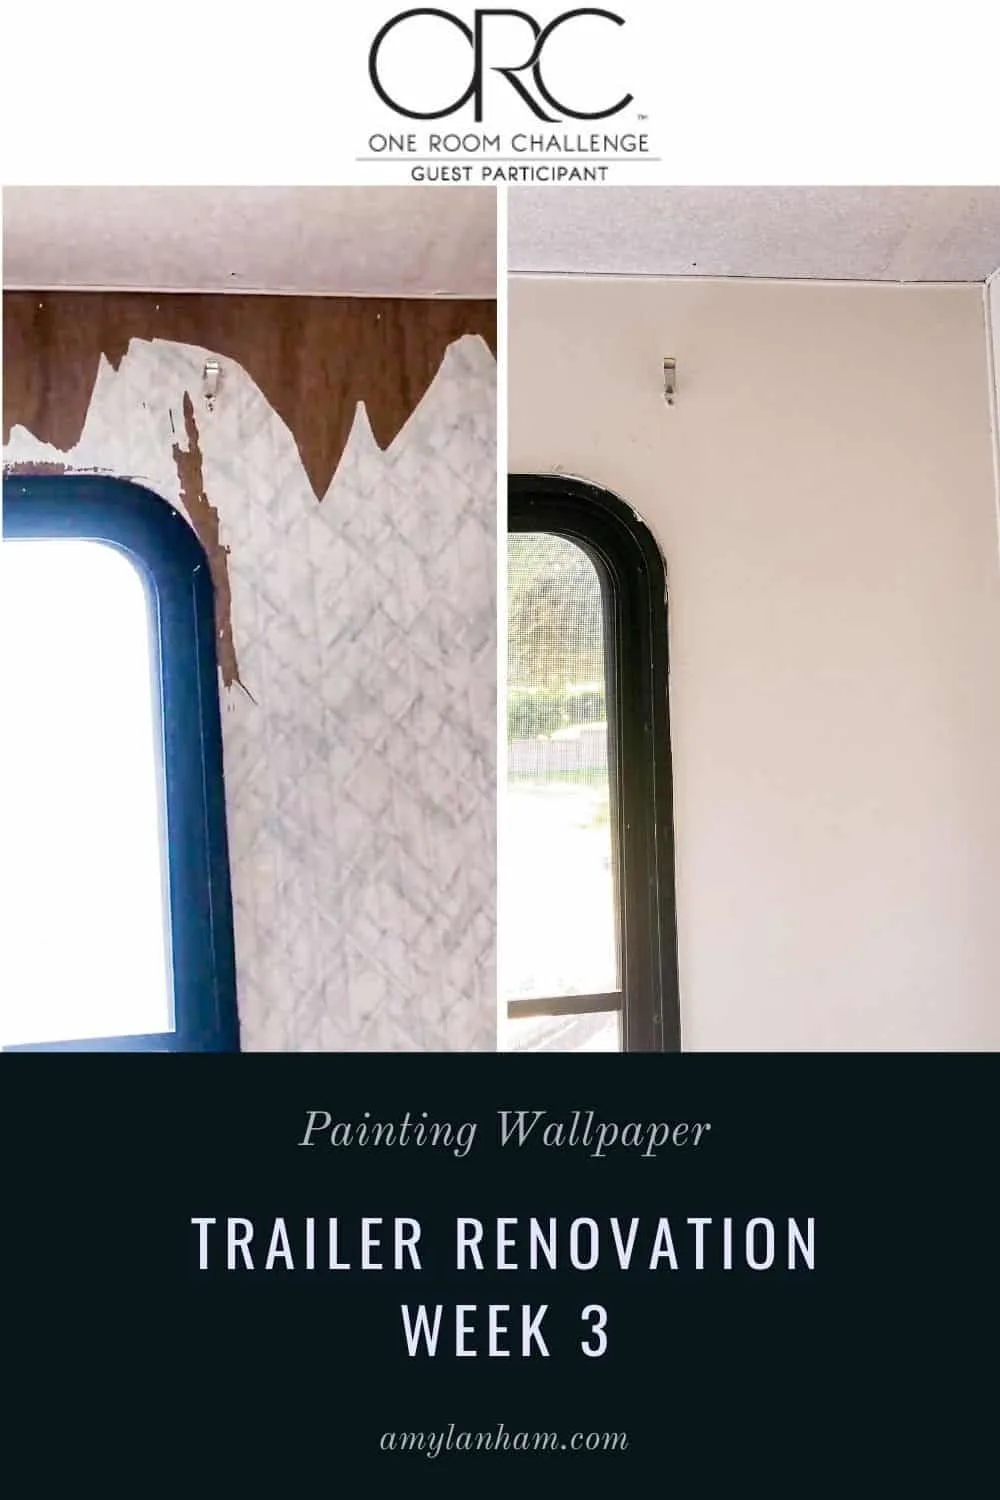
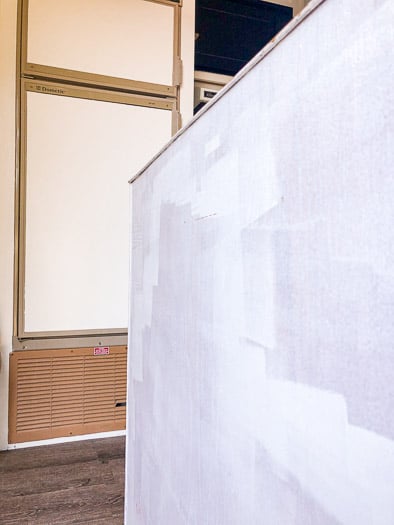
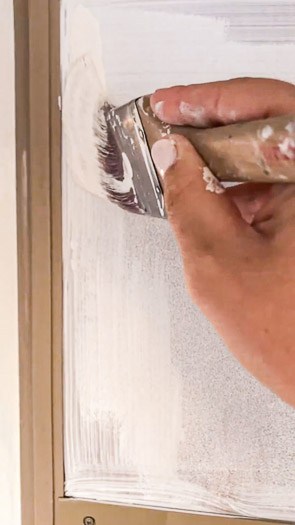
The living room area has the largest wall in the whole trailer. And the wallpaper was really peeling on this wall.
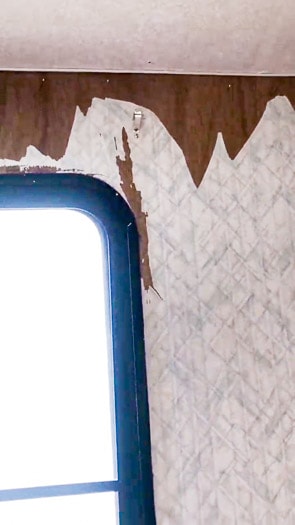
I took a putty knife and got off as much of the wallpaper as I could, but its unrealistic for me to remove all the wallpaper. I decided to just paint over it and hope for the best.
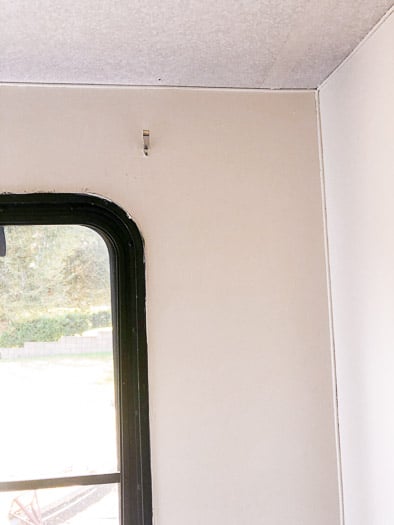
This was the best decision! You don’t notice all the peeling areas and the walls look so much better painted.
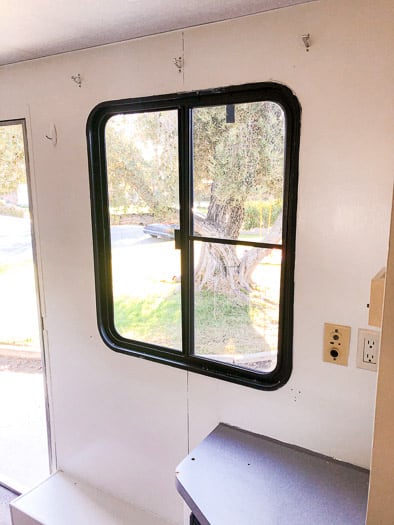
The first layer of primer and paint was really splotchy. It took a coat of primer and two coats of paint on all the walls and cabinets.
Whew! It was hard work. Not to mention it was almost 100 degrees at my parents house!
Thankfully, we were able to plug in the trailer and run the air conditioning. At least that works!
Painting Problems
Would it be a DIY project without some problems? Of course not!
My original plan was to paint the lower cabinets and dinette a darker color. But when I went to go paint the paint dried all bubbled!
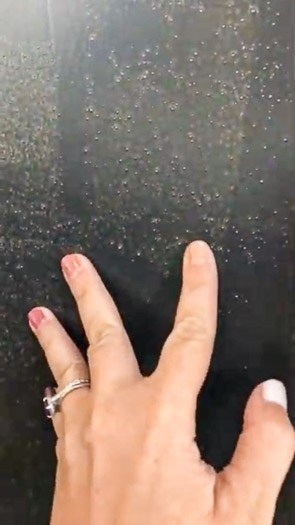
I thought maybe it was because it was too hot in the trailer. I painted it at night and we hadn’t left the air conditioning on all day. So I decided to try again in the morning.
But, when I went to paint in the morning, it was still bubbling. The paint didn’t seem to be fully mixing. So I’m assuming something was wrong with the paint.
We didn’t worry about painting the bottom cabinets and dinette for now, and just made sure the rest of the kitchen and living area was fully painted.
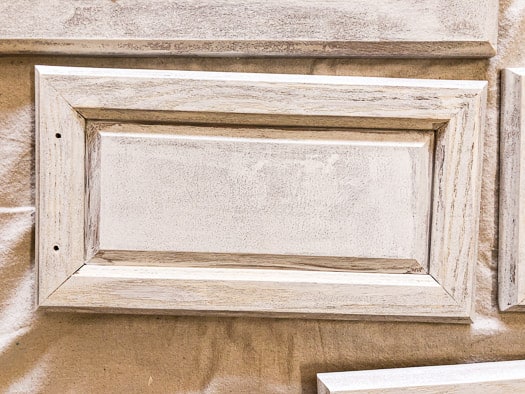
Painting the Cabinet Doors
I was hoping to finish the cabinet doors this weekend too. But it was just too much work. As it was, we didn’t even finish painting all of the inside thanks to the little paint hiccup.
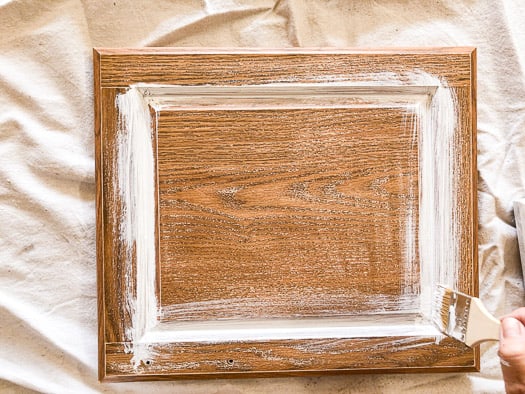
I sanded all the cabinet doors and then my mom helped me prime. The doors are real wood, while the cabinets were fake.
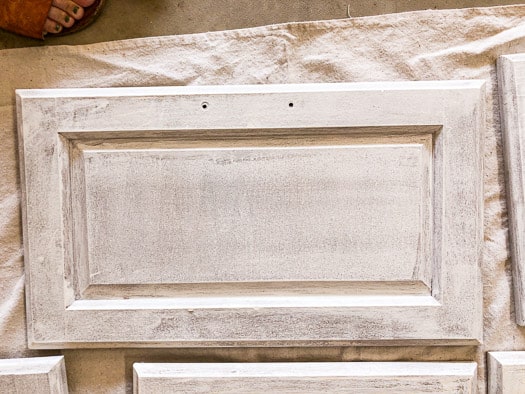
Some of the doors started showing a little bit of yellowing after priming. We primed those doors twice and I’m just hoping for the best when I start painting them!
Trailer Remodel Painting
This painting was really hard work! Thankfully my mom decided to help me, otherwise this would have taken so much longer.
As it was it took us almost three full days to finish what we did. This took way longer than I was expecting.
I usually find painting fun, and while it was, it was frustrating to have to do so many layers of paint. The walls took a coat of primer and then 2 coats of paint. The cabinets took a coat of primer, and 2 coats in most spots, 3 in a few of the areas I could only paint with a brush.
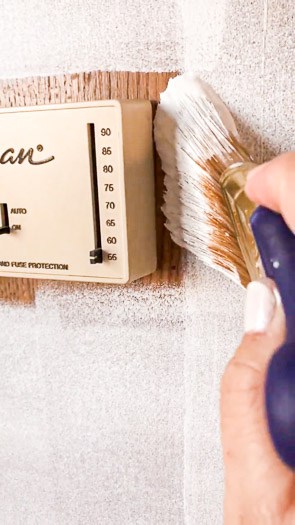
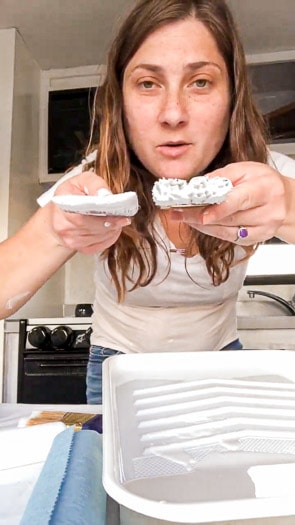
After using the Wooster paint brush throughout the whole trailer, I definitely prefer the Purdy. My mom had one and I switched to it halfway through.
The Purdy is much thinner than the Wooster brush and the bristles stay together better which makes it a much better brush for cutting in. Especially if you hate to tape like I do!
Check out the Other ORC participants
Don’t forget to check out the other blogger’s room transformations.