I’m all about reusing stuff around my house. So I made this DIY TV stand from a dresser we already had.
DISCLOSURE: This post may contain affiliate links. If you purchase items through my links I may earn a commission. You can find our full policy here. Thank you.
I bought this dresser about 5 years ago at a yard sale. It was already black when I bought it. I think I bought some different knobs for it and that was it.
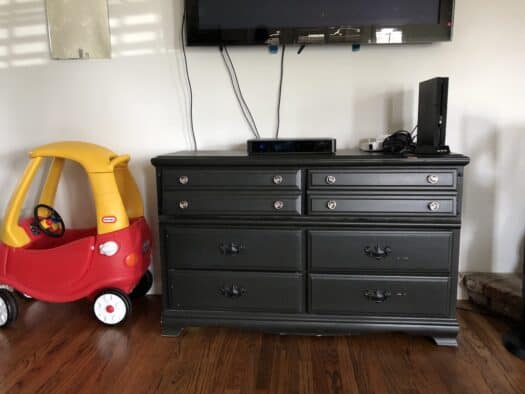
I love the size and it’s so sturdy. When we moved into our new house, we didn’t have a place for this dresser. But we still had the need.
Only one dresser fit in our bedroom, but we still needed extra drawers for clothes.
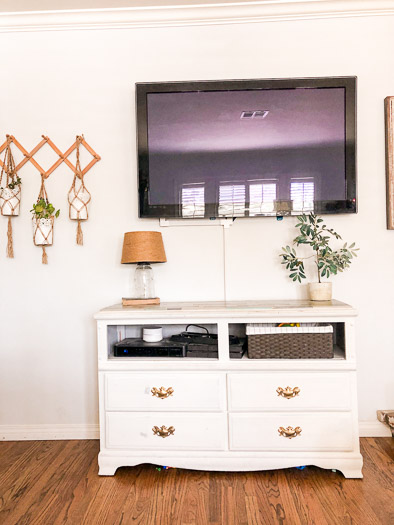
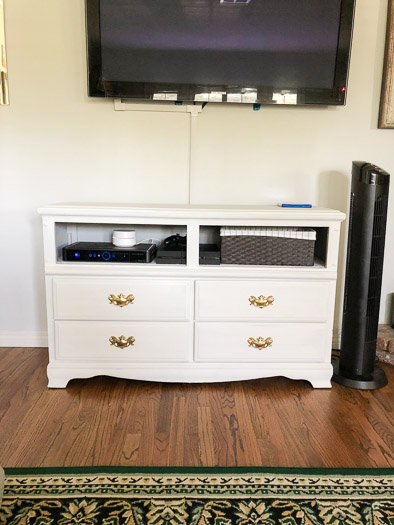
So I decided we should put the dresser in the living room and use it as a make shift media center. We could still use the bottom drawers for clothes and I could use some of the other drawers for dvds and such.
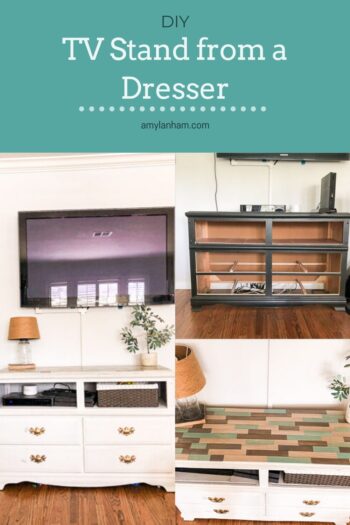
DIY TV Stand from a Dresser
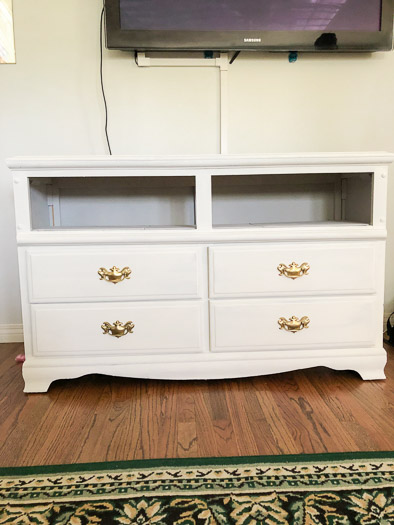
The first thing we did was take out the top drawers and make a shelf. We used 1/4″ plywood and had it cut at Home Depot in to 3 pieces to fit in the shelf.
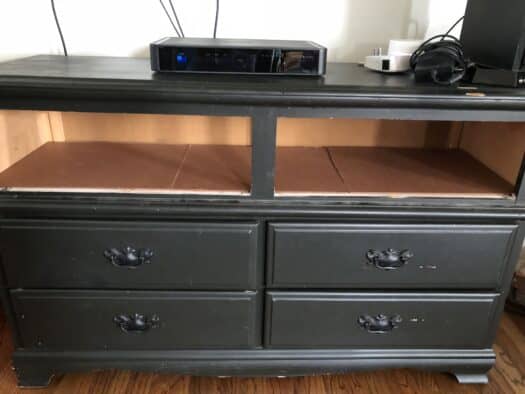
Measure the inside of the dresser drawer, the width and length you want and then get the plywood cut to that length. Then we nailed it in to place.
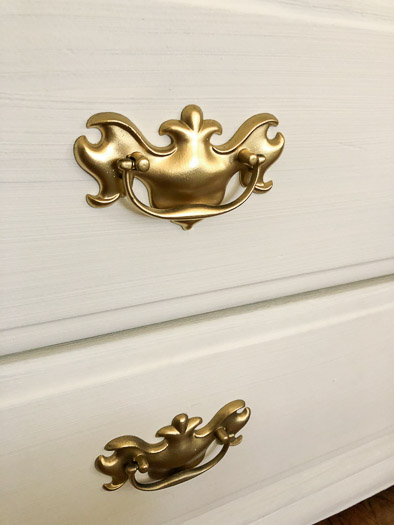
I then painted the whole dresser white and the inside of the shelf grey. Then I spray painted the old drawer handles and reattached them.
I wanted something really unique for the top of the dresser. My son plays up there, so the paint didn’t hold up well, but that’s ok. That was never supposed to be the final top!
Making the Wood Dresser Top
I really wanted the top to be different colors of wood and to look rustic and a little old. After looking at multiple different types of wood, I decided to use paint sticks.
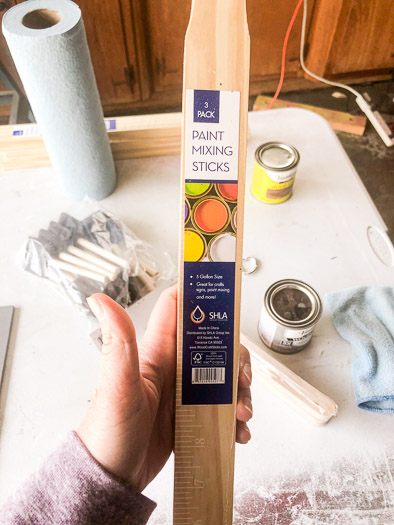
Paint sticks are cheap and can easily be stained. So I measured the top of my dresser and figured out how many paint sticks I would need to cover the top.
Then I picked out three different stains. I chose Sunbleached, Vintage Aqua, and Weathered Grey by Varathane. These colors seemed to go well together and I liked the variation.
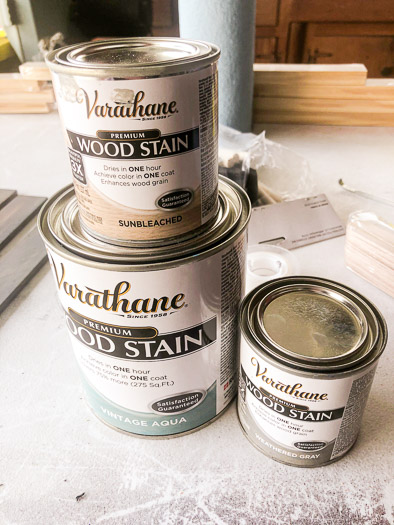
I liked the Vintage Aqua because I wanted it to be like the old wooden aqua barn wood I sometimes see online.
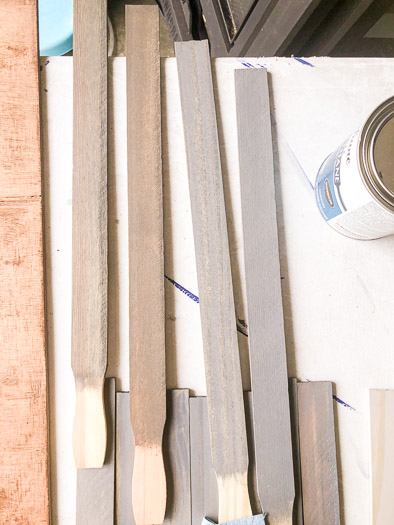
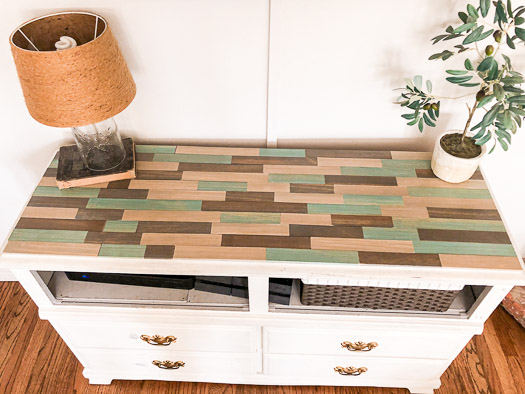
After staining and polyurethaning all the wood, John cut the wood into various lengths. Then I laid it all out on top of the media center.
Then I used the nail gun to nail the paint sticks to the top of the media center. I love the way it turned out! It’s exactly the look I was going for and it’s perfect for the kids to play on.
I don’t even care if the wood gets a little banged up because it only adds to the overall rustic feel!