
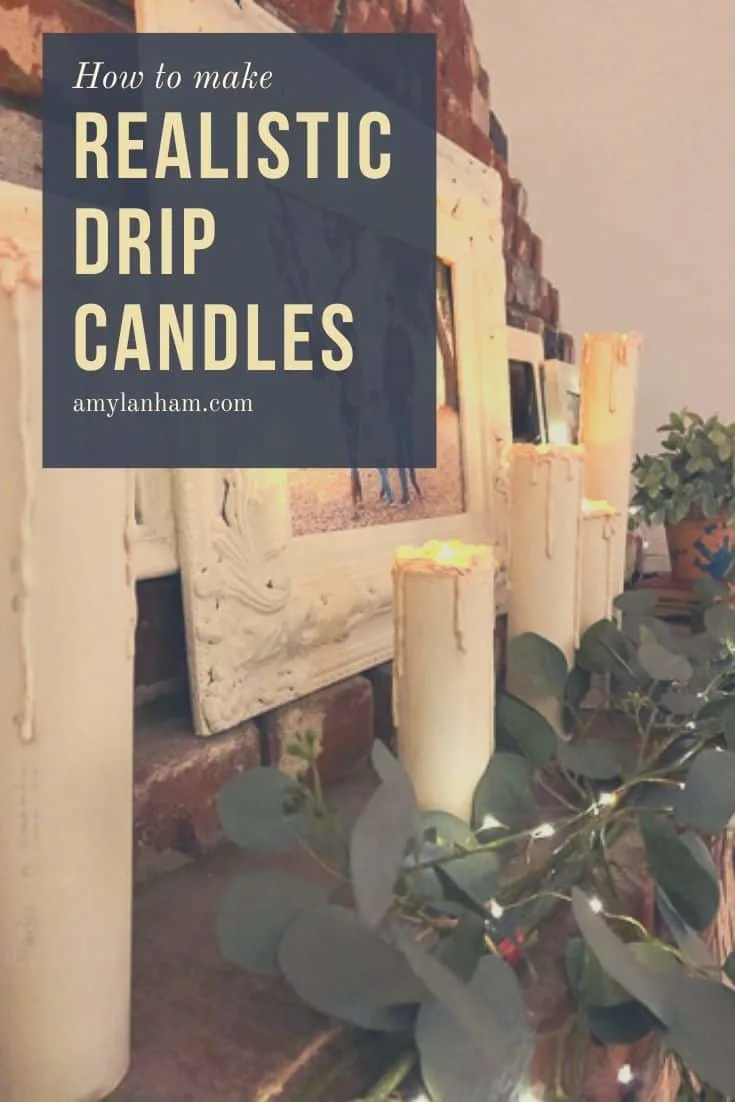
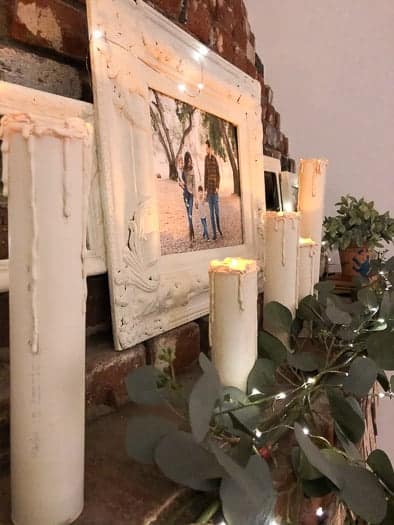
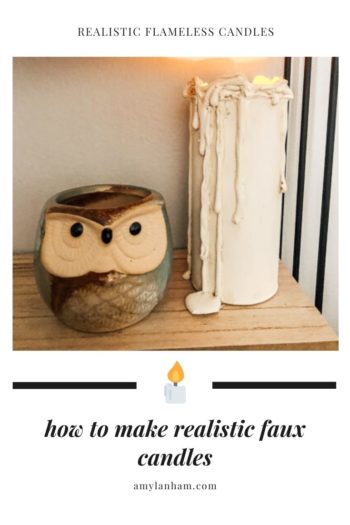
I absolutely love the look of tall dripping candles, but can’t do real flame candles in my house. And the fancy battery operated candles can be quite expensive. I made myself DIY drip candles that use tea-light battery operated candles for a fraction of the cost!
DISCLOSURE: This post may contain affiliate links. If you purchase items through my links I may earn a commission. You can find our full policy here. Thank you.
Having candles around your home can be so comforting and help the house feel extra cozy. I love being surrounded by the dim light of flickering candles.

But, I hate the smell, as I have a very sensitive nose. And I can’t have an open flame in my house. One, I’m forgetful and two, my toddlers love candles.
For these reasons, I always stick with flameless candles. I wanted some tall drippy flameless candles for my mantle. I’m sure you’ve seen the candles that I’m talking about. They are popular with all the home decor bloggers.
They can be found at places like QVC or Amazon, are gorgeous, but are also quite expensive for just one candle. It is so easy to make candles that look exactly like this though!
I have made them in the past with PVC and with toilet paper rolls. The PVC ones are a little more expensive, but they can be used indoors or outdoors. They can also be made in any size that you want.
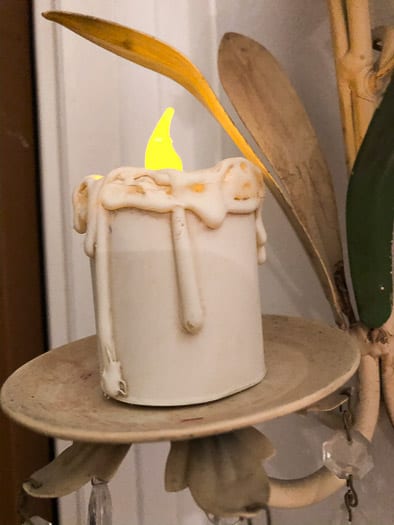
You will still need to buy flameless candles. I like these ones from Amazon the best. The remote and timer work amazing and I like that they have screws to protect the battery from curious toddlers.
But you can use any flameless tea-light candles you like. You’ll need to have the candles you plan on using prior to starting the project.
DIY Drip Candles
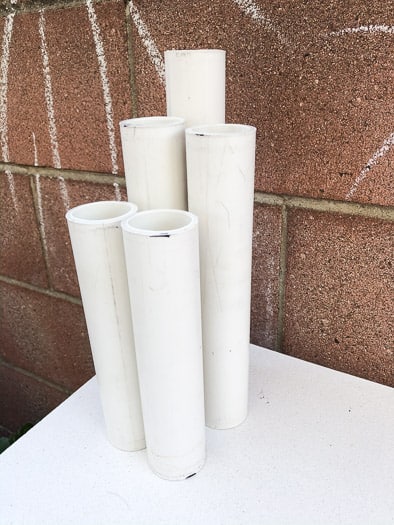
Tea-light candles are normally 1.5 inches wide, so you’ll need to buy 1.5 inches PVC. I like to buy the 10 foot sticks, its about $6 and will make a lot of candles.
You can make the candles in any size you want, but here’s the sizes and quantity I made:
- 3 – 12 inches
- 2 – 10 inches
- 4 – 8 inches
- 4 – 6 inches
- 2 – 4 inches
I got 15 candles out of my one 10 foot stick of PVC. Eventually, my plan is to put these in the fireplace in the summer, so I wanted a lot of candles.
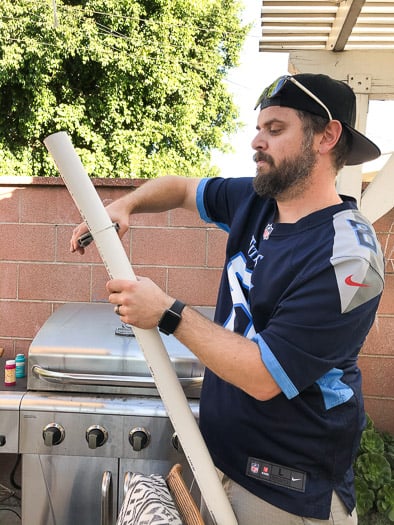
You’ll need to use a PVC cutter to cut the PVC. This is the easiest way to get straight cuts. We have used a saw too, but the cuts are more crooked. This doesn’t necessarily matter for the top, but you want the bottom to sit mostly straight.
After you cut all your PVC, you’ll need to fill the inside with insulating foam. This will allow the flameless candle to have something to sit on.
Let the foam dry, then cut off any excess. You can compact it or drill it out to allow the candle to sit on the top.
I like to press my candle into the top to make sure it will sit flush. This is why you need to know what candle you’ll be placing into the candle. Not all tea-light candles are the same height.
Now it’s time to make the drips! I lay wax paper underneath my work area to protect my table top and I can adhere drips to it as well.
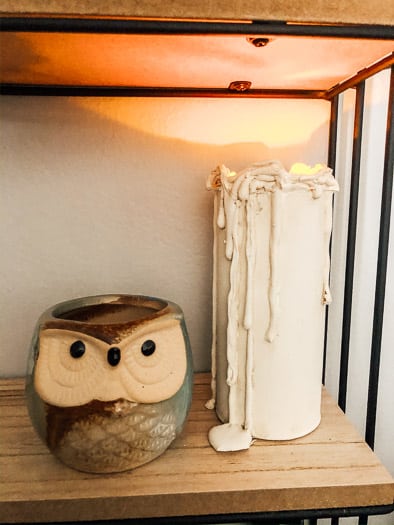
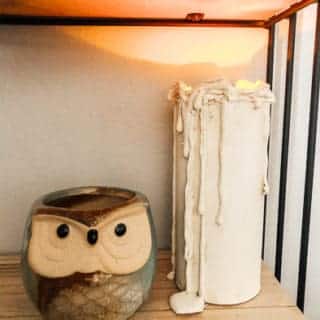
Using a hot glue gun make drips all around your candle. On the smaller ones you can have drips that go all the way to the bottom and pool around the candle.
I like to build up the hot wax so that it looks like the candle drips over time. So make once pass with the hot glue gun, let dry, then do another pass, so on and so forth until you get the look you want. There’s really no such thing as too many drips.
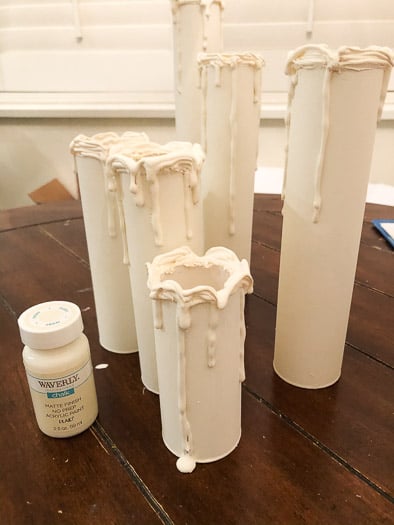
Once you get a look you like, let your hot glue dry. Then you’ll need to go through and pick off all the hot glue ‘strings’, and now you can paint!
I like to use chalk paint to paint my candles, but you can use any paint you have on hand. I’ve used Annie Sloan and Waverly chalk paints.
First, you’ll want to paint the candles with 2 coats of a white or cream paint. If you want an aged finished, you’ll want to go over it with a darker grey/black paint or wax.
For the grey/black paint, I mix it with water and then paint it onto the candle, being sure to get in all the cracks around the hot glue. Then, I quickly wipe it off with a towel. You can keep doing this until you get the look you desire. Use a clear wax to finish the candles.
If you decide to go with wax, you’ll need both a clear and dark wax. Clear wax the candle first, then let dry. To age, start with the clear wax and then layer the dark wax, again making sure to get in all the cracks around the hot glue. Then, use a towel to wipe off the dark wax.
There you have it! These DIY drip candles are so fun to make and it’s easy to get the exact height and amount of drips you want! Plus, these would be so fun for Halloween and other holidays.
DIY Drip Candles
How to make fun DIY drip candles. These are perfect for every day decor or spooky Halloween decor!
Tools
- Hot Glue Gun
- PVC Pipe Cutter
- Knife
Instructions
- Cut your PVC pipe using PVC cutters to create whatever size candles you want.

- Fill the PVC with foam sealant, let dry.
- Use a knife to cut off the excess foam. Push foam down and ensure flameless candle sits properly inside of PVC.
- Use your hot glue gun to add drips around the top of the PVC.
- Paint your candle with white or cream chalk paint.
- Use a dark grey/black chalk paint mixed with water. Paint on the mixture, and then wipe off to give the candles an aged look.
- Clear wax the candles to preserve the paint.
Notes
Cover your work area with wax paper to protect your area and have something for the hot glue to adhere to.
You can build up the hot glue, letting it dry, and then going over it again to build up the top of the candle and the drips down the sides.
On some of the smaller candles, allow the glue drops to go all the way down the candles and pool at the bottom.
You can use dark wax instead of a paint wash to age the candles.
I made 15 candles out of 1.5 inch x 10 feet PVC. The sizes were: 3 - 12 inch, 2 - 10 inch, 4 - 8 inch, 4 - 6 inch, 2 - 4 inch.
I needed an 18″ tall candle for my outside lanterns that are 34″ tall. I have already spent $100 on 2 real wax candles that looked amazing but melted on my porch. I was DREADING spending that much again until I came across your site. GENIUS! THANK YOU!
I’m so happy this is going to be helpful for you! I’d love to see a picture if you end up making them!
Pingback: how to make flameless candles look real - DecorStatus