
Confession time: sewing intimidates me. I’ve always wanted to learn to sew, and I probably will one day, but today is not that day. I decided on making a no sew DIY cushioned bench for my new kitchen storage benches!

DISCLOSURE: This post may contain affiliate links. If you purchase items through my links I may earn a commission. You can find our full policy here. Thank you.
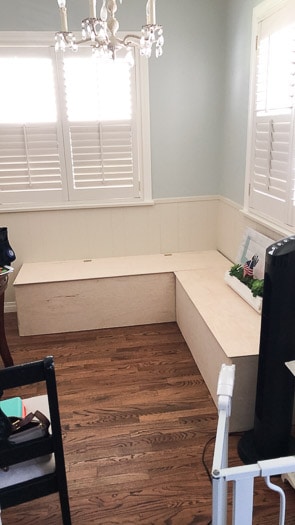
When we made the kitchen storage benches, I had thought I would buy cushions for the benches. But after searching online I wasn’t finding anything that I loved.
I wanted something that felt like me, that wasn’t too far out of my budget, and could be easily cleaned! My kids are little mess monsters and nothing stays clean for long in the this house.
I have no idea how people do all white houses! We had drop cloth kitchen chairs for about 5 months and it was so gross! So being able to keep them clean is my top priority.
I just wasn’t finding anything that I loved. So I decided to make them myself. I love DIY because if I can’t find it, I’ll just make it!
DIY Cushioned Bench
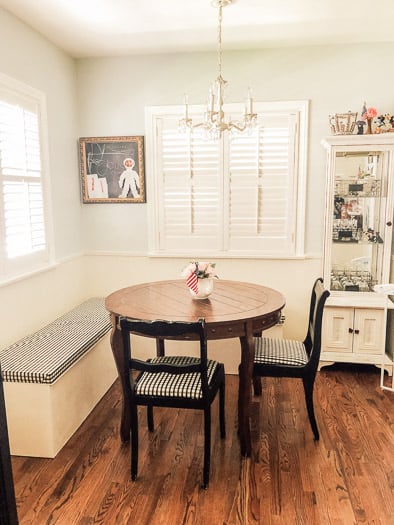
These DIY cushioned benches are so easy to make! It’s basically the same process that I used to reupholster my kitchen chairs. You just have to buy the chair cushions this time too.
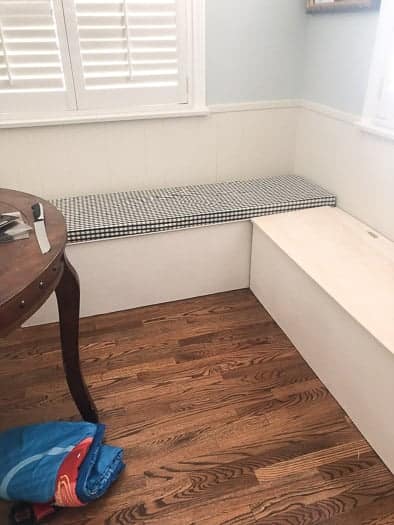
The hardest part of this whole thing was deciding on a fabric choice. I really wanted something that could be wiped clean. So I chose this plastic tablecloth like fabric.
In retrospect, this ended up being a mistake! The plastic was not durable enough for everyday life and ended up becoming brittle and tearing in just a few months.
I eventually ended up sucking it up, learning to sew, and making a removable bench seat cover and matching chair covers. This no sew DIY cushioned bench is still a great option though. Just pick more durable fabric!
DIY Cushioned Bench - No Sew
How to make a DIY cushioned bench seat to go on top of kitchen benches.
Materials
- 2 yards Fabric
- 4 yards 2 inch Foam
- Staples
- 1/4 inch plywood
- Bread Knife or Electric Knife
Tools
- Staple Gun
Instructions
- Cut your 1/4 inch plywood to the size of your benches. Mine was 6'x16" and 4'x16".
- Cut your foam to lay on top of the 1/4 inch plywood. I laid the foam over the plywood and then used a bread knife to cut it. An electric knife also works to cut the foam.
- Now cut your fabric, make sure that you have enough fabric to wrap all the way around to the back of the plywood. I left a few inches so that I could staple.
- Lay your fabric right side out on the floor, then gently place the foam in the center, then place the plywood on top of the foam.
- Pull the fabric up and over the plywood taught and then use a staple gun to secure. Start on one side and then work around the entire piece.
- The corners are the hardest part for some people. I just pull tight on one edge, staple, then pull tight on the other edge, staple, and then pull tight in the middle of the corner and staple. See video below for visual instructions.
- Once one cushion is done, you can do it to the other cushion! I hot glued velcro onto the bottom of the cushion and to the top of my kitchen benches to ensure everything stayed put.
Notes
You can hot glue the foam to the plywood if you would like, so that it doesn't slip around.