
Organizing the nursery can be such a pain! I think it’s because I’ve never had to organize something like this before. I have years of practice organizing my closet and all the things I use, and I still have trouble finding things sometimes. Organizing all the things for baby has definitely been overwhelming me the last couple of weeks. I saw closet dividers on Pinterest and knew I wanted to make some DIY closet dividers, but I just wasn’t sure how I wanted to go about it. At first I thought I would buy some, but I decided it should be an easy enough project that I could knock it out fairly quickly.
The ones I saw online all had backings to them, and I didn’t want to buy anything. So one night, I just decided I would try to make some with just some thick scrapbooking paper. I already had this scrapbooking paper lying around. That’s what happens when your constantly buying those packs of 12×12 paper that sometimes go on sale at Michaels!
This paper already had designs that were 4×6. I decided this should be a good size and just cute on the designs as they were using my paper cutter.
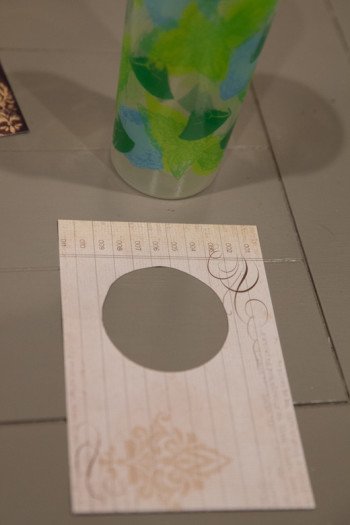
Then I had to find something to make the hole in the paper. At first I thought I would try the bottom of a cup. Good thing I cut a slot and checked in my closet. It was way too big! And I cut the slot on the wrong side of the paper… so they would have all been facing the wrong way!

Then I took a shot glass and used the bottom of that. It was a much better size for my closet and I got the slot cut out on the right side. You could definitely glue two 4×6 pieces together, but I’m alright with only having it on one side, since I won’t really be able to access the closet from the other side anyway.
I then used the shot glass to draw a circle on the paper. For this one I measured how far down I wanted the circle to be. There’s a shelf about 2 inches above the bar in my closet, so it couldn’t be more than 2 inches from the top of the hole to the top of the paper.
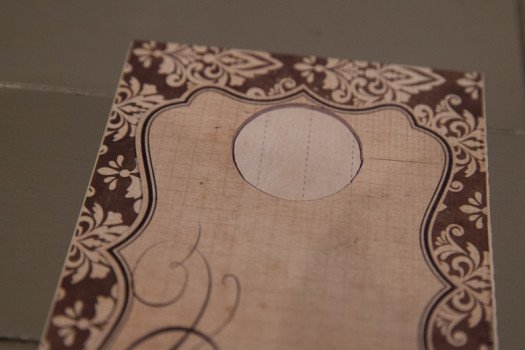
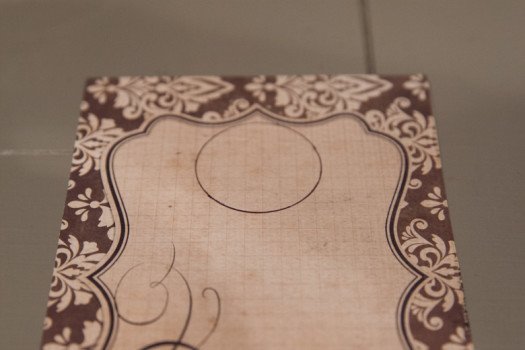
I then used this hole as a template so that all the other dividers would match.
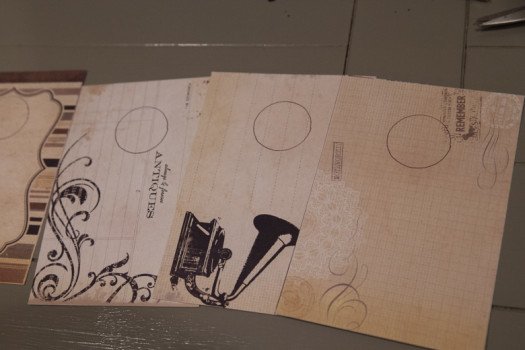
As you can see, I drew all the circles, and then cut them all out.
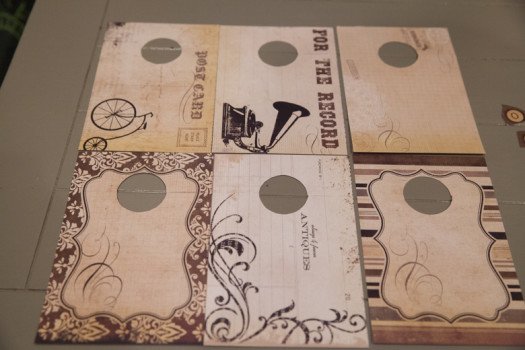
Here you can see all the dividers, with the holes cut out, laying side by side. I decided to only make 6 of them, although I could definitely have made more. This will get me to 18 months, which I think is good.
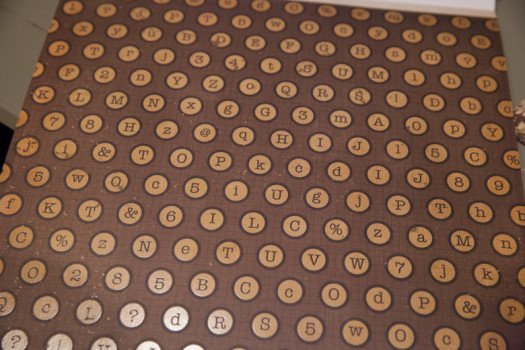
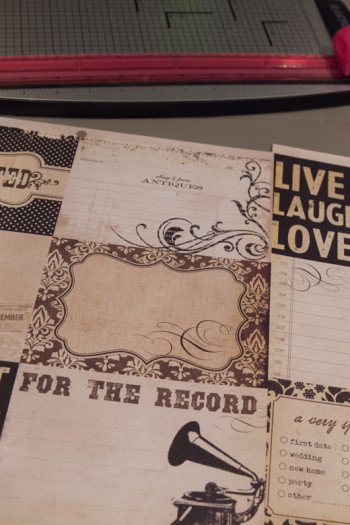
At first I was just going to write on the sizes on the dividers. Then, I saw this page in my pack and I knew it would be perfect!
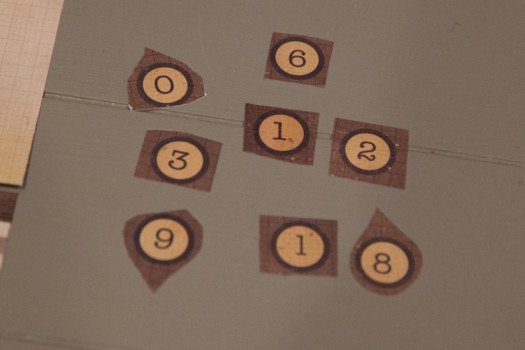
So I cut out all the numbers that I needed.
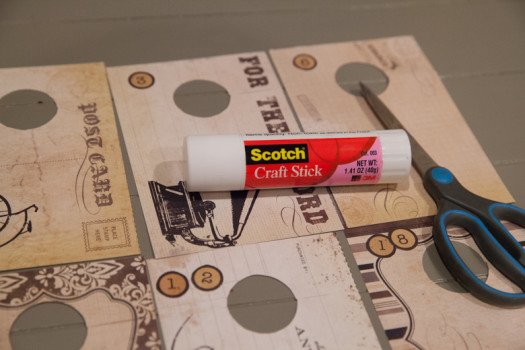
Then I arranged them on the dividers to make sure I liked the way they looked. And glued them down with scotch glue. I love this glue. It’s archival and I use it for all my scrapbooking, card making, pretty much anytime I need glue and Modge Podge won’t do. It bonds really well and is easy to wash off my hands.
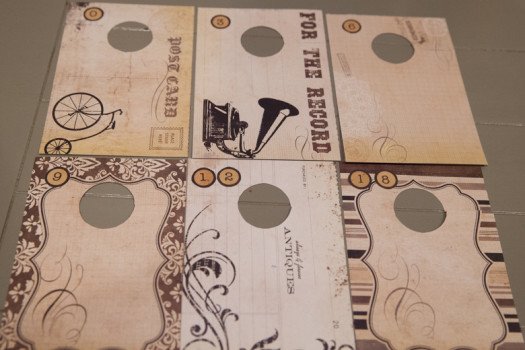
Here you can see what the dividers look like now that they are all done.

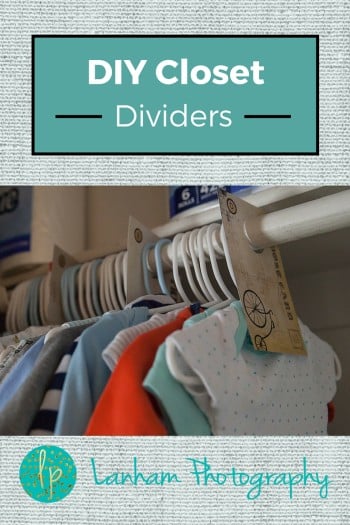
And here they are in the closet! I think they look really great and it’s easy to see at a glance which sizes are where. I think this will make it much easier when putting clothes away and to know when it’s time to get rid of certain clothes. And the project didn’t cost me anything at all! It only took me about 30 minutes to make these 6, and if I wouldn’t have been figuring it out as I went, it probably would have taken even less time. All in all I’m very happy with the outcome!
For more DIY Projects and Pictures be sure to follow me on Pinterest.