
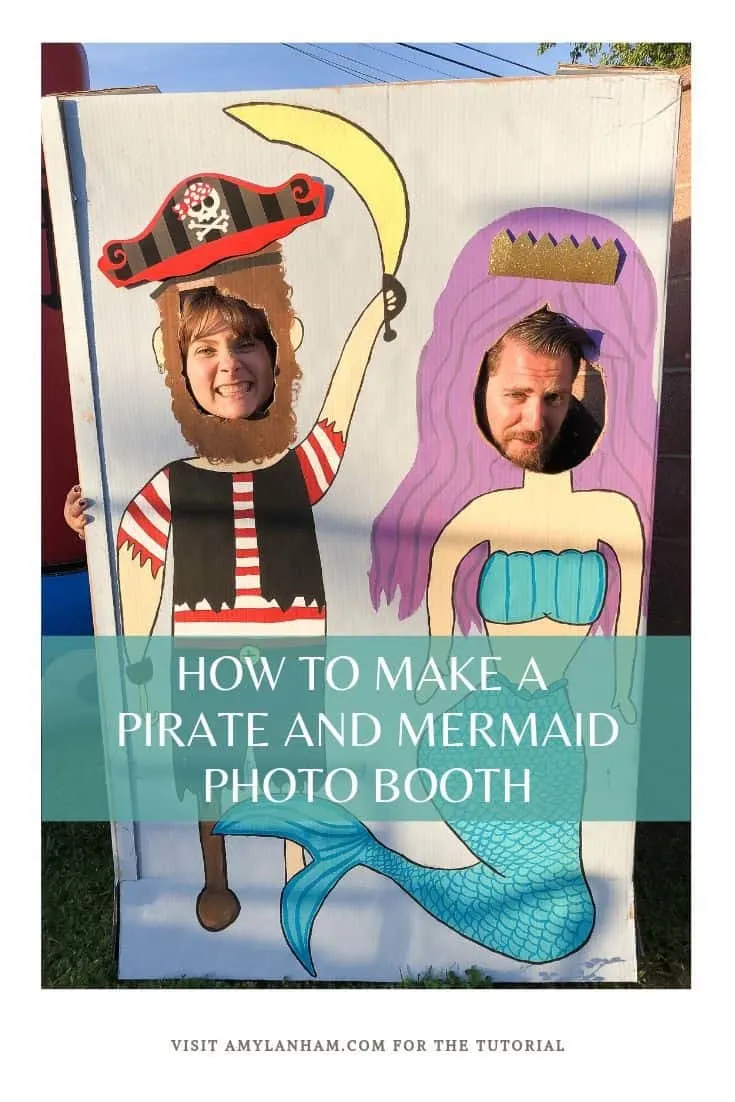
For Bugs and Little Miss’ pirate and mermaid birthday party, we wanted to make something for people to take photos with. I’ve done photo props before but nothing like this. We decided to make a pirate and mermaid photo booth.
DISCLOSURE: This post may contain affiliate links. If you purchase items through my links I may earn a commission. You will not pay more when buying a product through my link and you do not have to use my links. You can find our full policy here. Thank you in advance for your support.
My mom was the one that came up with the original idea. She had the whole vision in her mind and wanted something that was cute and silly for the kids party.
I love to be able to have something super unique at my kids parties. For Bug’s first birthday it was the mural my husband and I painted and at Little Miss’ it’s this pirate and mermaid photo booth.
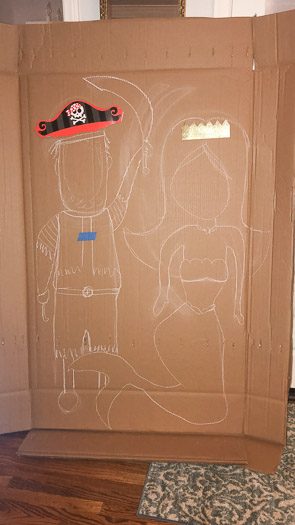
My parents had ordered some doors for their motorhome and they came in these huge cardboard boxes. They were the perfect size for this project.
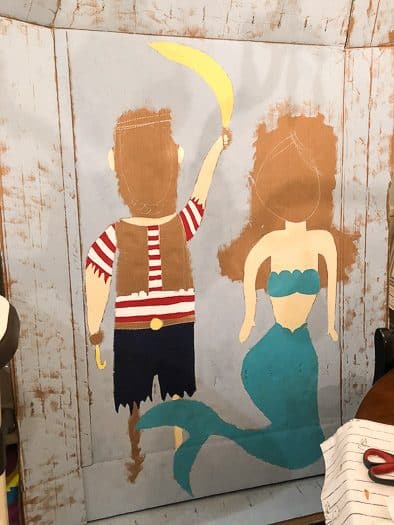
To figure out where the cut outs should be, my mom took blue tape and taped off where Bugs nose hit the cardboard and where her nose hit the cardboard and then picked somewhere in the middle for the cutouts.
Then she outlined the pirate and mermaid in chalk. We used chalk because it was easy to erase any mistakes and the paint easily covers the chalk.
Pirate and Mermaid Photo Booth
After the outlining was all done, we started painting. I really wanted to paint and so my mom let me paint the design.
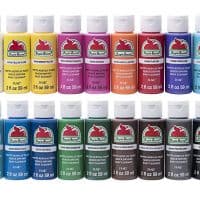
Paint Supplies
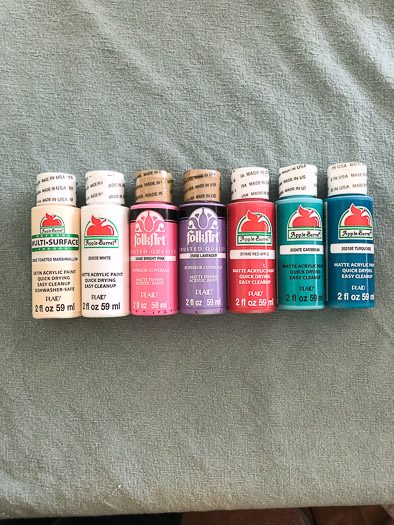
I purchased all the paints from Walmart. Here is a list of the brands and colors I used:
- Apple Barrel
- Toasted Marshmallow – pirate and mermaid body
- White – Strips on pirate shirt
- Red Apple – Strips on pirate shirt
- Caribbean – Mermaid tail and top
- Turquoise – Mermaid scales
- Folk Art
- Bright Pink – Mermaid hair
- Lavender – Mermaid hair
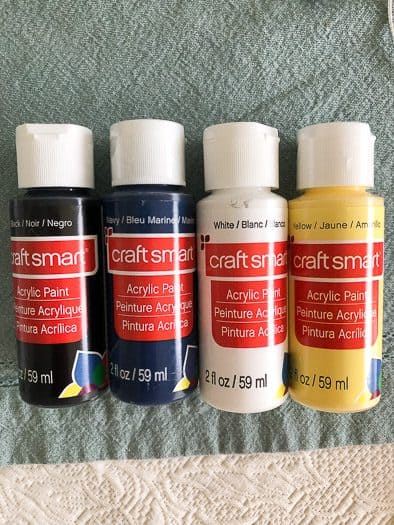
- Craft Smart
- Black – Pirate vest and belt
- Navy – Pirate pants
- Yellow – Pirate sword, belt buckle, earring, hook
- Dark Brown – Pirate beard, peg leg
- Light Brown – Pirate beard
I started by painting all the clothing and body parts and then moved on to the background.
I wanted the background to look like they were under the sea or at least by the ocean so I painted it blue. We had Annie Sloan Duck Egg blue on hand, so that’s what I used.
At first, I tried to use a sponge and sponge the paint on to create a textured background. But I didn’t like the way this turned out. You could still see too much of the cardboard.
So I ended up taking a big brush and painting it on. I did the background painting after painting the bodies but before painting the hair.
If I did this over again, I probably would have painted the whole cardboard first, and then done the designs in chalk over the background.
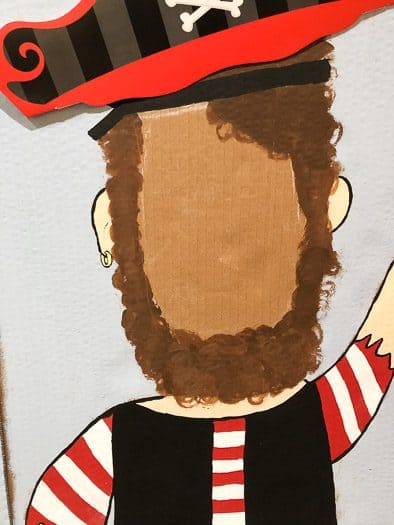
For the pirate’s beard, I layered the dark brown and light brown in circular motions to create a crazy beard.
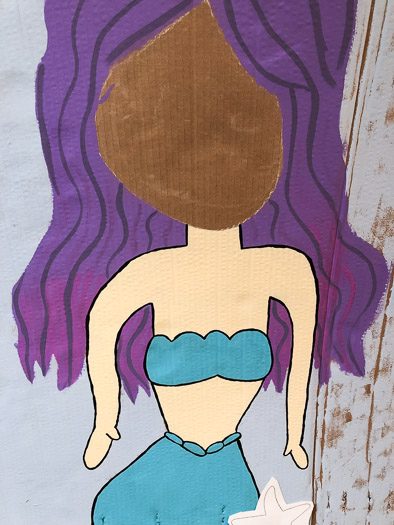
For the mermaids hair, I started with the lavender and painted all the hair, then went back in with the bright pink and layered some on the ends. I wanted streaks in her hair so I mixed the lavender and black to make a darker purple.
Finishing Touches
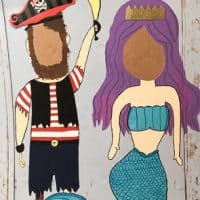
After I was done with all the painting, I used black paint to outline the characters and help them stand apart from the background. Then we put the hats on them to have some 3D elements.
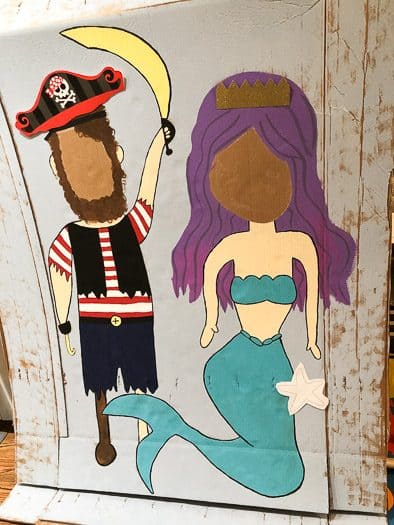
I also added the scales to the mermaid’s fin and some lines to her top with a darker blue.
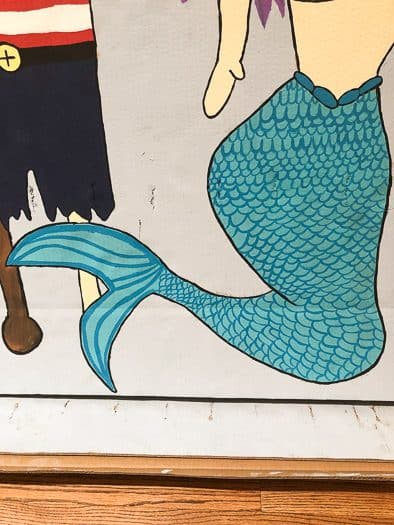
I was going to add a necklace to the mermaid too, but just ran out of time. They still turned out super cute!
The last thing we had to do was cut out the part of the cardboard where the faces go. We used a box cutter to do this.
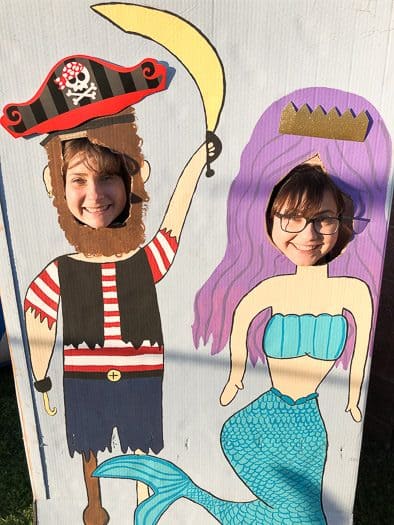
Pirate and Mermaid Photo Booth
Pirate and mermaid photo booth for a party.
Materials
- Large Cardboard Box
- Paint in the colors you want
- Chalk
- Pirate hat - optional
- Mermaid crown - optional
Tools
Instructions
- First, paint the background of the cardboard.
- Figure out where you want the face cutouts to go on your cardboard. You can stand and see where your nose naturally hits the box. Pick a general location that will be good for all party guests.
- Use chalk to draw a oblong circle for where the faces will go.
- Using chalk, draw an outline of your pirate and mermaid. You can use a cloth to erase any mistakes.
- Paint in your pirate and mermaid.
- Outline your pirate and mermaid with black paint.
- Cut out the holes you drew in step 2.
- Place your cardboard photo booth in a location where party guests will be able to get behind it. Stake to the ground if necessary.
Recommended Products
As an Amazon Associate and member of other affiliate programs, I earn from qualifying purchases.
That’s it! It was a super fun project that just took time, but who doesn’t love painting! What do you think?
Pingback: The Magic Way to Get Rid of a Toddlers Pacifier - amylanham.com
Pingback: Mermaid and Pirate Party Decorations - Lanham Creations