
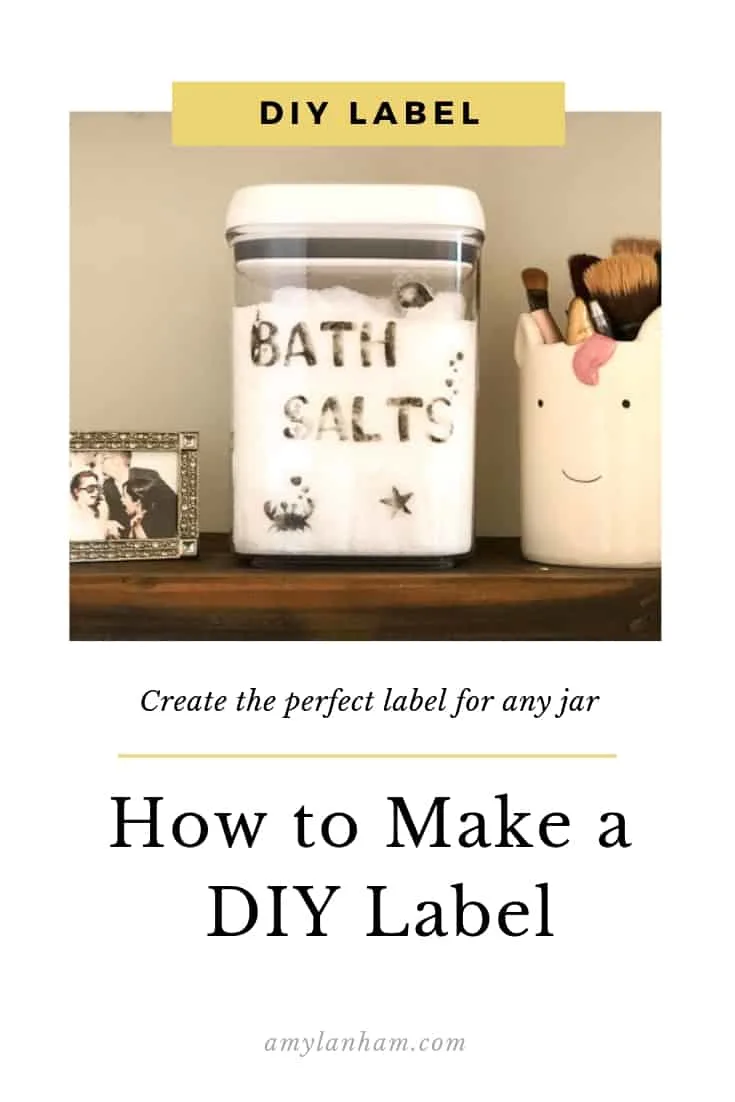
I love having cute personalized products in my house. Which makes this DIY label the perfect quick and easy project for me.
I needed something cute to put our bath salts in. My husband has been having some knee issues and so he’s supposed to soak his knee in epsom salt.
And between breastfeeding, carrying the baby, and a toddler, my back has been killing me. So although I’m not a super huge fan of baths, I’ve been trying to take some relaxation time to just soak.
DISCLOSURE: This post may contain affiliate links. If you purchase items through my links I may earn a commission. You will not pay more when buying a product through my link and you do not have to use my links. You can find our full policy here. Thank you in advance for your support.
Unfortunately, I didn’t have any cute jars in my house. We have lots of food storage containers that don’t fit in my cupboards. So I just grabbed one of those to use for this project.
I wanted to be able to have a label for this jar, so that we would know what it is. This project is so quick, easy, and inexpensive! These are my favorite type of projects.
I was literally able to do this whole project with things I already had around my house. You can see the video below of the DIY bath salts jar.
But, it’s super hard to record a video and also take pictures of the DIY! So my pictures are from the DIY pirate wedding wishes jar. But it’s exactly the same process.
DIY Label
This project is so simple. All you need to do to make this DIY label is print out your design on your regular printer. Be sure to only use black ink, I learned the hard way that colors don’t transfer.
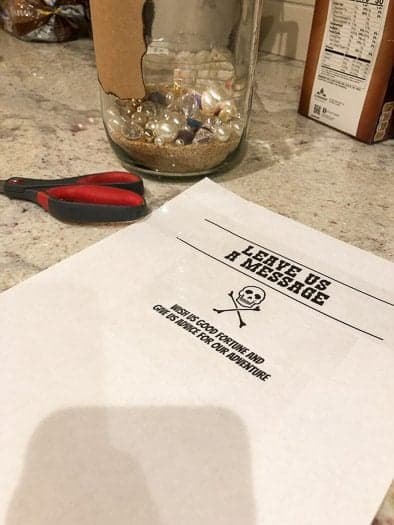
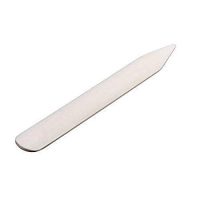
Cover your design with the packing tape. Then use a bone folder, or other hard edge to apply firm pressure to your design.
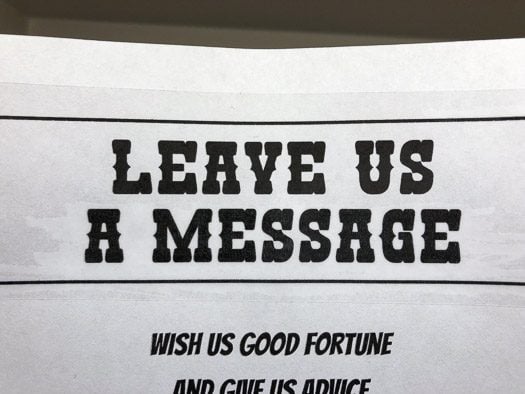
You can see in the picture above what it looks like when the design is adhered. Around ‘a message’ you can see the white and ‘a message’ is slightly darker than ‘leave us’.
This is important. If the ink doesn’t transfer to the tape, the project won’t work. So be sure to really adhere the packing tape well.
Then cut out your design and let it soak in water.
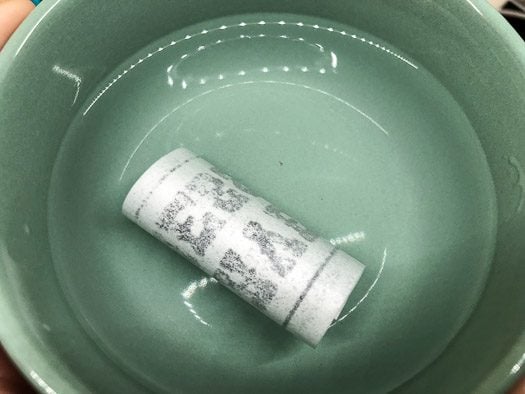
You shouldn’t have to let it soak too long. I’ve found that the thicker the lettering the better this project works.
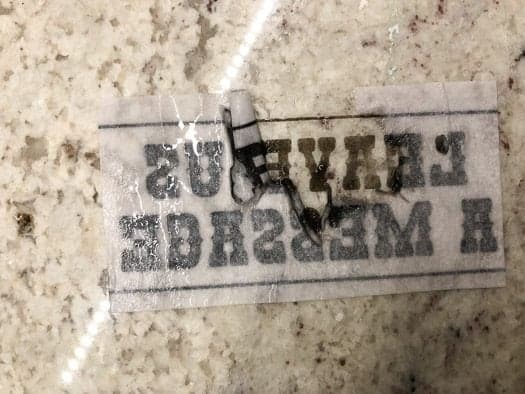
Once the paper is really saturated with water, you should be able to easily rub off the paper.

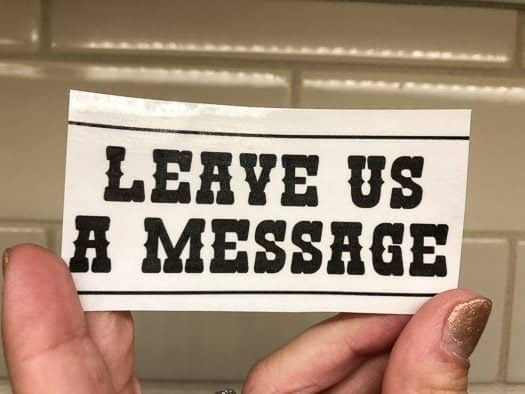
This will leave only your design on the packing tape!
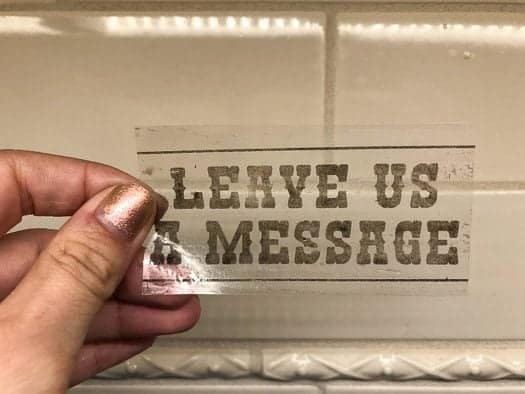
Let the packing tape dry and then you can adhere it to any object you want.
I love this project because it gives you a personalized label! It’s also removable and can be repositioned. So you can reuse the jar for anything else in the future!

DIY Bath Salts Jar
Make an easy label for any project! I created this super cute bath salts jar. But this is an easy DIY label.
Materials
- Paper
- Packing Tape
- Bone Folder
- Jar you want to apply label to
Instructions
- Print out your label onto regular paper using a regular printer, using only black ink.
- Take your packing tape and cut enough to fit over your design, then place tape over the design.
- Using your bone folder, apply pressure to the packing tape, make sure it is well adhered. You can tell when it's adhered because the letters will be extra dark.
- Cut out your design and place in water. Let soak for a few minutes.
- Take your design out of the water and lightly rub the paper off the back. Continue to wet the paper on the back and rub off until there is no more paper and you are left with only your design on the tape.
- Let dry, then apply to your jar!
Notes
Only black ink will be transferred to the tape.
Recommended Products
As an Amazon Associate and member of other affiliate programs, I earn from qualifying purchases.
It’s honestly so easy! I love these types of projects. Easy, uses things I already have on hand, and cheap!
What will you put a DIY label on?
Pingback: How to Make a Pirate Wedding Wishes Jar -