
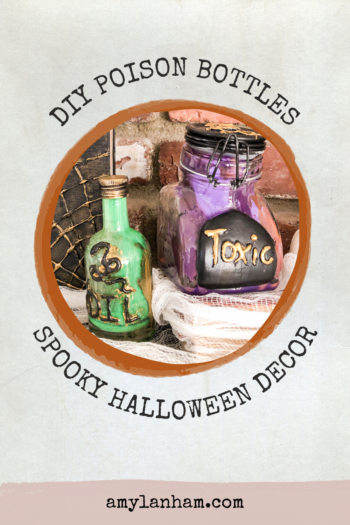
These DIY poison bottles are the perfect decor to create a spooky atmosphere for your Halloween decor. They’re so easy to make and practically free!
Don’t you hate how expensive Halloween decor can be?! I’m only using it for a month or two max, then it sits in boxes the rest of the time.
For Halloween this year, I wanted to do something different for my mantel, but I didn’t want to spend any money. So I came up with a couple different decor items that I could make for free.
One of those is these cool looking poison bottles. I’ve seen them in stores and they are way too expensive. I knew I could make them for much cheaper.
DIY Poison Bottles
DISCLOSURE: This post may contain affiliate links. If you purchase items through my links I may earn a commission. You can find our full policy here. Thank you.
These DIY poison bottles were so easy to make and only need a few supplies that you probably already have laying around your house. I love when I can make quick, easy, and fun decor for relatively cheap or absolutely free.
How to Source Bottles
The hardest part was locating the bottles. Thankfully, I had a friend that was willing to give me some bottles she was planning on throwing away.
But you could save tomato sauce jars and other funky jars from food or buy some cool jars.
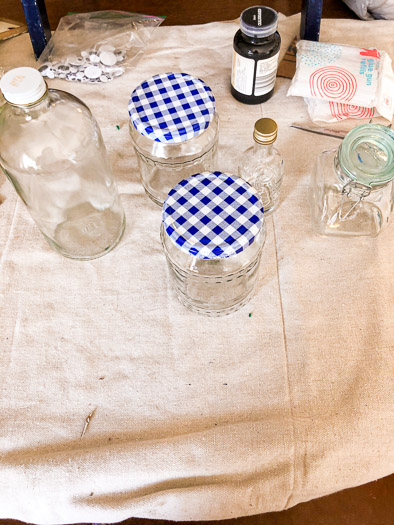
Make Sure to Clean Everything Well
Once I had the jars, I just needed to clean everything really well. Remember most of these jars probably had food or sauce of some kind in them.
Since mine were glass, I put them all through the dishwasher. But washing by hand will work well too. Just make sure they are clean and totally dry before using them for crafts.
Fill the Jars
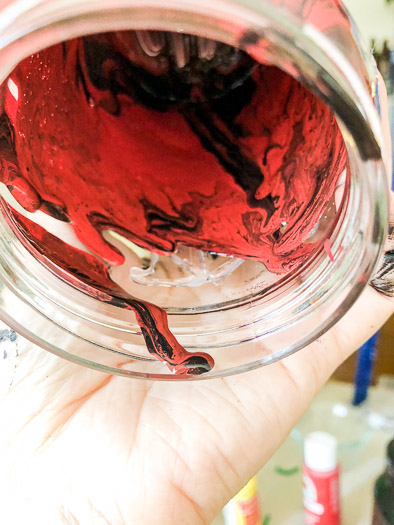
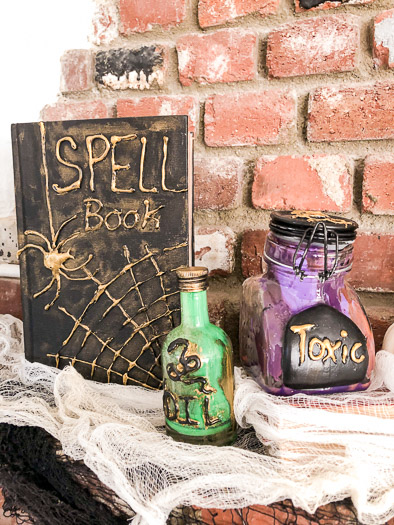
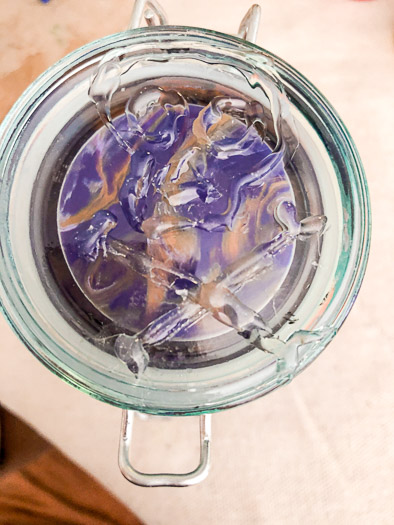
I wanted it to look like the jars were full without actually putting anything inside. So I took paint and put two different colors in the bottom of each jar. Then slowly turned the jar over to create a marble effect. I love how spooky this ended up looking!

Label the Jars
I wanted the label on the jars to be raised. But writing in paint would be just as effective.
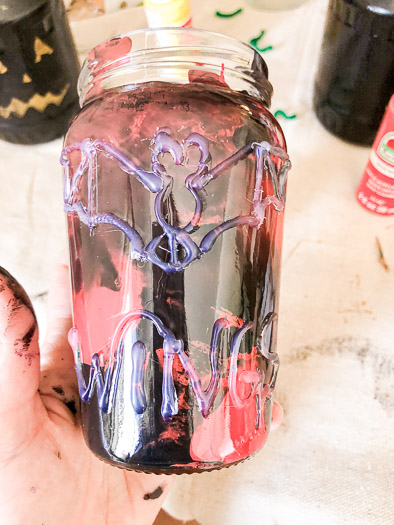
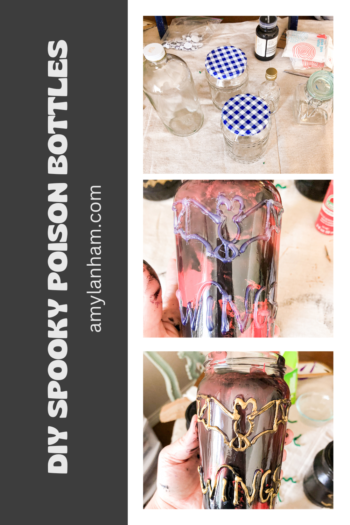
I created the labels for the poison bottles with a hot glue gun. I just worked slow.
Once the hot glue was dry, I went over the glue with gold or black paint, depending on which would pop more on the bottles.
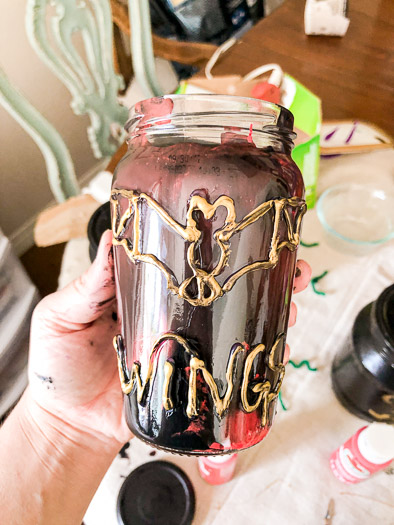
See the below for the full tutorial!

DIY Poison Bottles
How to make DIY poison bottles perfect for Halloween decor!
Tools
Instructions
- Wash the jars and dry well.
- Pick two paint colors for each jar, add a dollop of each color into the jars. Slowly tip and turn the jar so the paint marbles and coats the entire inside of the jar.
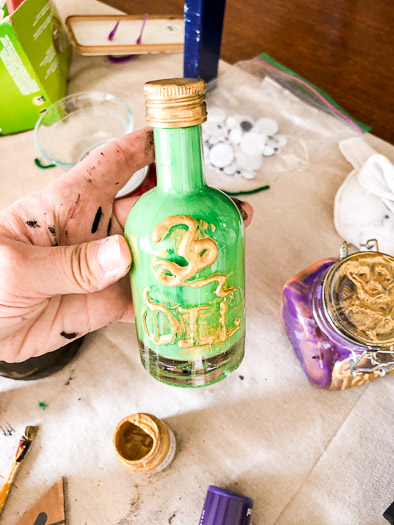
- Take your hot glue gun and use the glue to make poison bottle designs. Work slowly and carefully. I made a bat wings, snake oil, and toxic with a skull on top.
- Once glue is dry, paint the glue with gold or black paint to make the writing pop!
Notes
Make sure jars are completely clean and dry before starting the project.
Allow time for the paint to dry. If the lid is put on before the paint is dry, it may never dry. Which isn't a huge deal, just something to be aware of.
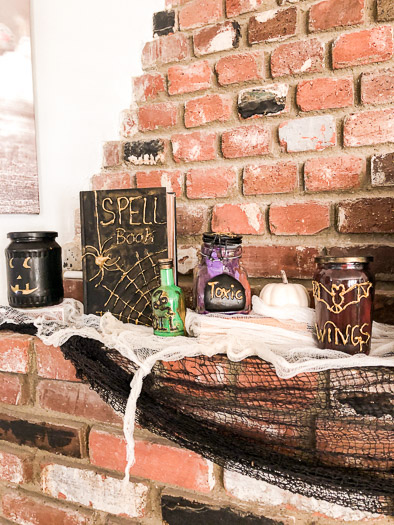
They turned out so good and didn’t cost me anything at all!
My theme for my mantel this year is spooky decor with things I already have at home. I made these poison bottles, bat art, spell books, pumpkin jars, and a music book.
Pingback: Halloween Decor & DIY Ideas ⋆ That One Mom